India
(July-August 2019): A meandrous 24-day trek in the Kargil
and Kishtwar districts of Ladakh
and Jammu & Kashmir
Leg
3: Agsho to Sani across Agsho
La and Muni La (Part 3/3)
|
|
Return
to main India 2019 webpage
Views of the itinerary in Google
Earth:
[Reminder: Click here
(kmz file) and open the downloaded file in Google
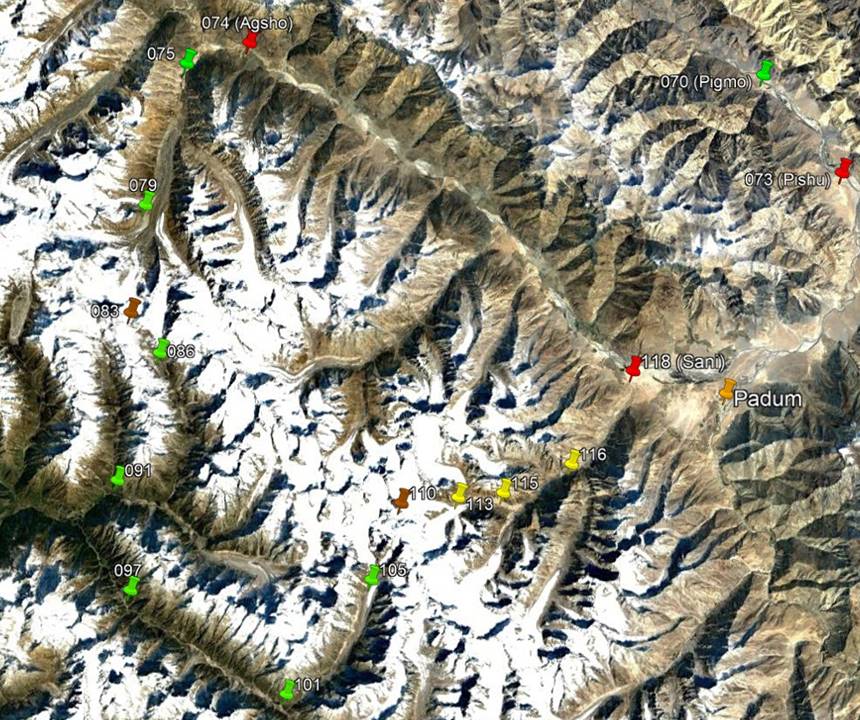
Earth to access the GPS waypoints that I recorded during the trek: red pins for
starts and finishes, green for camps, brown for passes, and yellow for other
waypoints. Orange markers have been added; they are not GPS waypoints.]
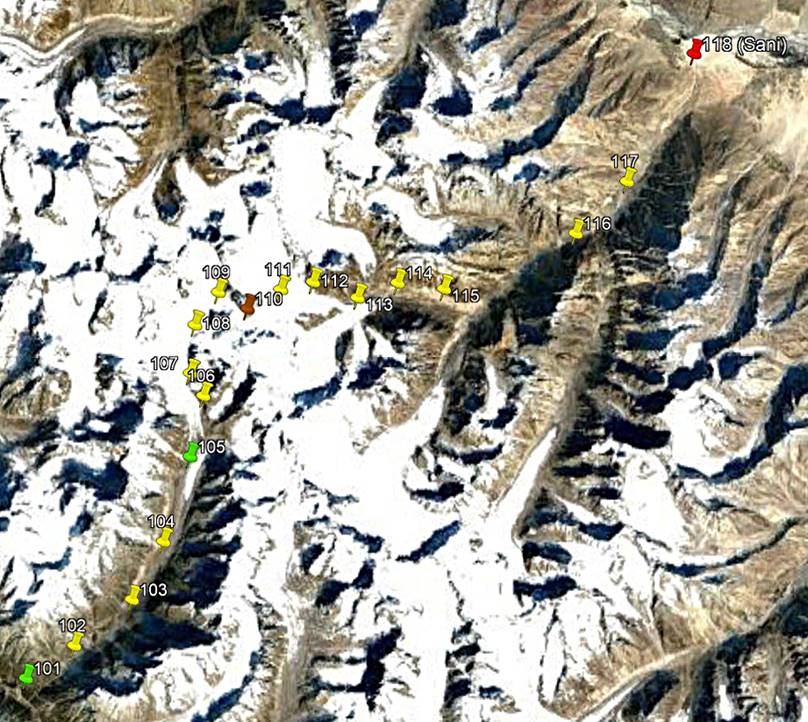
Left: View of the entire third leg, with
only a subset of GPS waypoints. Right: View of the third part of the third leg,
with all the waypoints.
|
|
|
Brief description:
At WP #101 we headed north into the
side-valley toward Muni La (WP #110). Soon we hiked on a moraine then on a glacier
flowing down this valley. As we were getting higher the views were increasingly
spectacular. We set up our first camp (WP #105) in a rocky surface of the
glacier. On the next day we traveled mostly on ice and snow. Our path passed
between the Muni La West and Muni La East passes marked on the Olizane map and then reached a cirque. We reached Muni La
in the mid-afternoon just when snow started falling. As the other side of the
pass looked rather steep, we decided to set our camp right at the pass (altitude
given by my GPS: 5480m) on a flat rocky platform. Later in the evening some
porters did a recognition trip on the other side of the pass to make sure that
there would be no bad surprise on the next morning. On the last day of the trek
we did a long descent (~1900m) from the pass into the valley leading to Sani,
which we reached before sunset after 12 hours of quasi-continuous hiking.
As no one in my support team had
previously crossed Muni La, Sonam Dawa
had recruited a man from Gulabgahr (the main town in
the Padder region) to guide us. We met this man in Drangha (WP #093). He was supposed to guide us from Drangha to Sani. He actually remained with us until a
location slightly above the camp at WP #105. Before we could even see Muni La
he decided to return to Drangha. So, we eventually
had to found the pass without him.
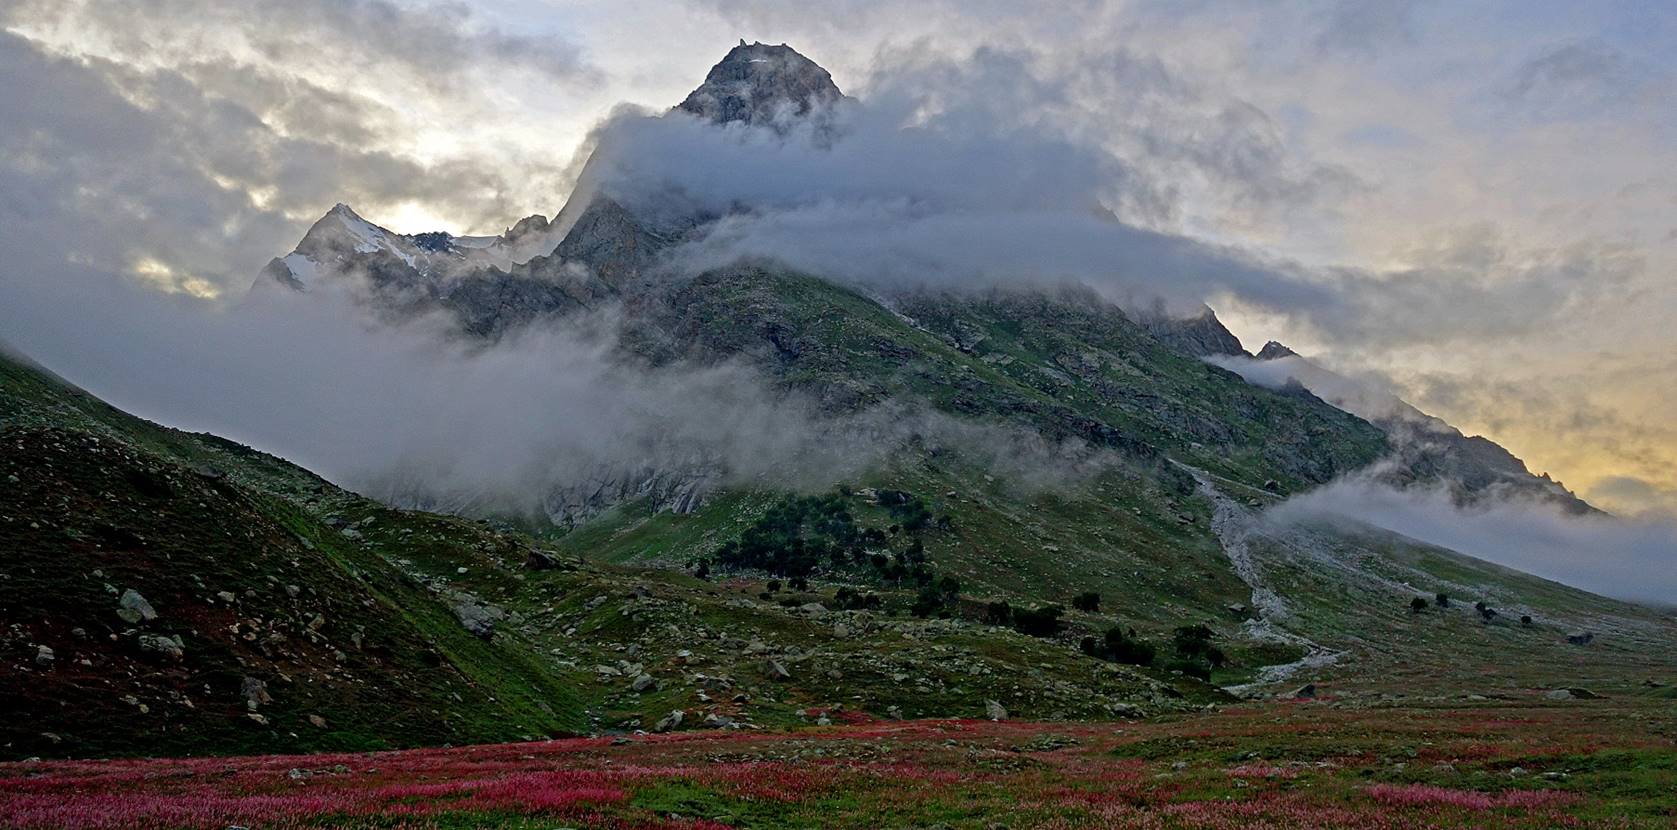
Day 22 (of
trek): From WP #101 to WP #105 along a side-valley heading north.
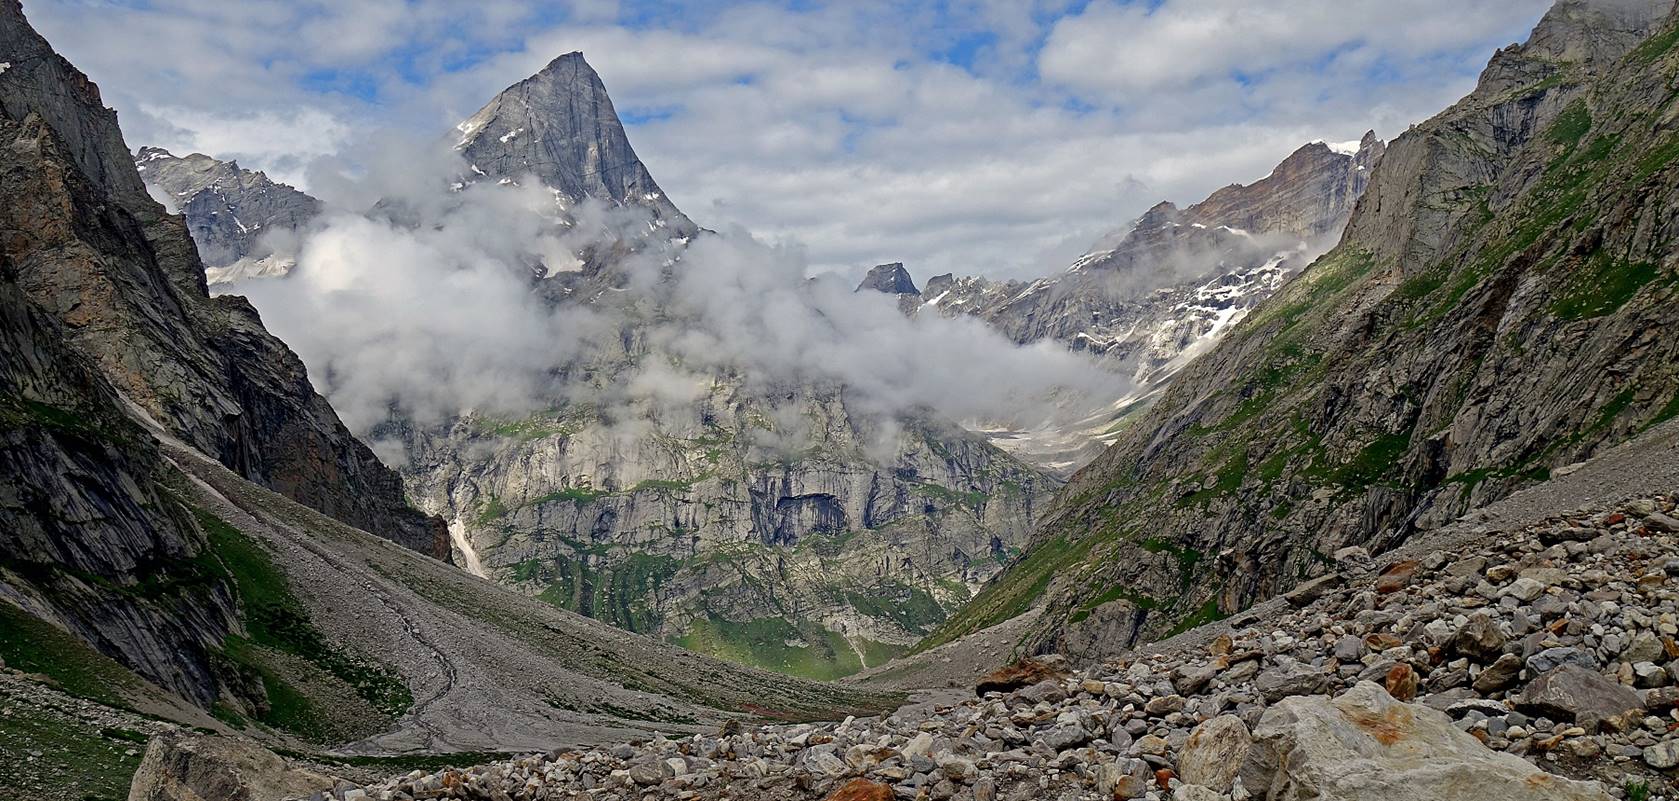
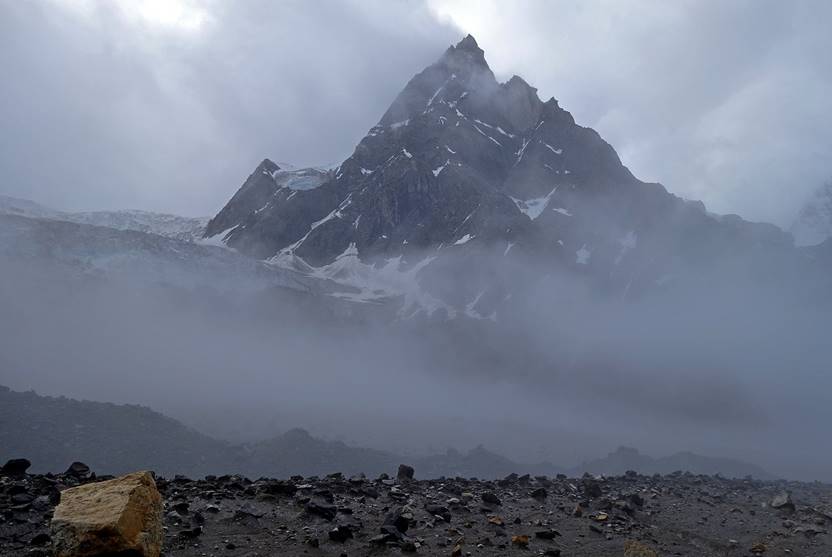
Early morning view of the peak at the entrance
of the side-valley that was covered by a lenticular cloud on the previous
evening.
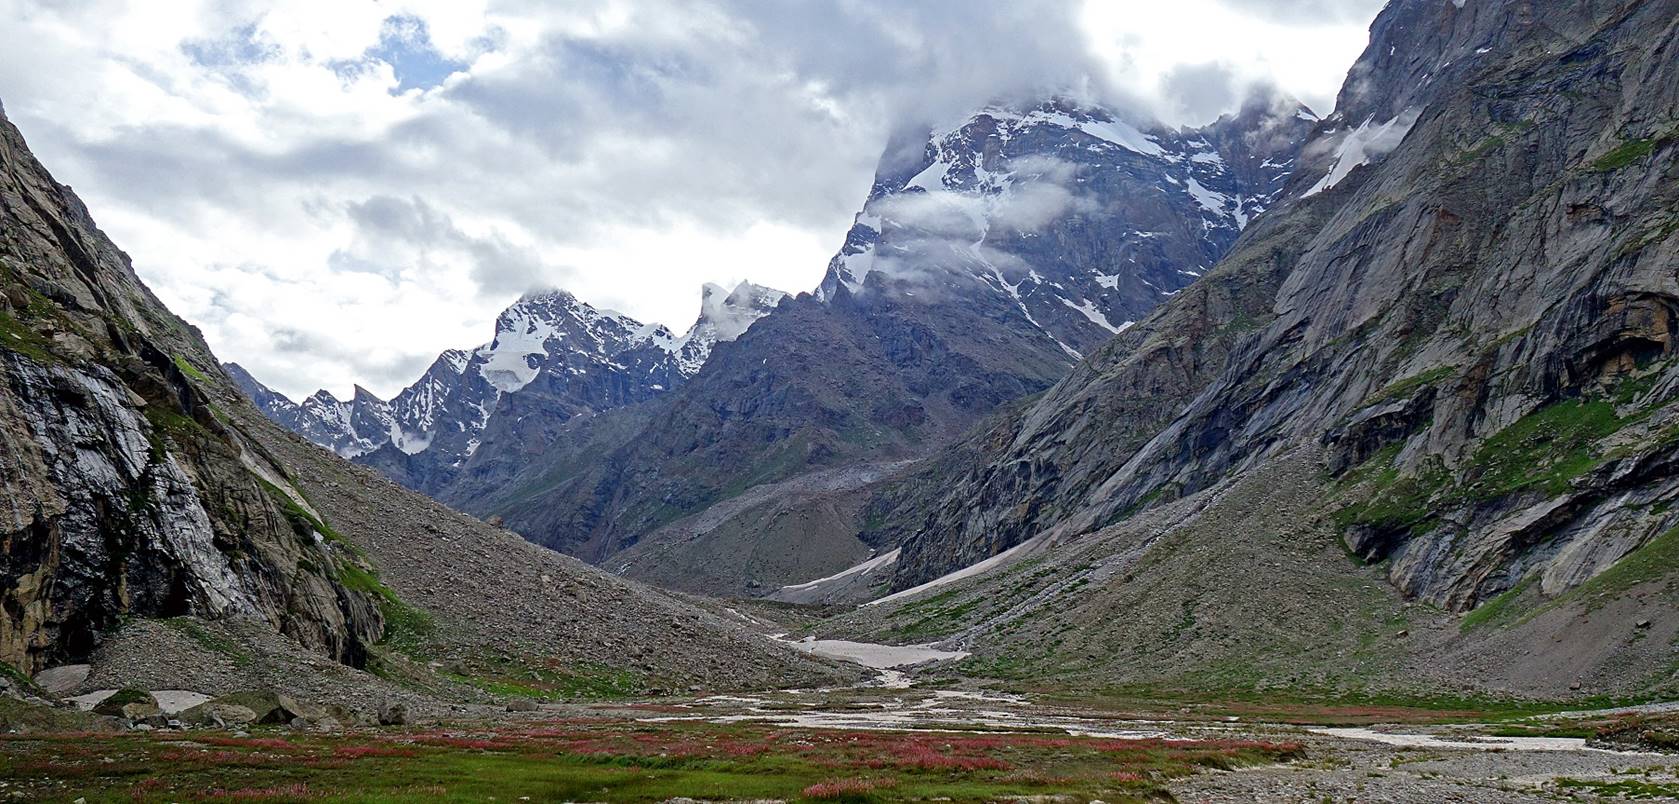
Entering the side valley.

Further up.
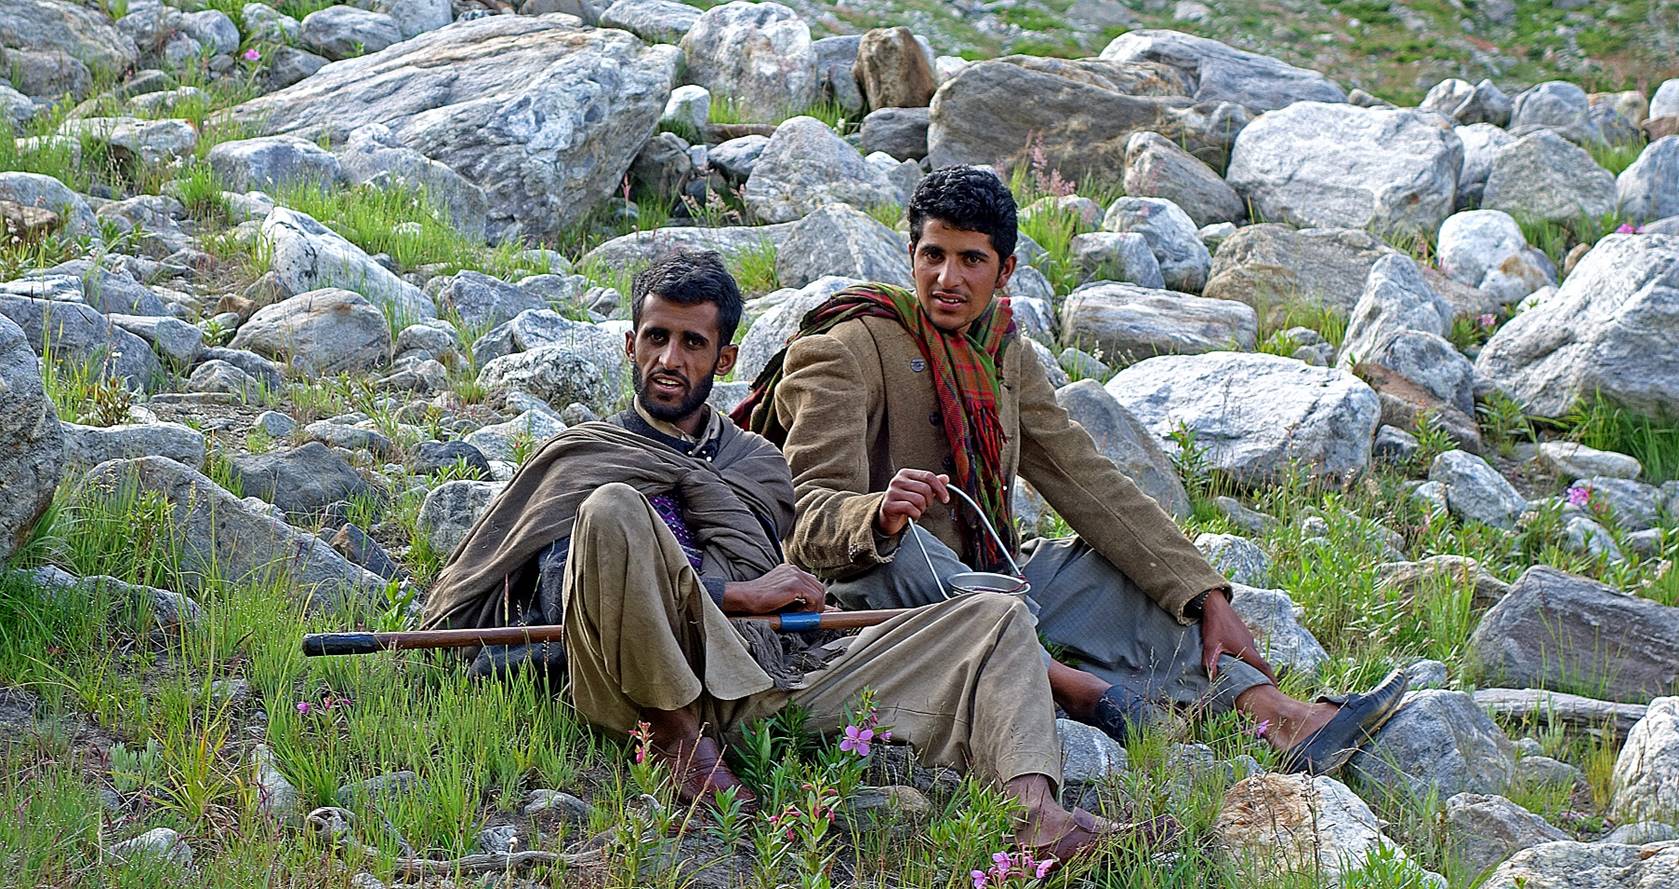
Shepherds encountered along the way.
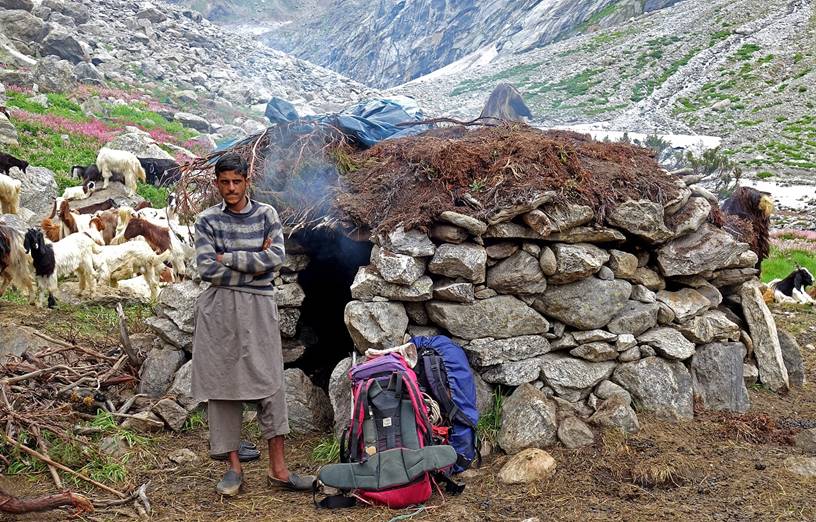
The last shepherd hut in the valley.
|
|
|
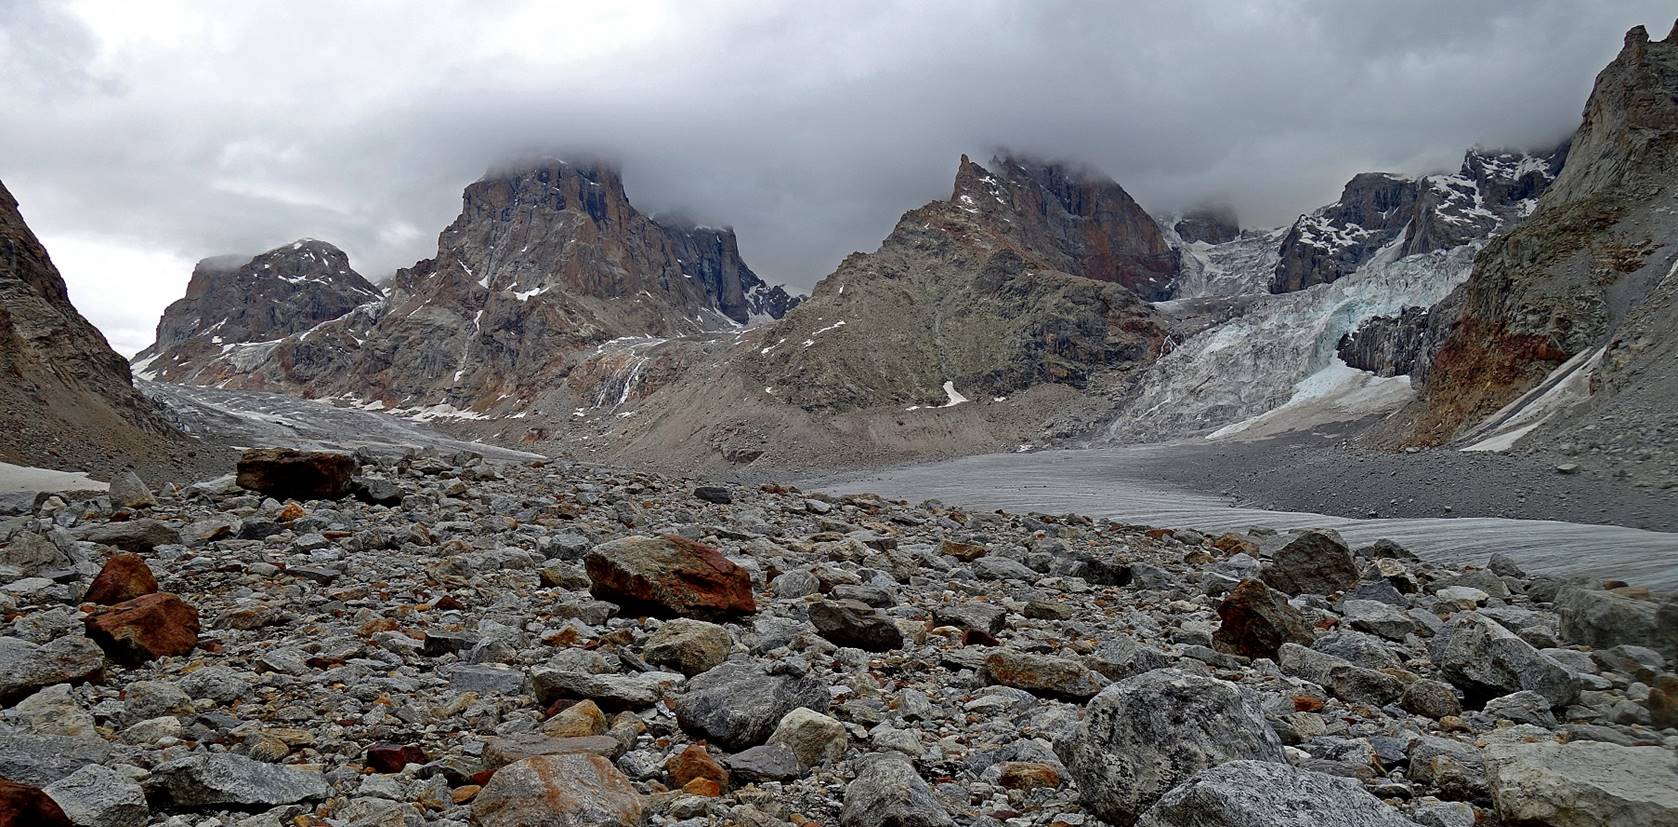
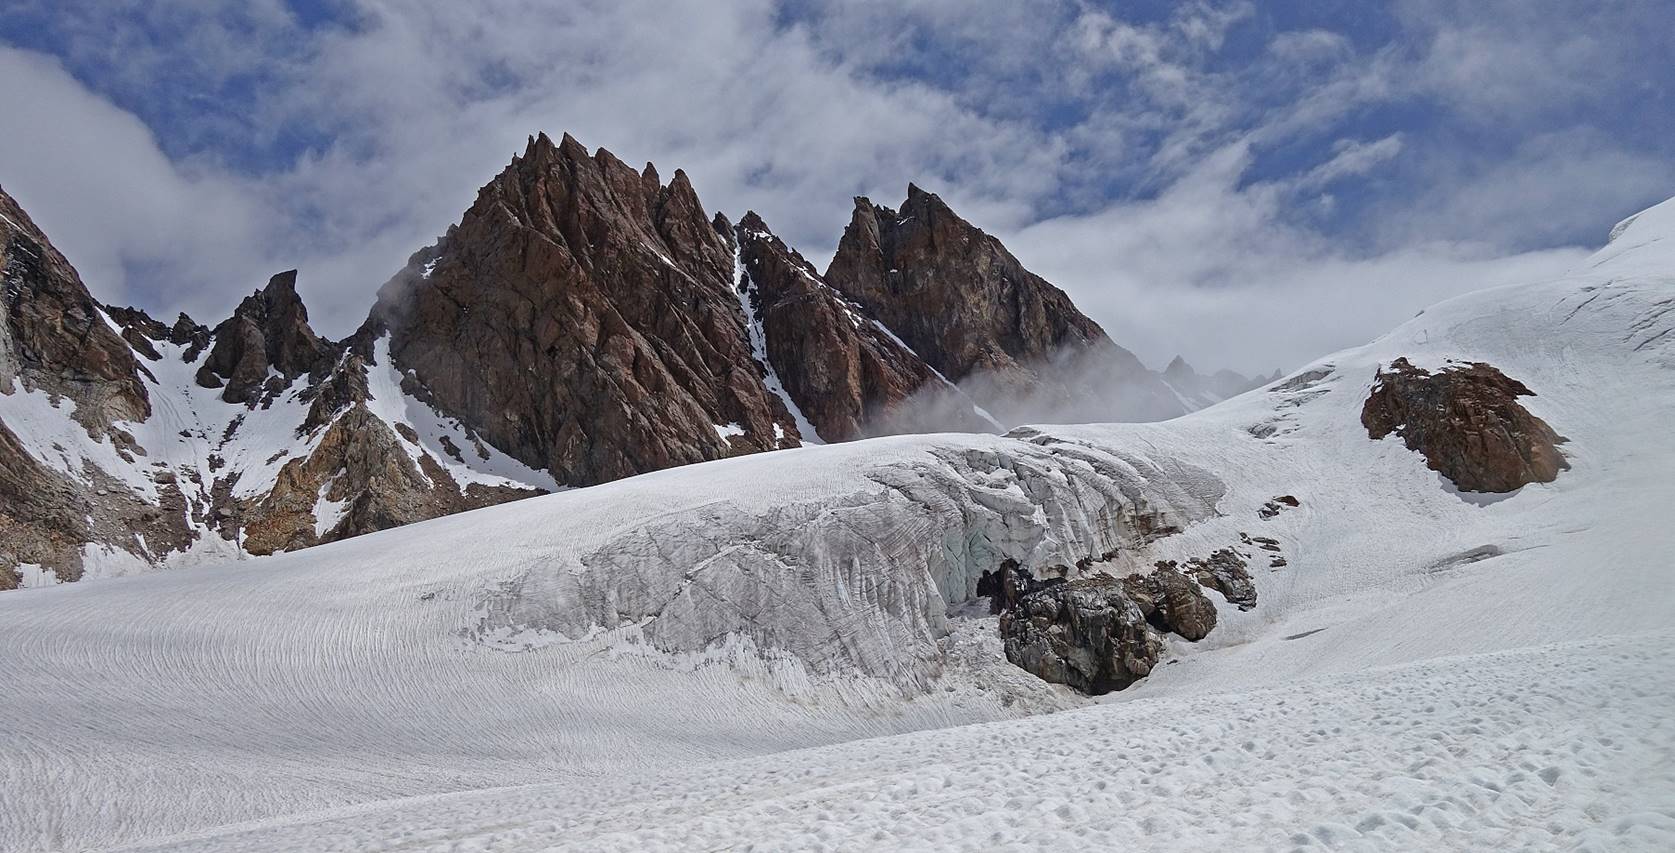
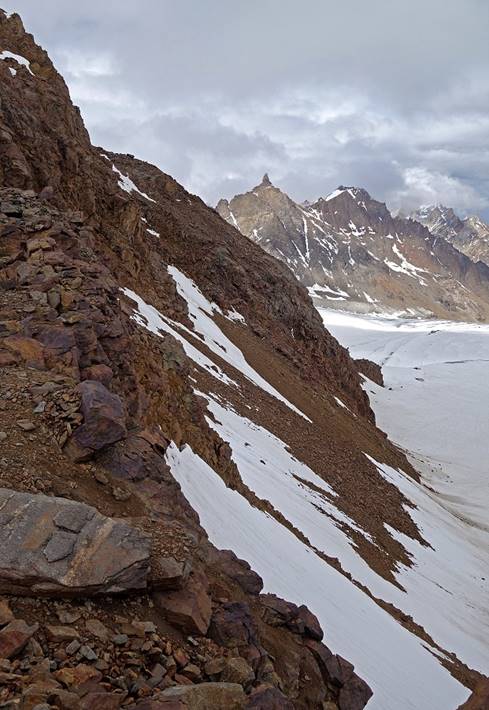
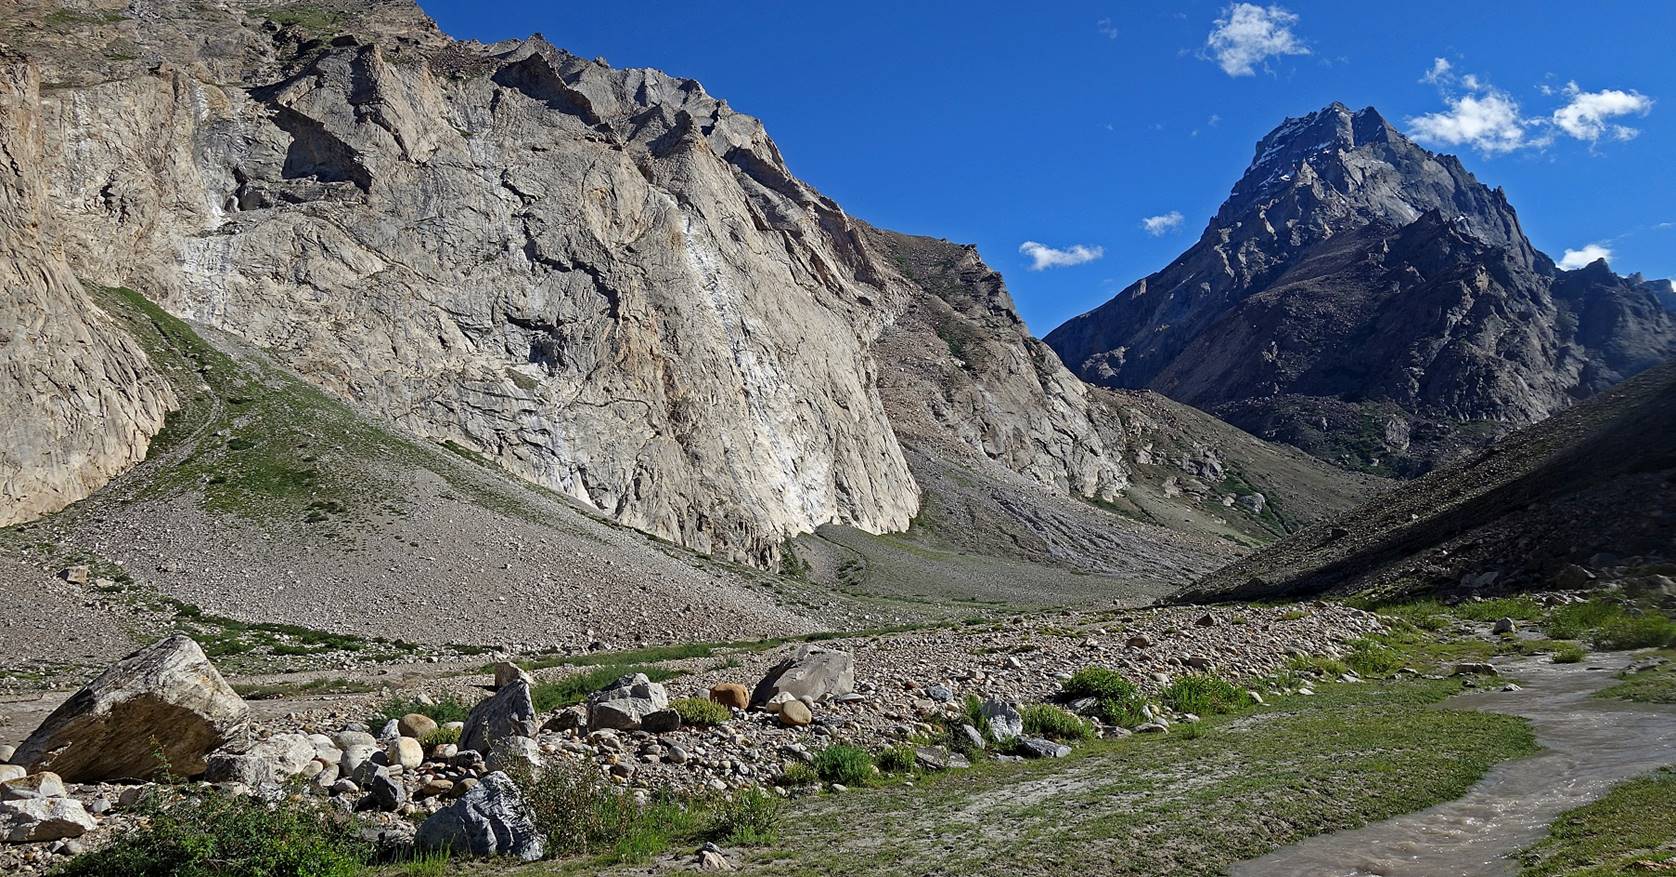
Looking back toward the pyramid-shaped
peak facing the entrance of the side-valley.
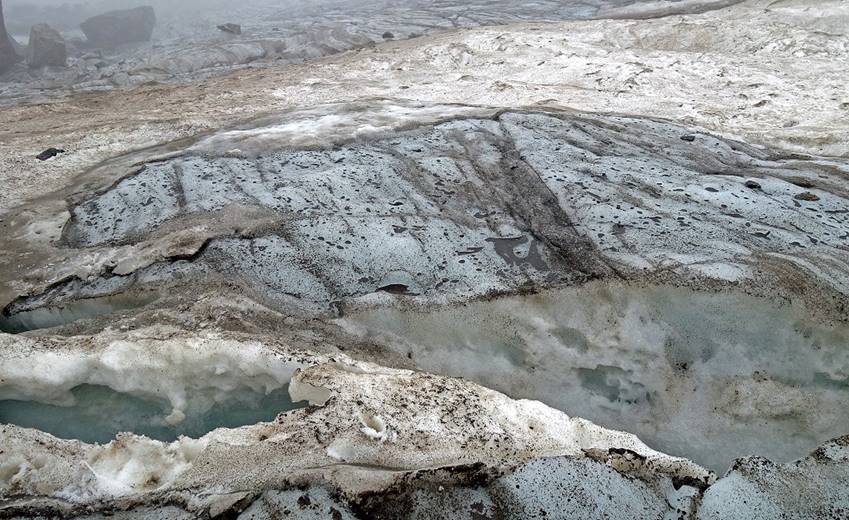
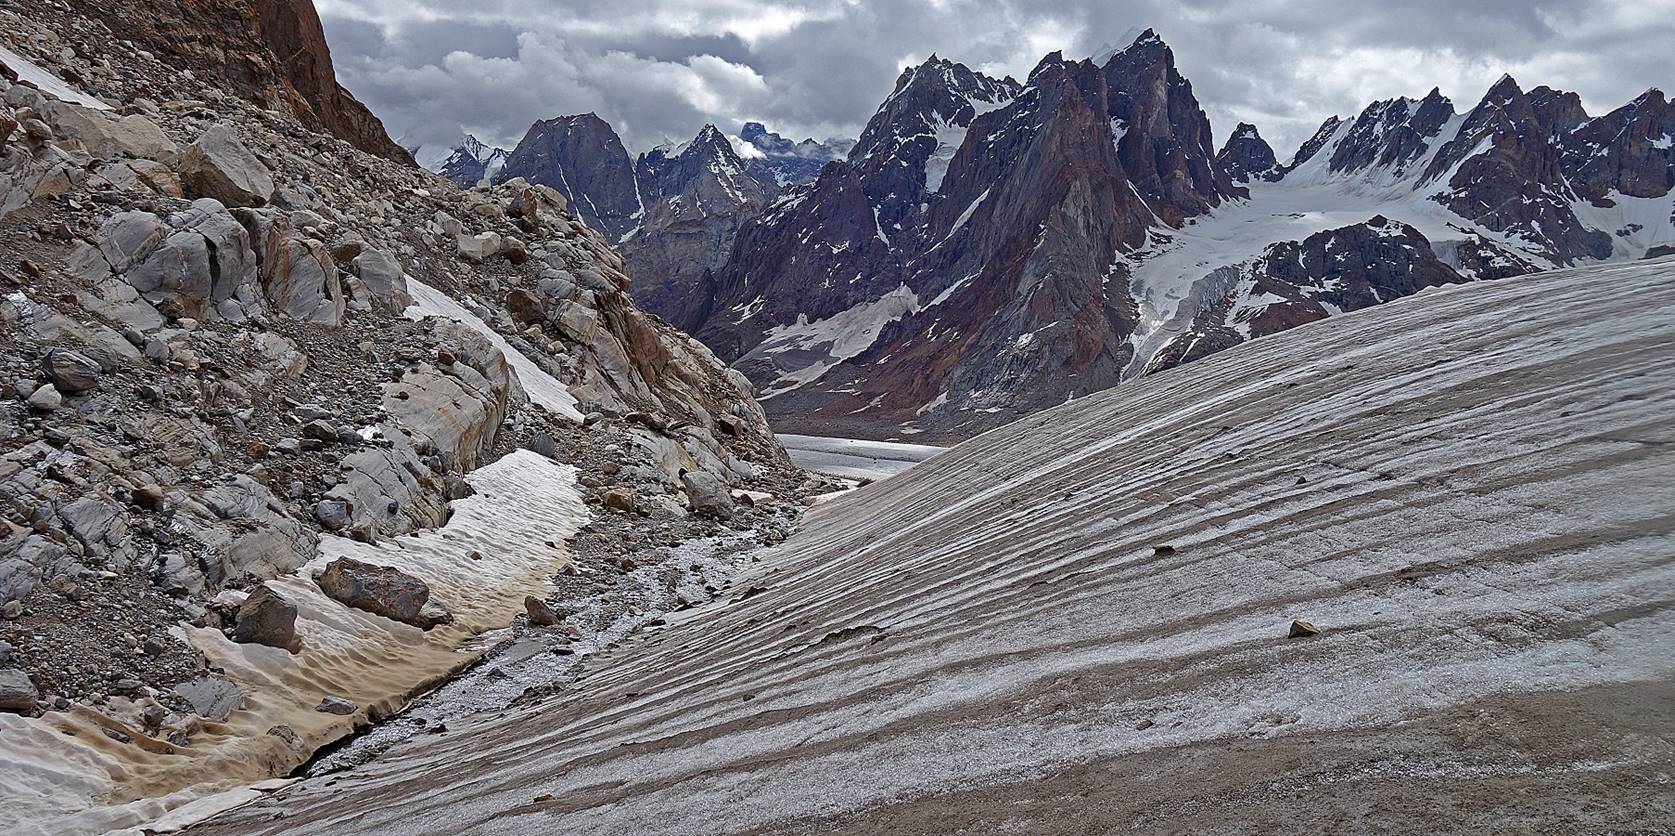
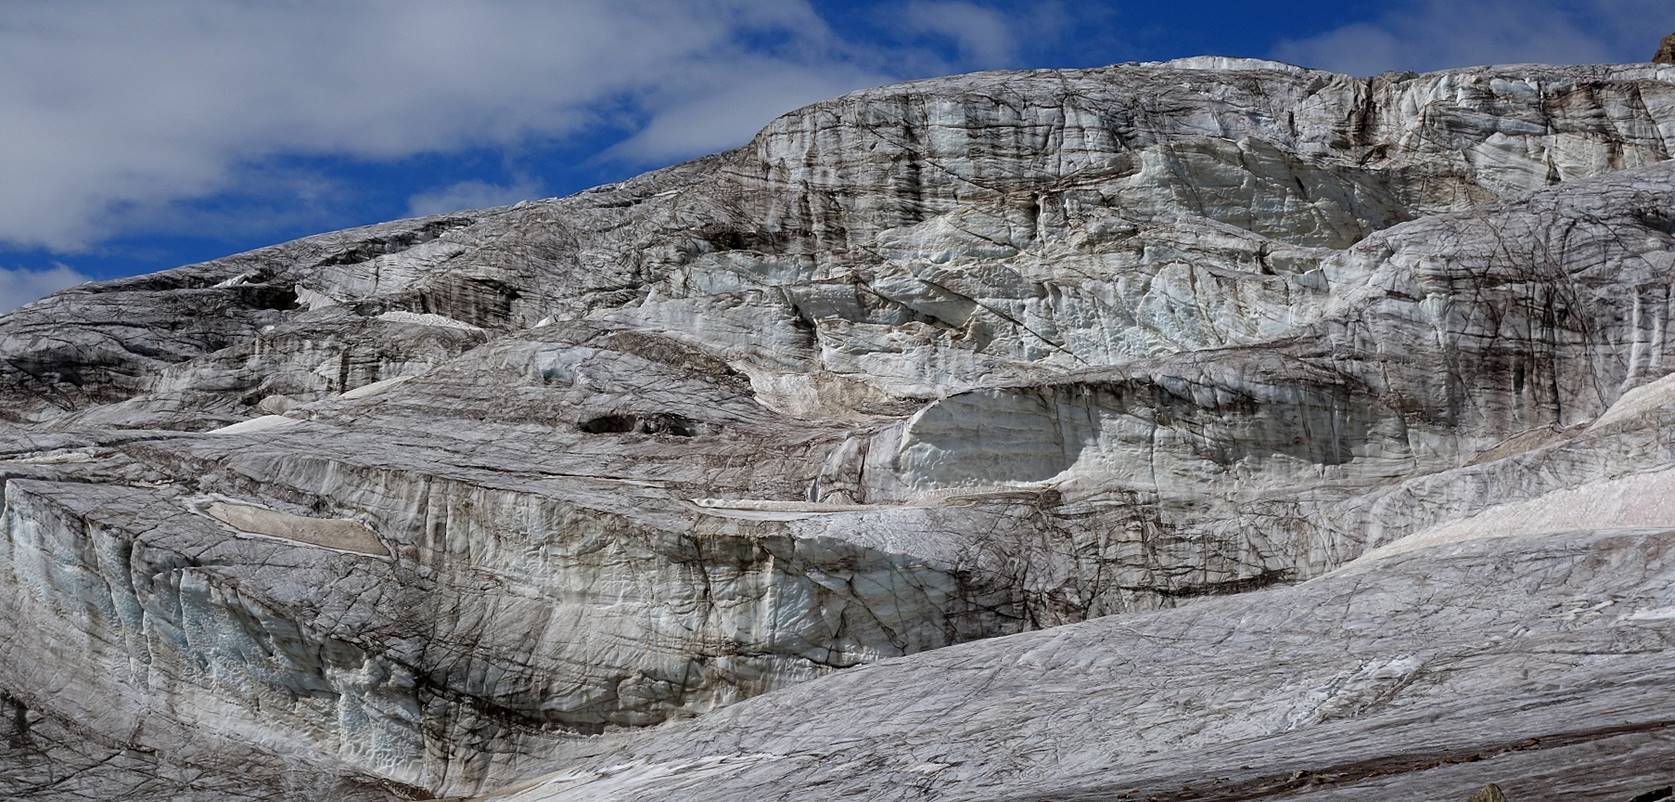
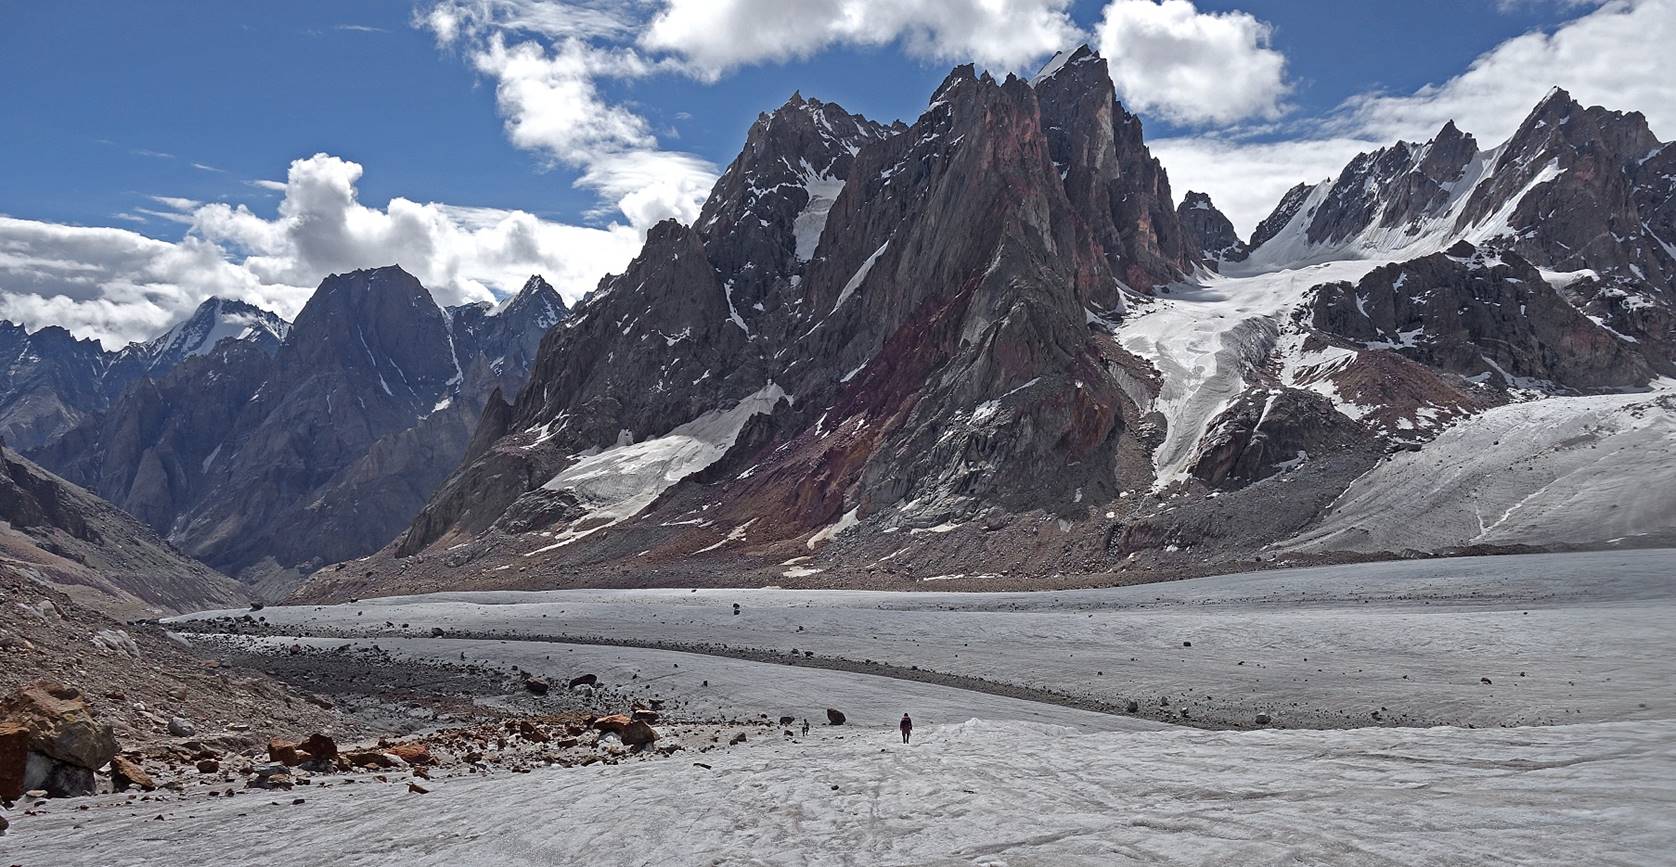
Reaching the glacier.
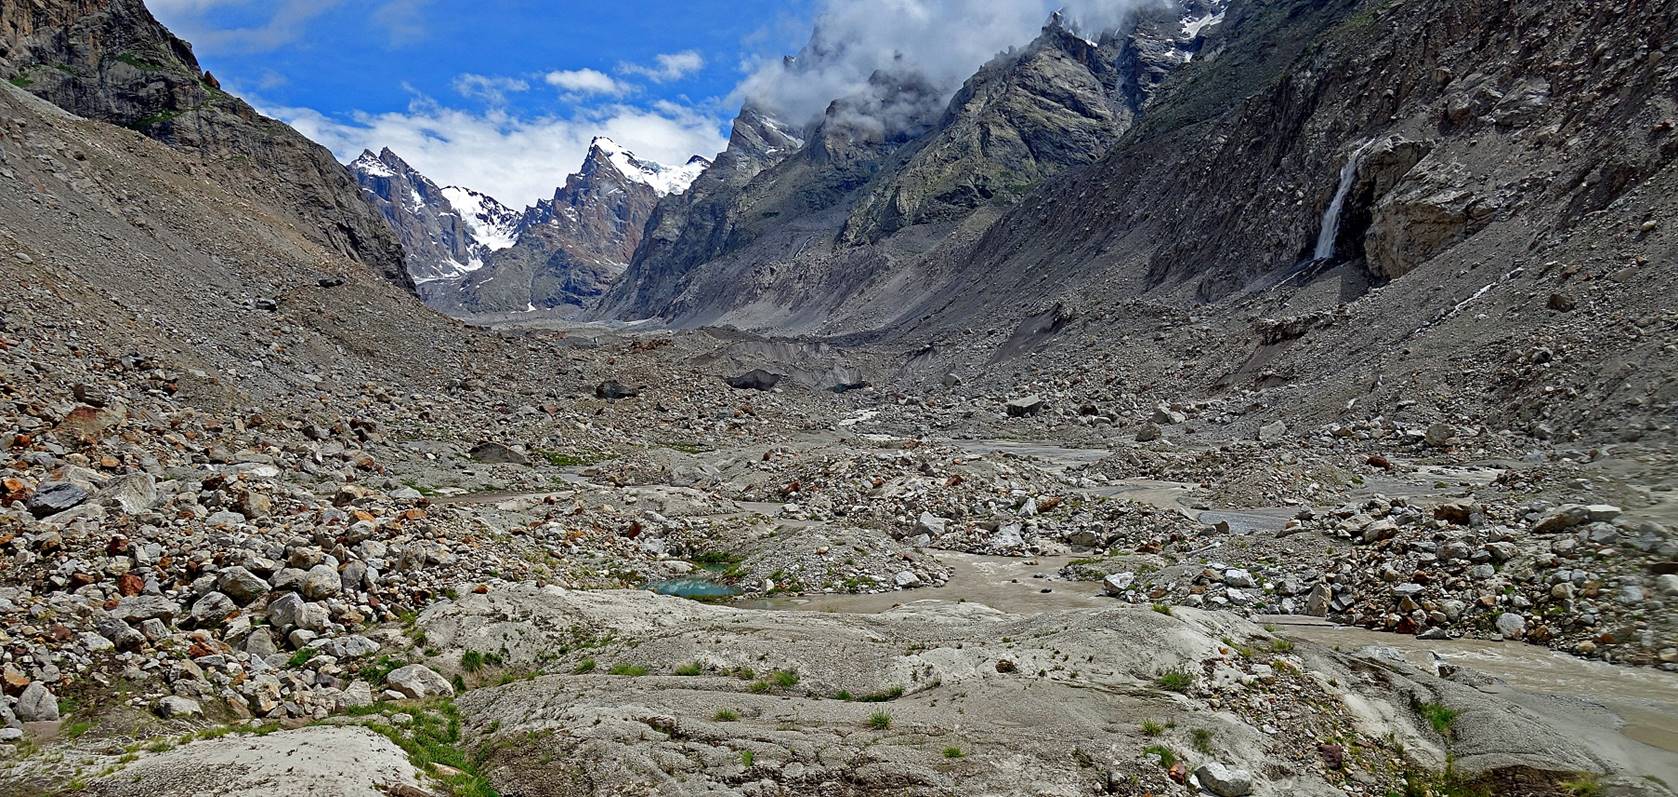
Successive views from the glacier.
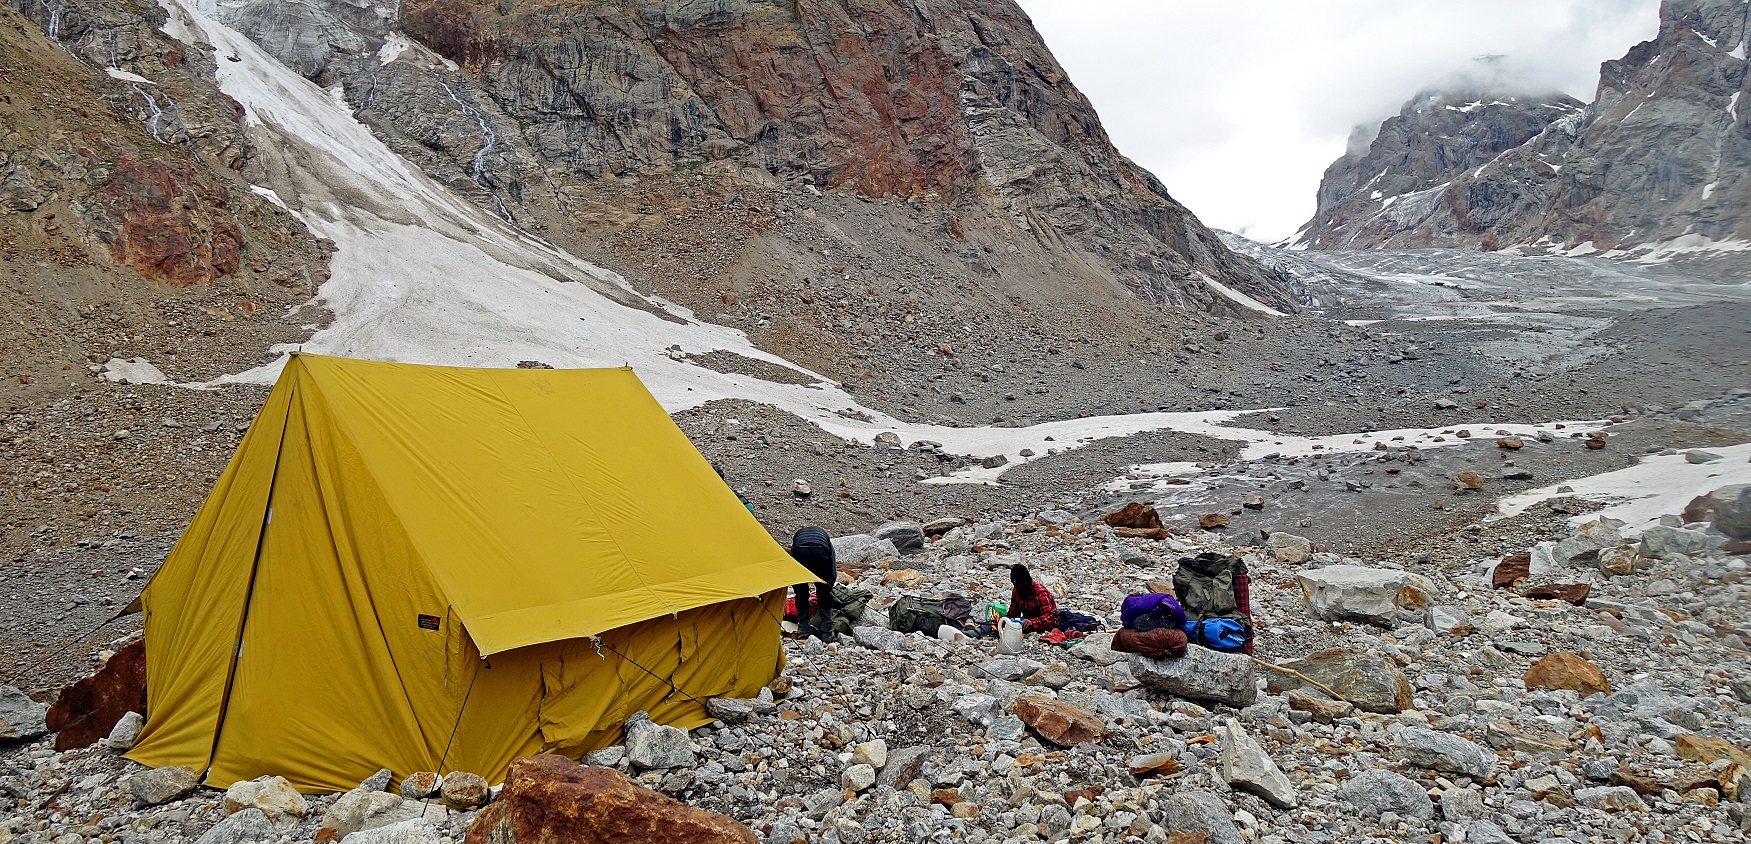
Our camp at WP #105. On the next day we
will continue our ascent on the glacier visible on the right of the photo.
Day 23: From
WP #105 to Muni La (WP #110, 5480m)
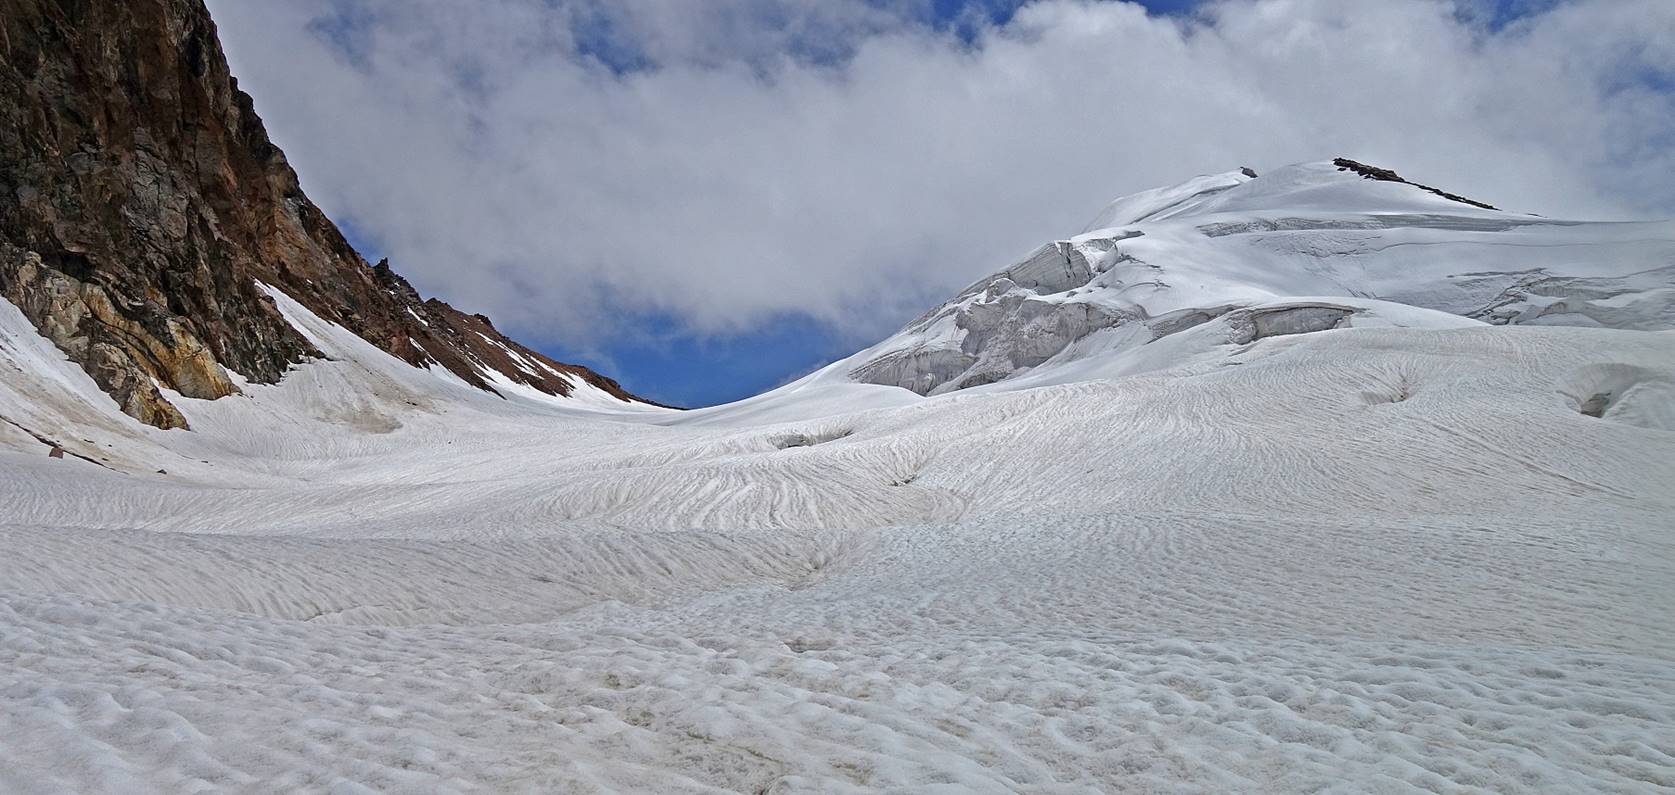
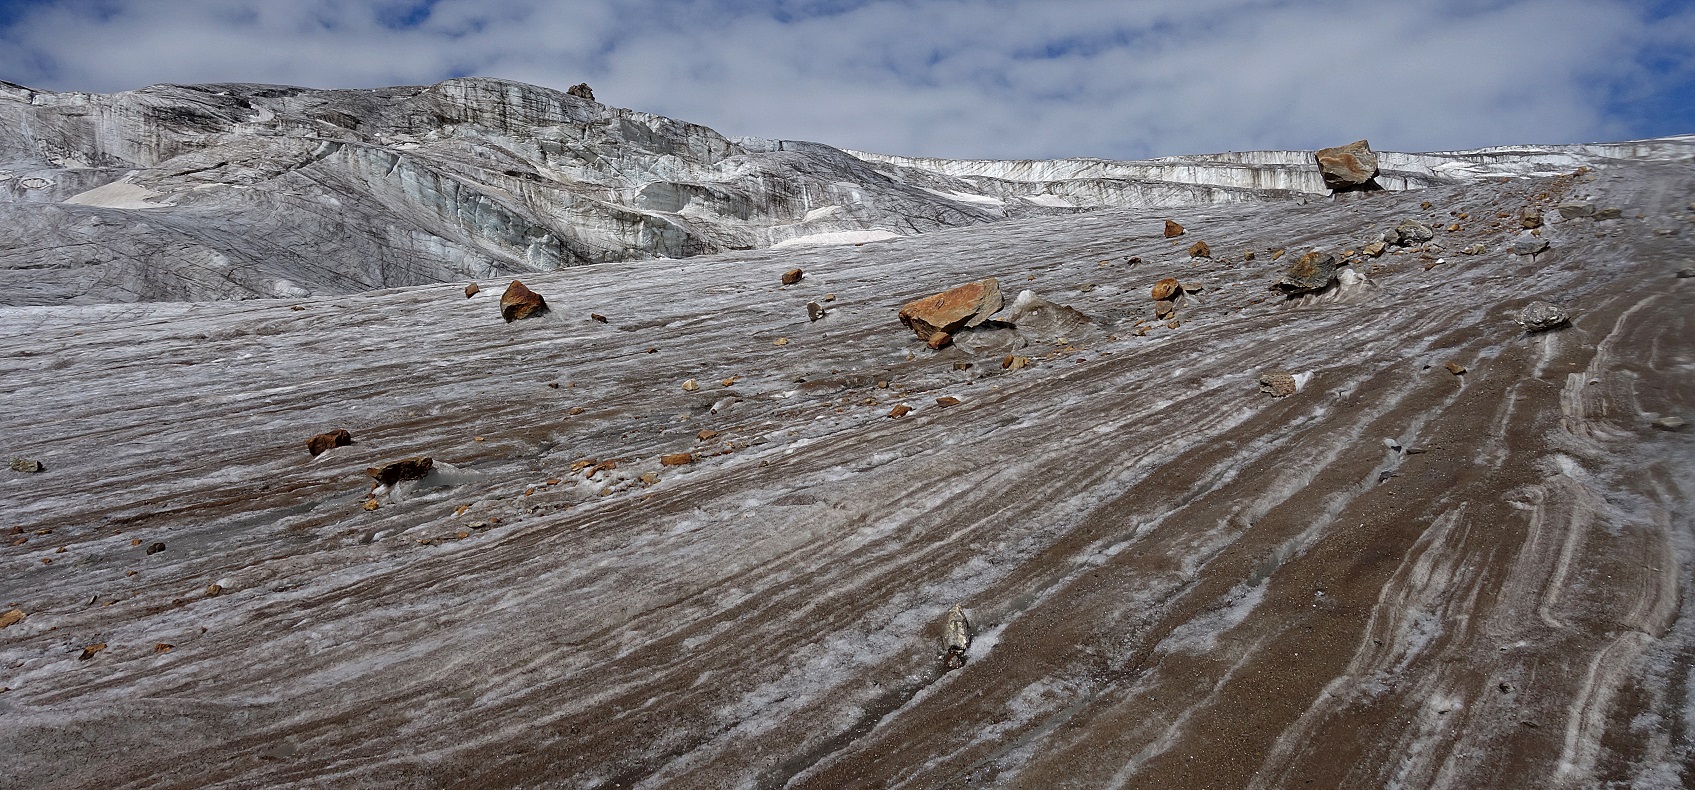
The visibility in the early morning was
rather poor, but weather progressively improved.
|
|
|

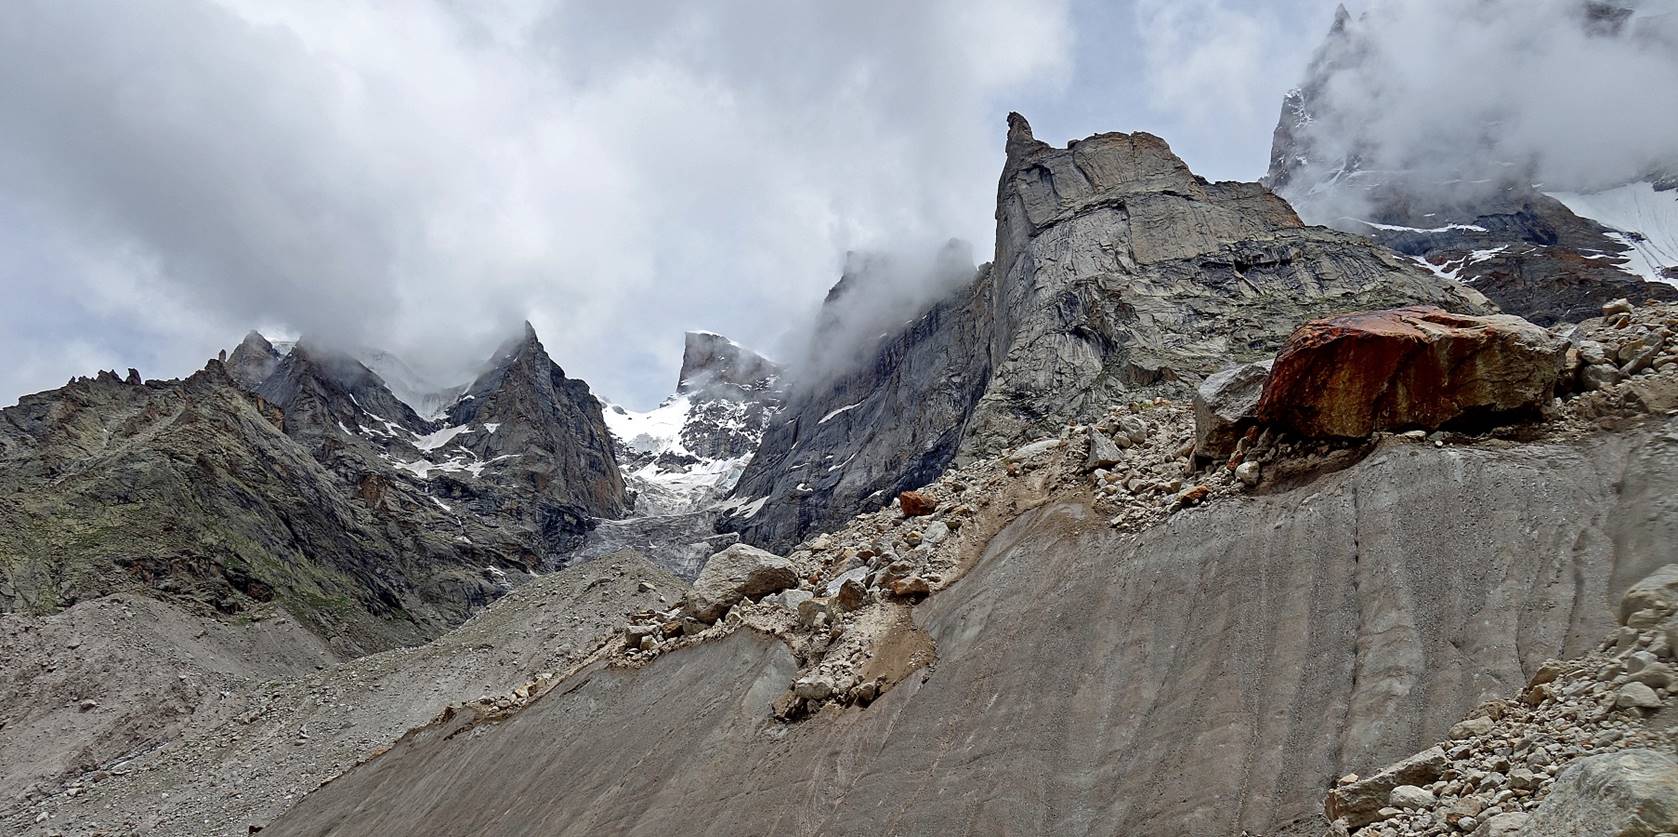
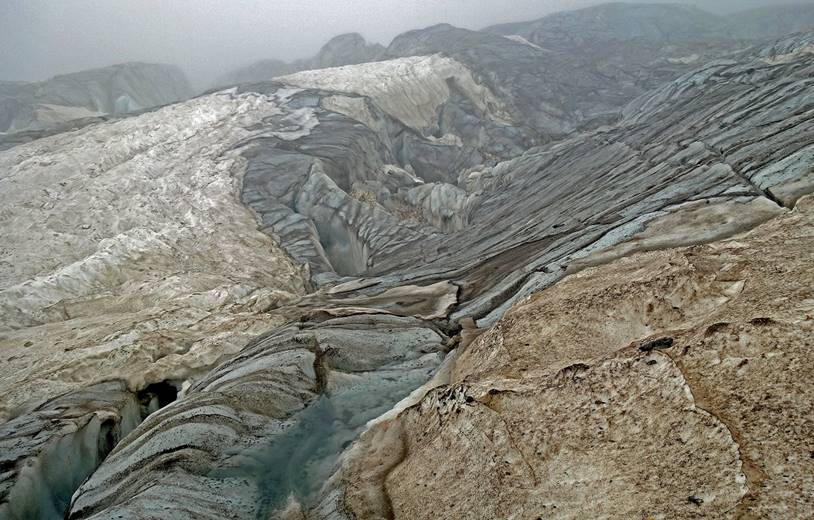
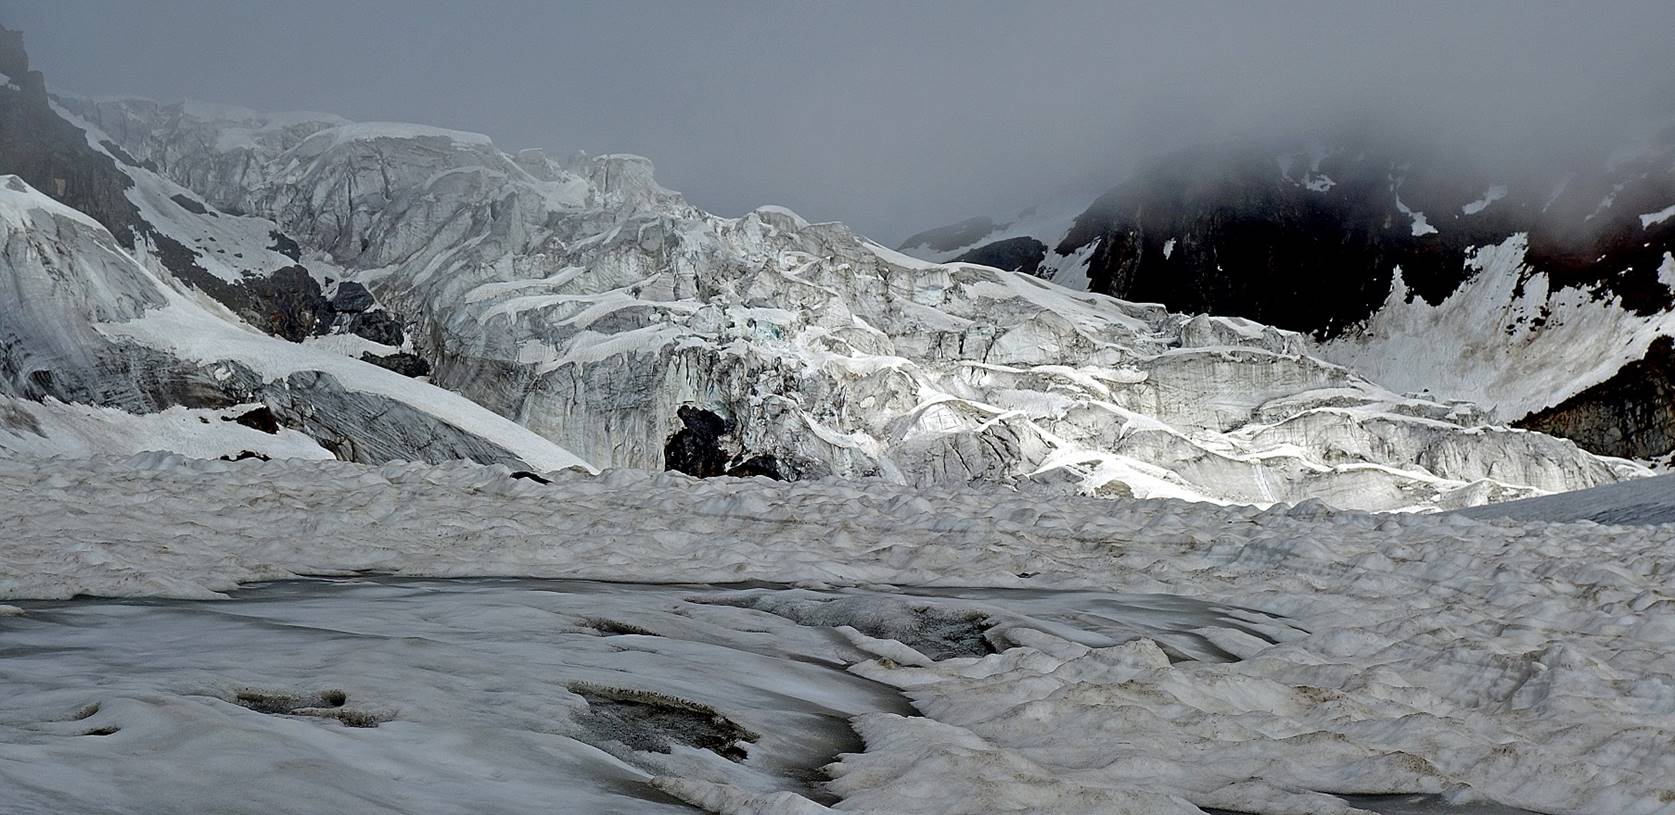
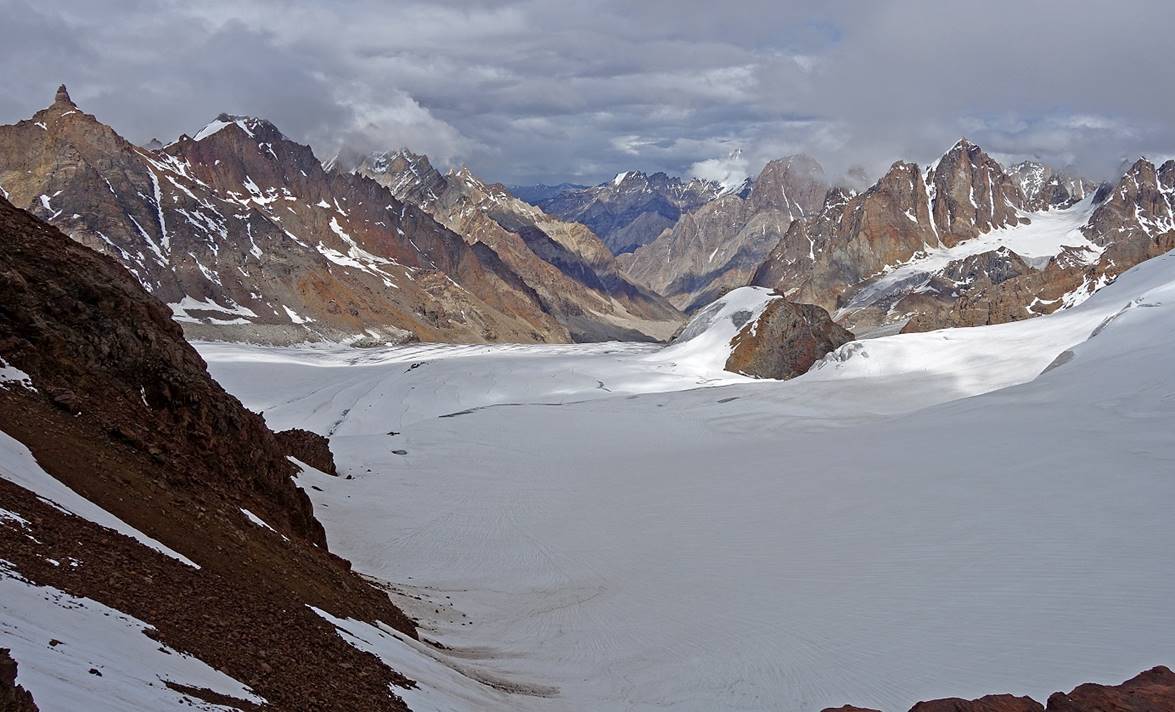
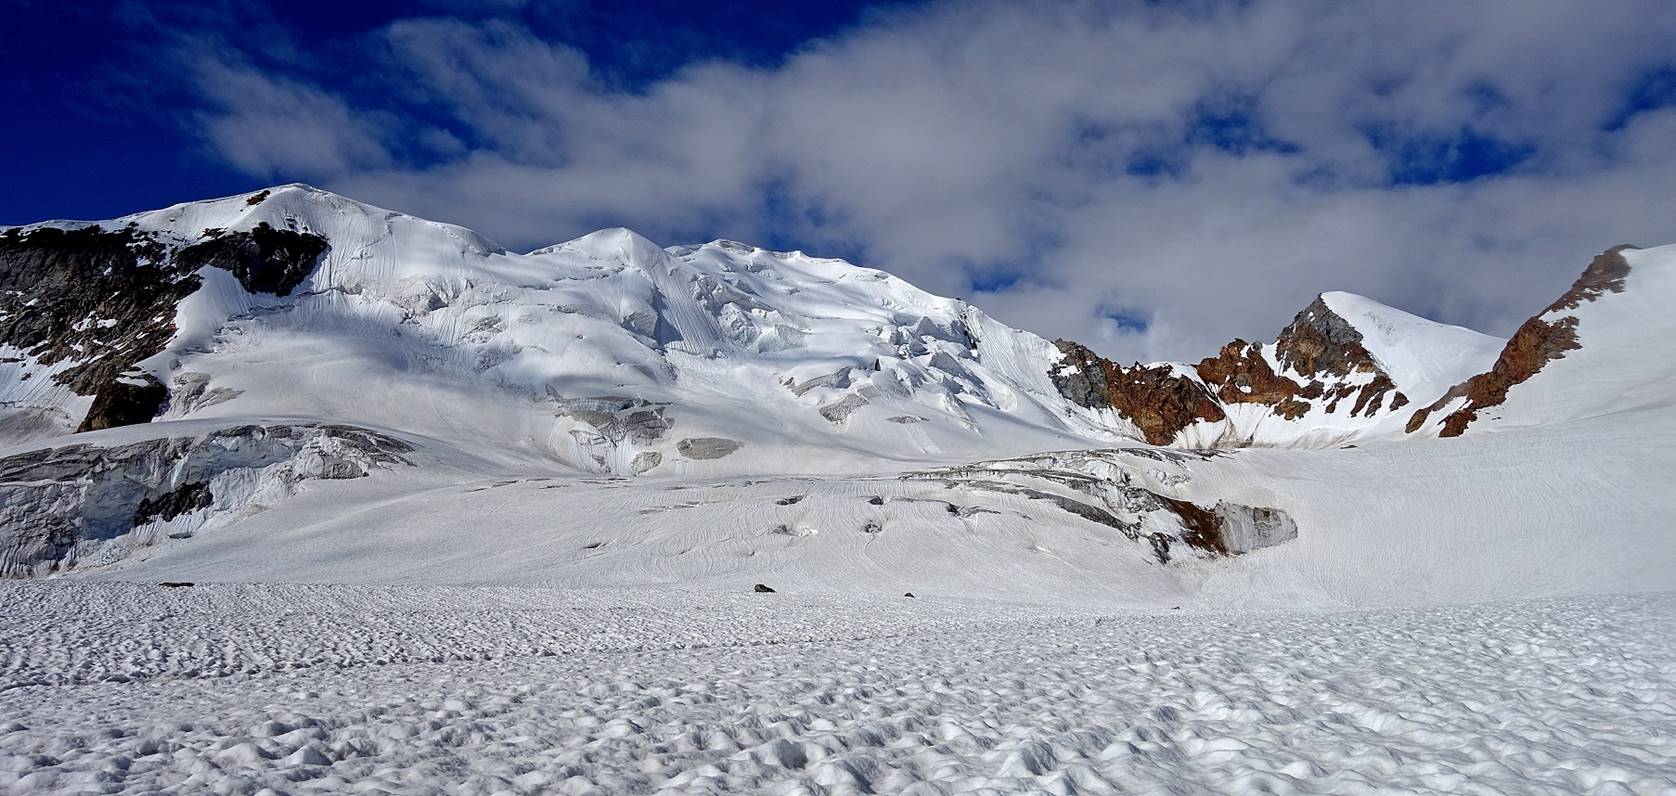
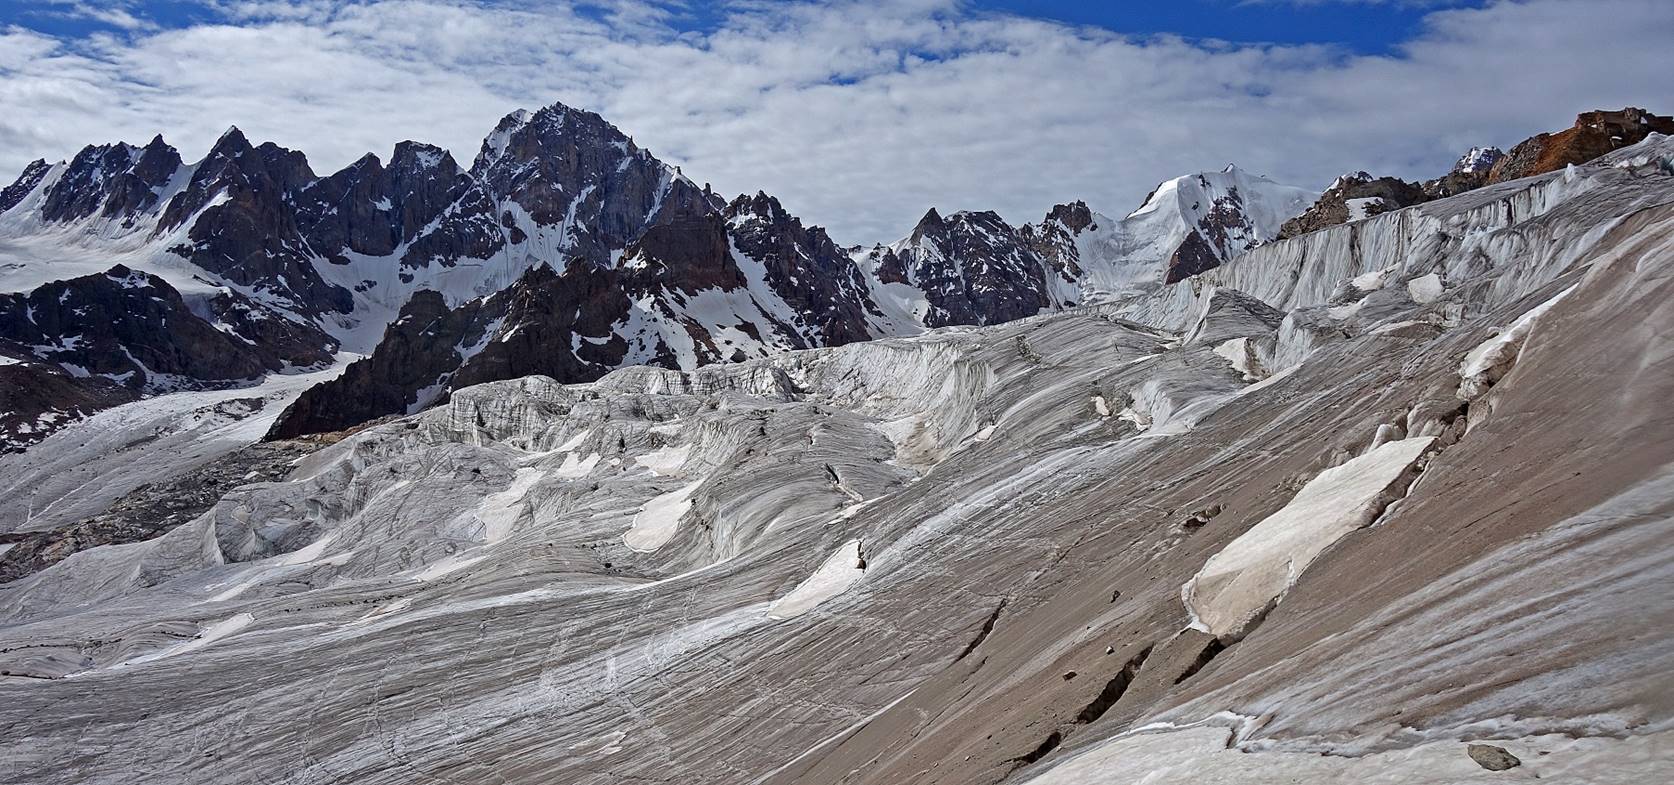
Successive views during the ascent of
the glacier.
|
|
|
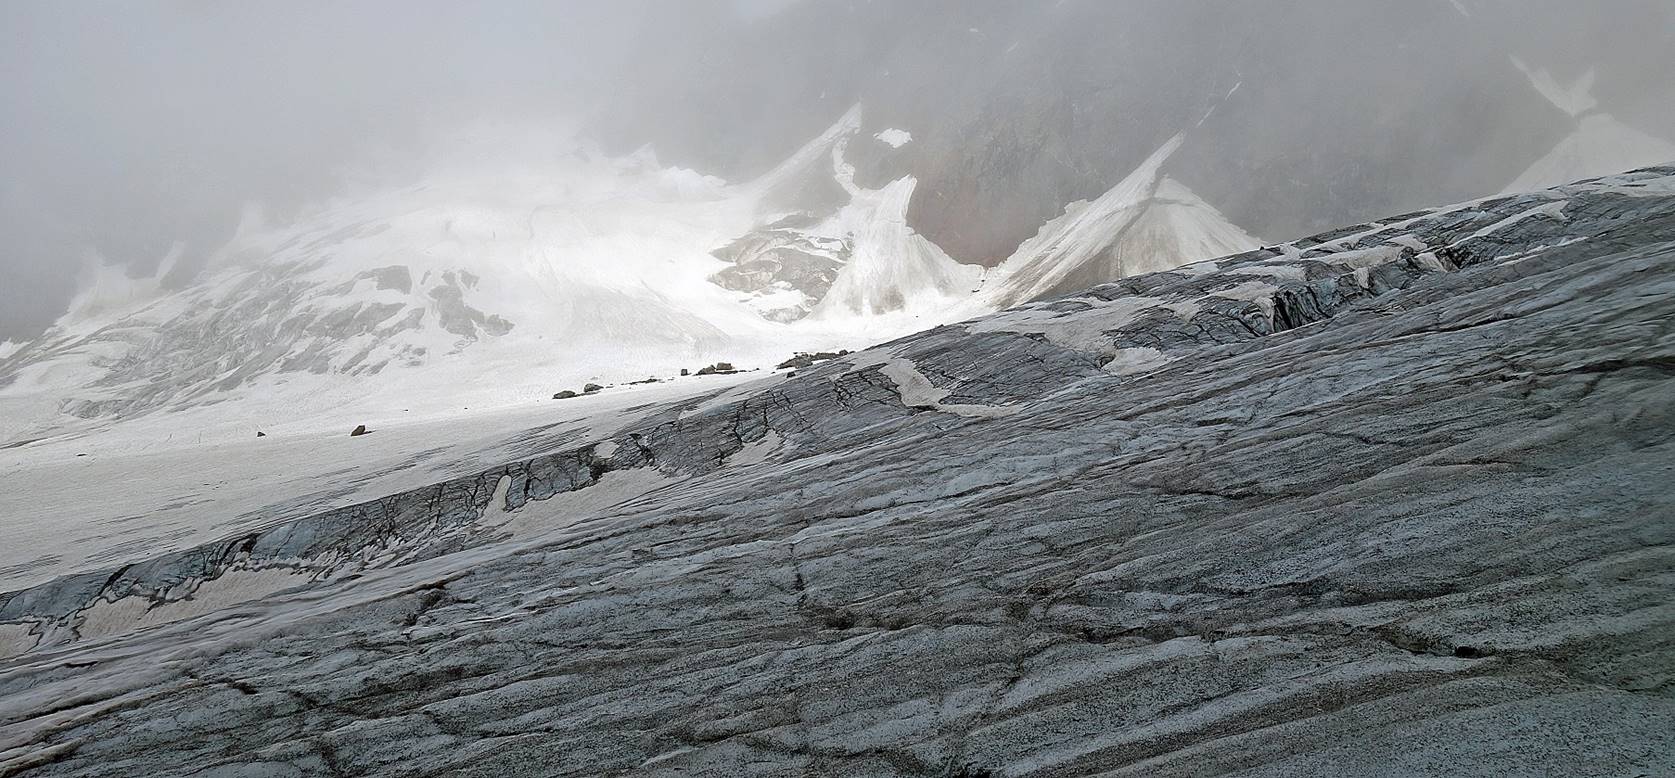
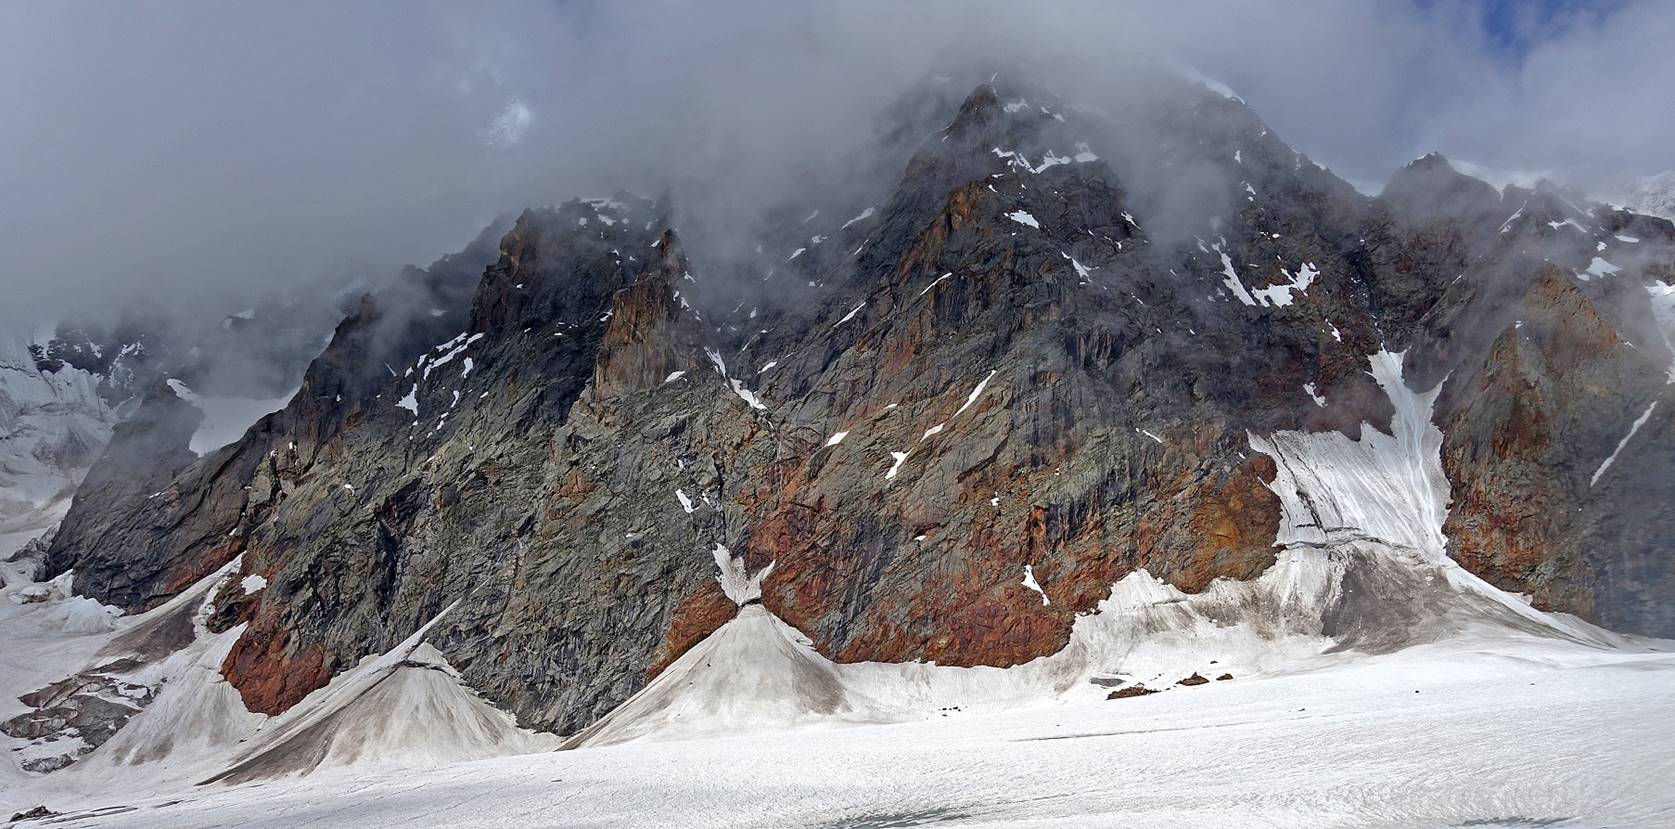
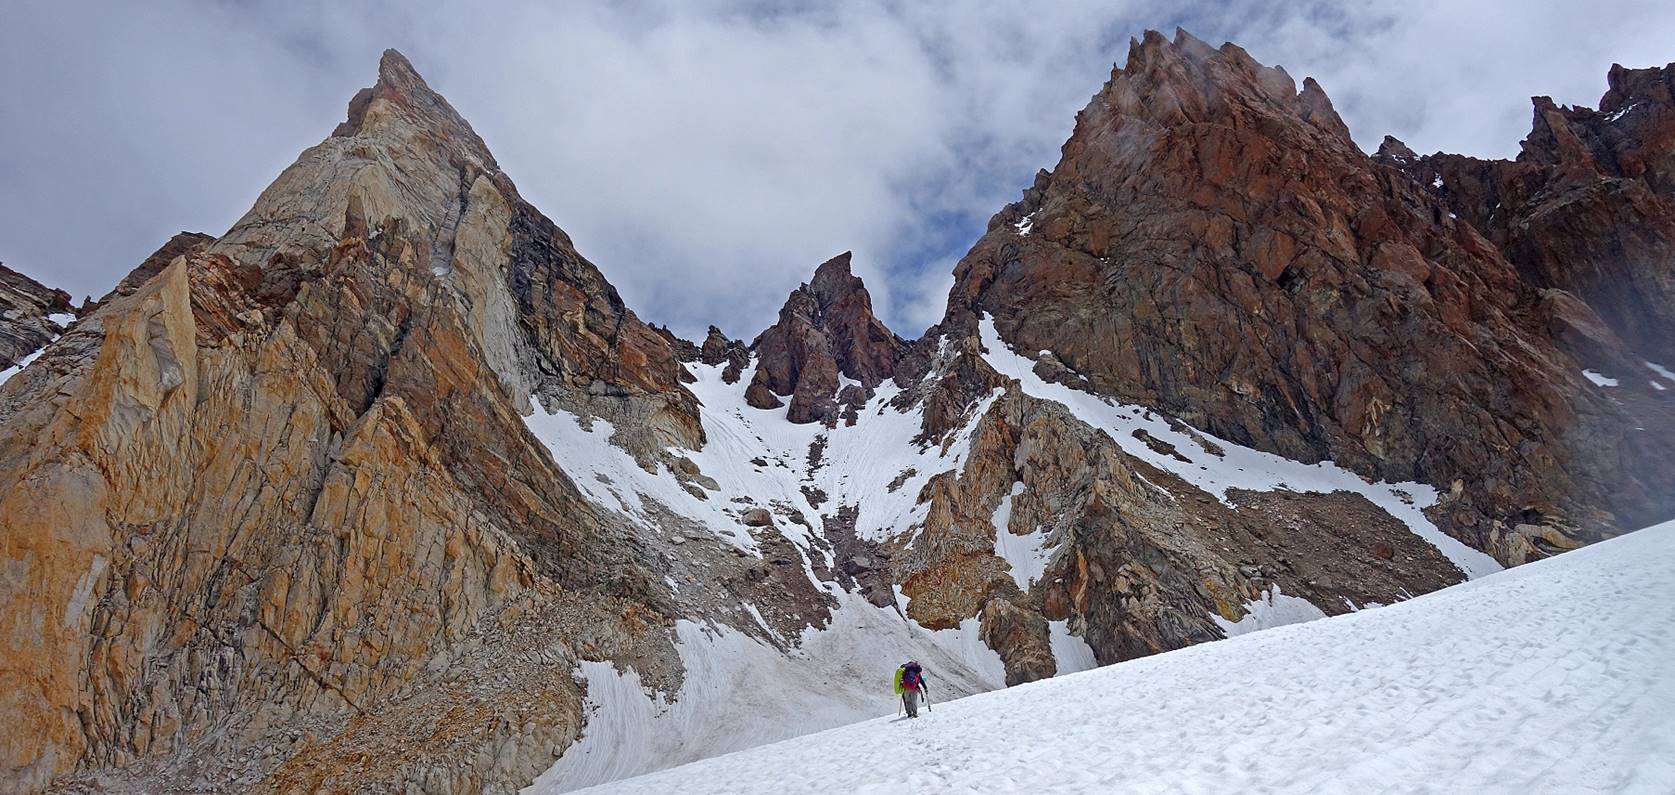
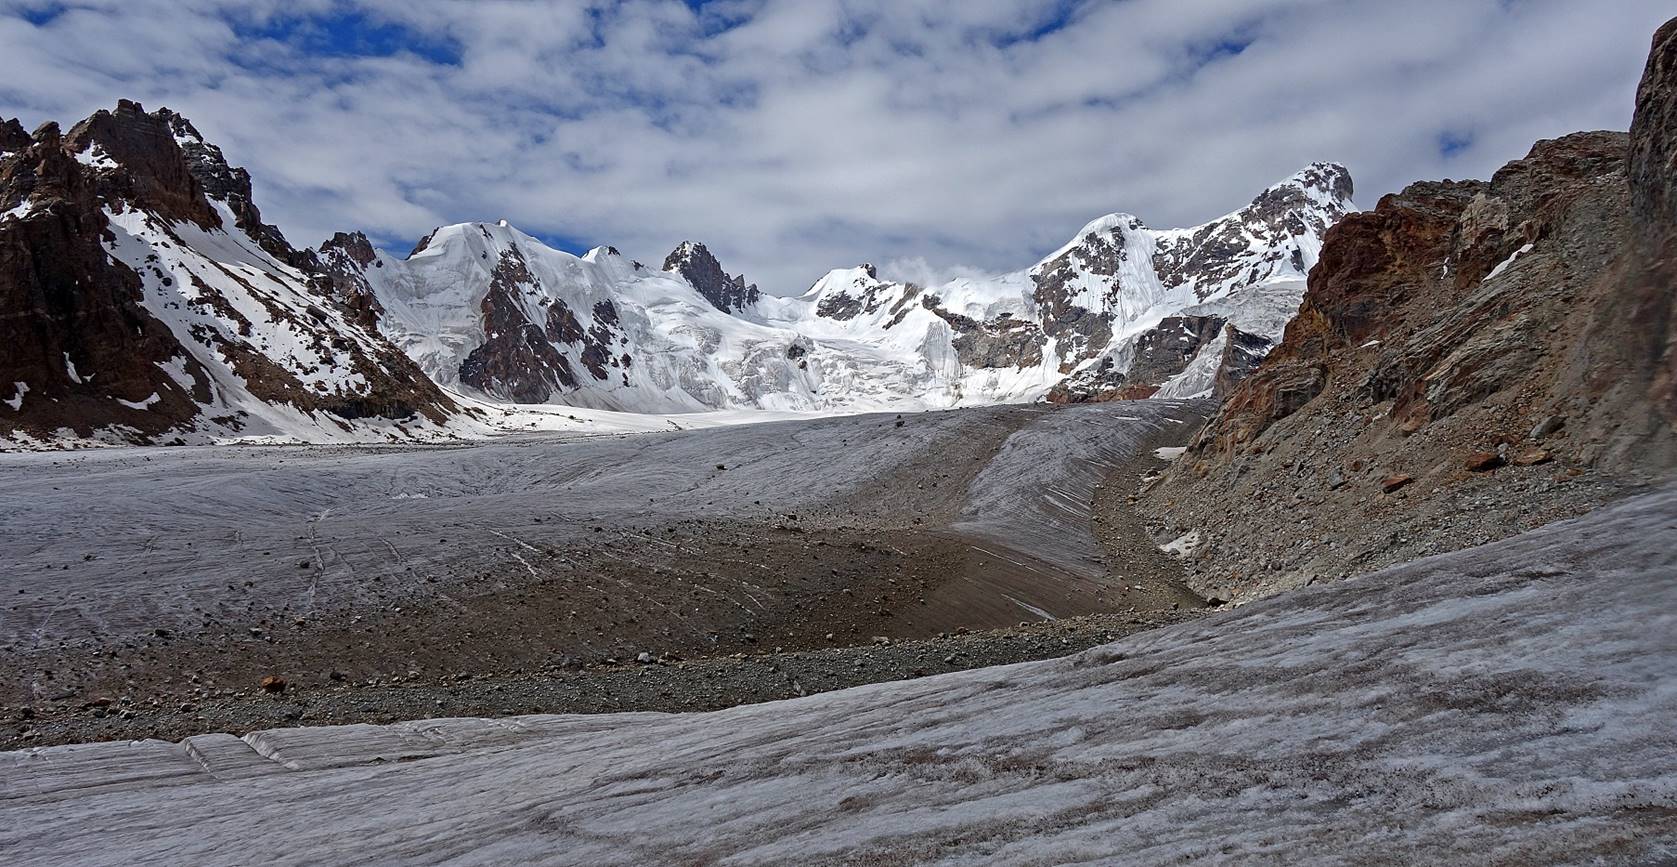
View of the cirque at the end of the
glacier. This is roughly where our ″guide″ from Gulabgahr
unexpectedly turned back and left us.

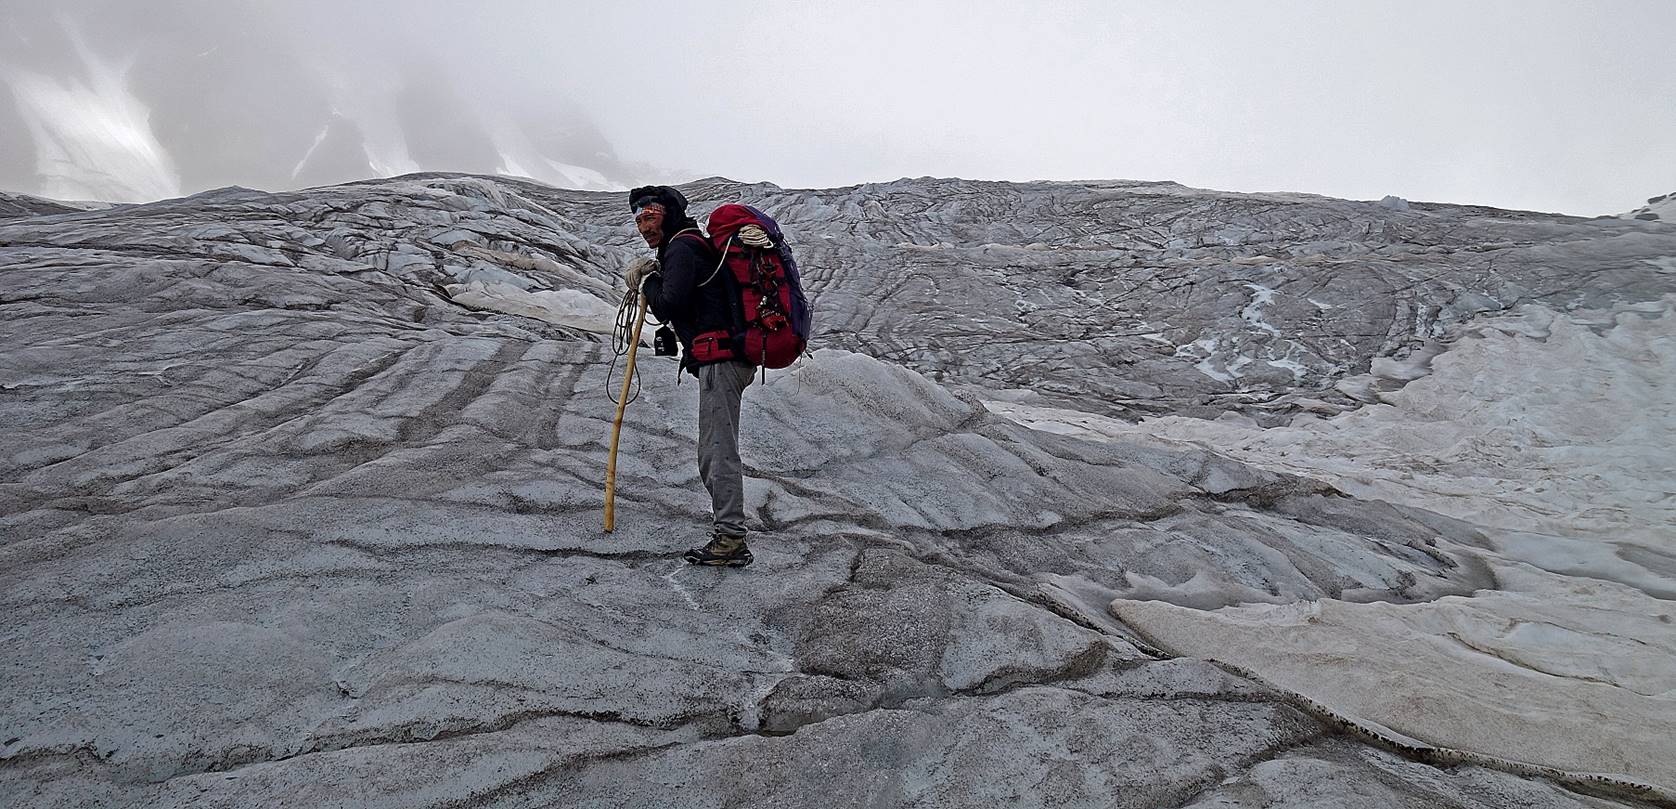
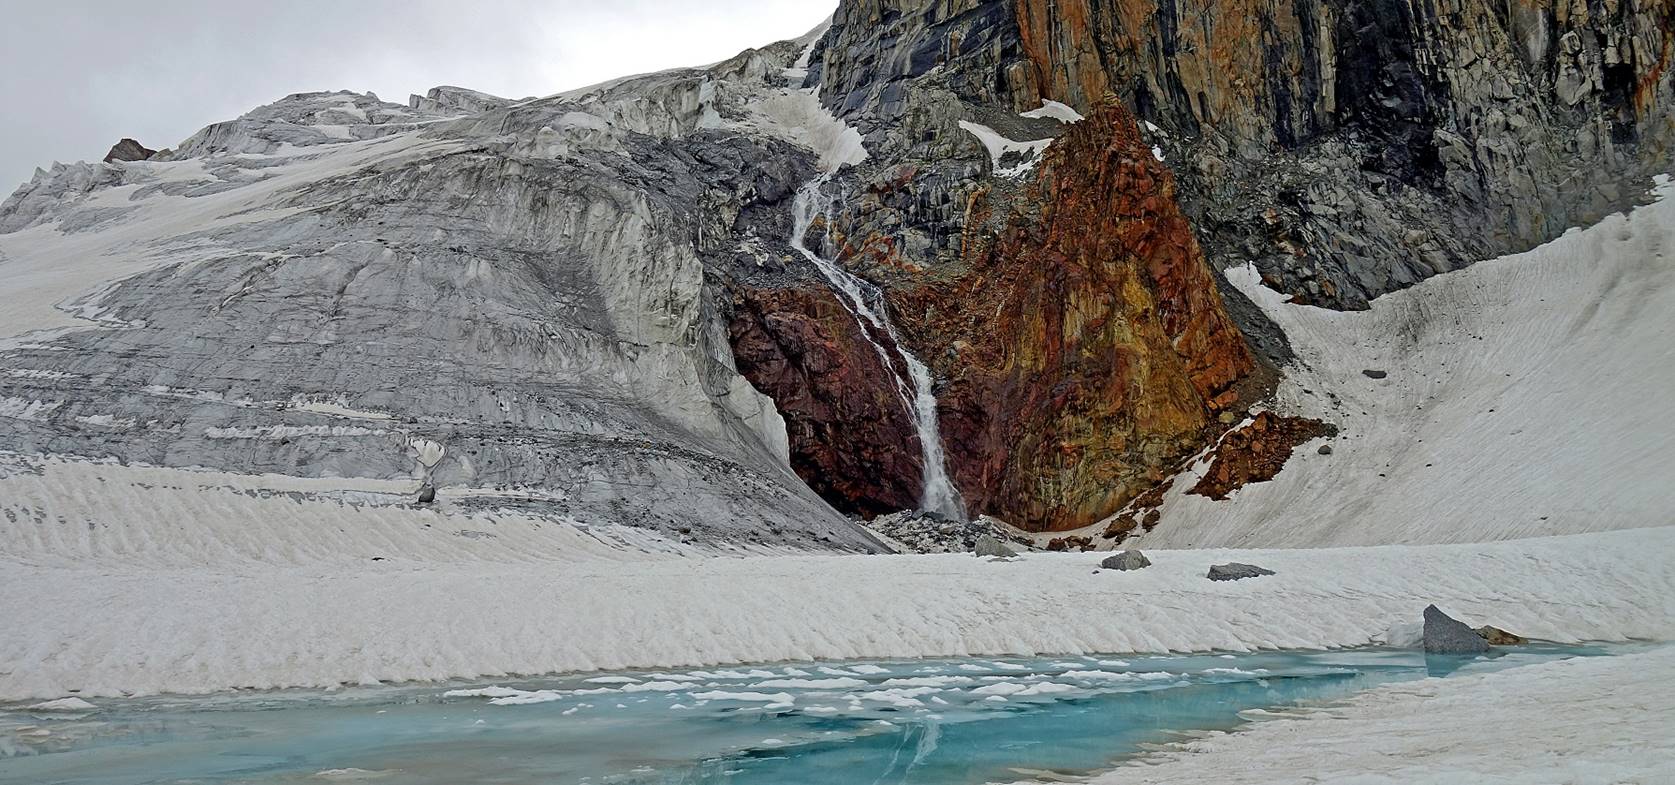
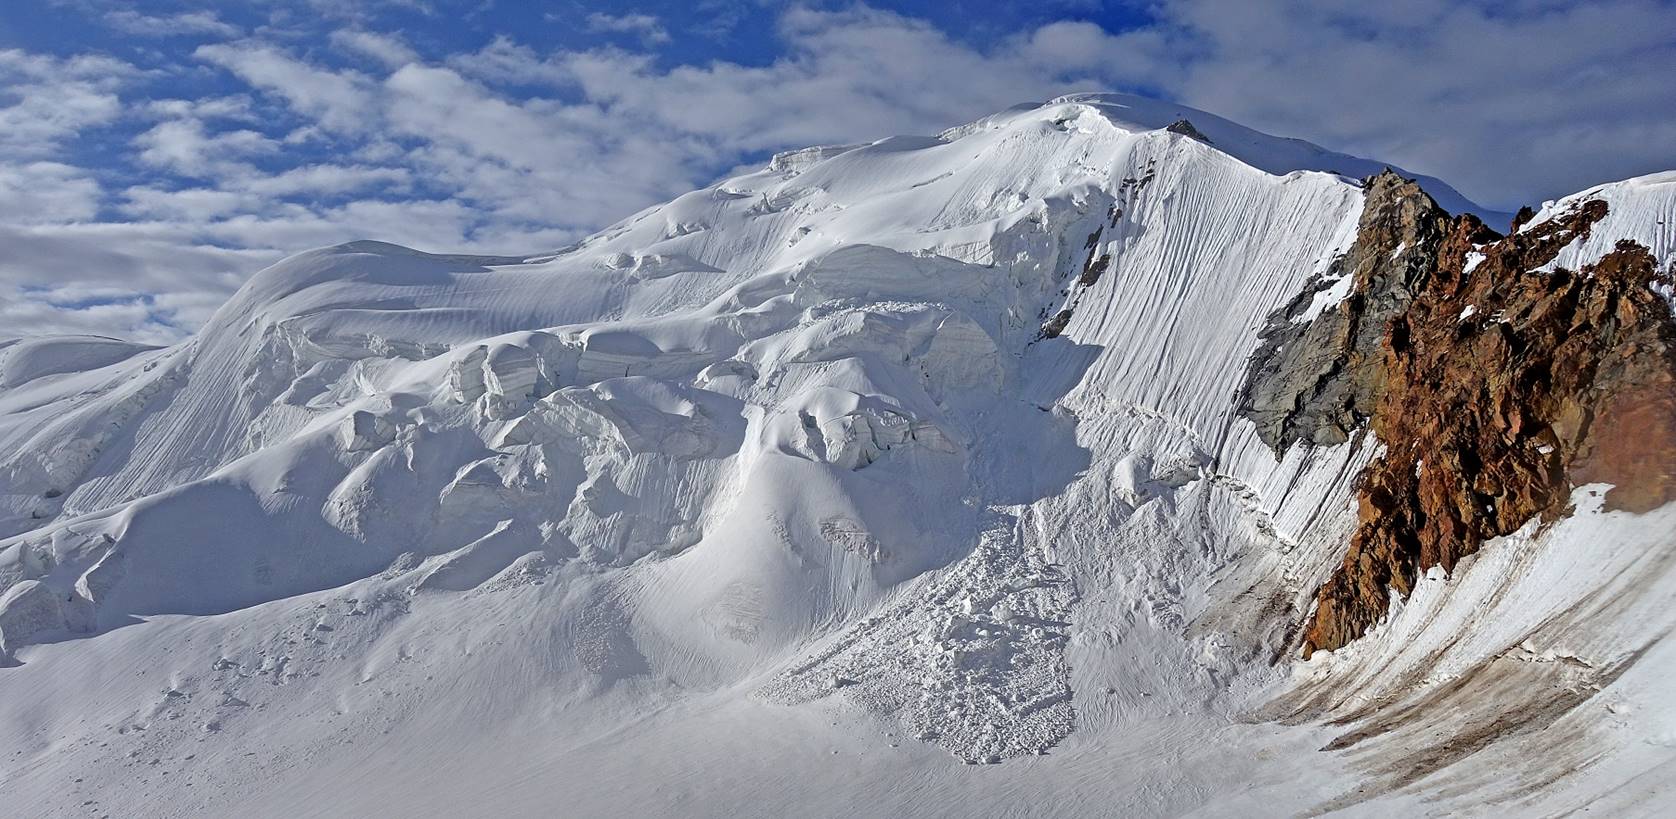
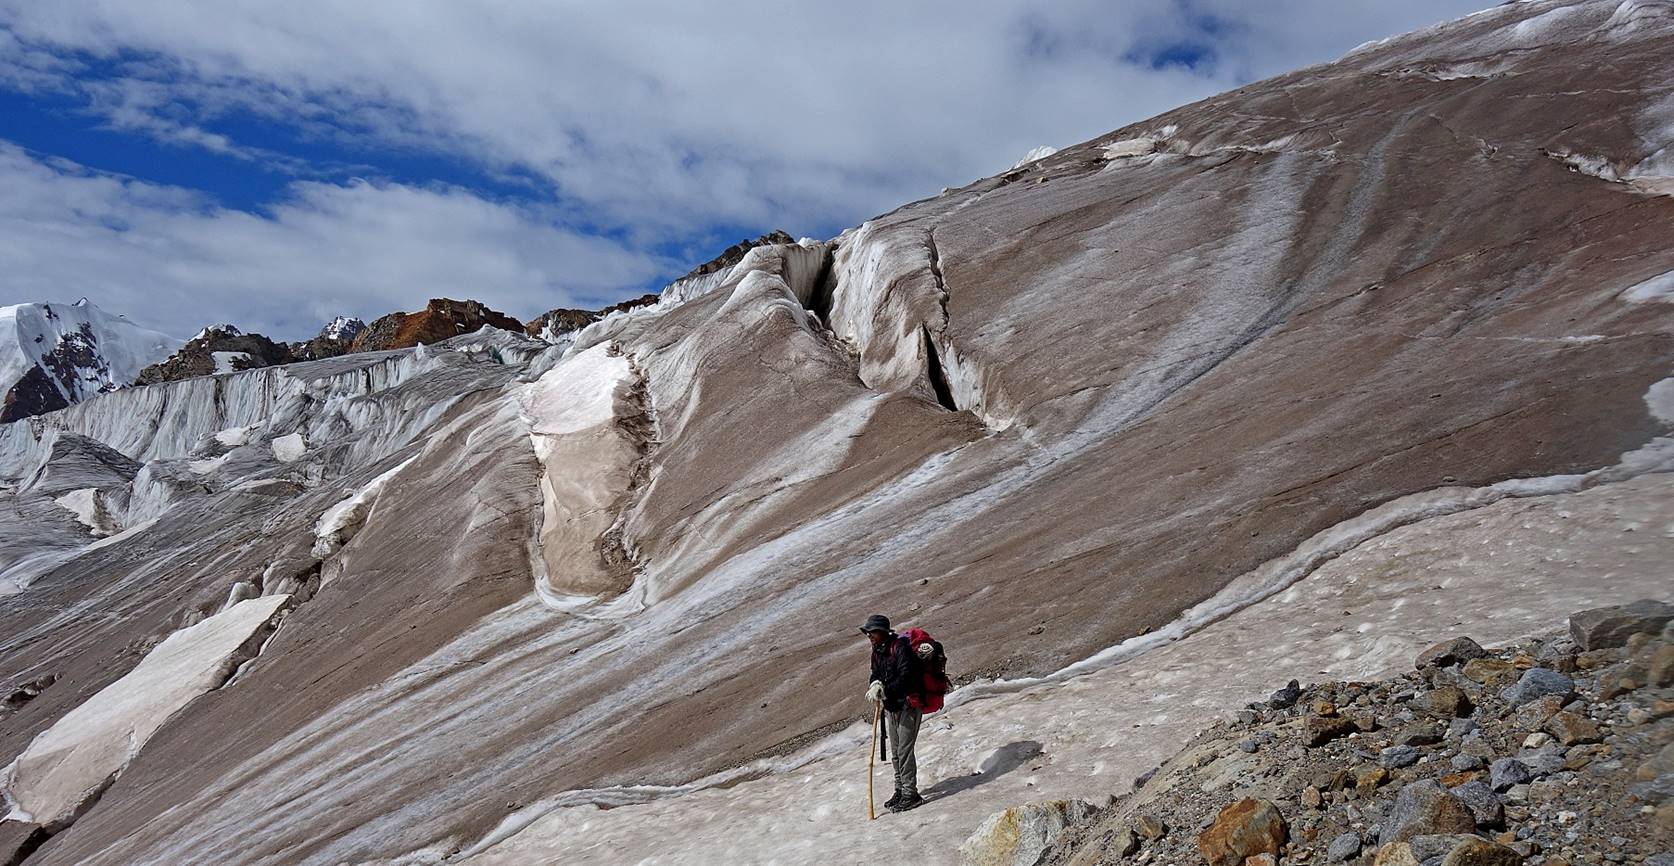
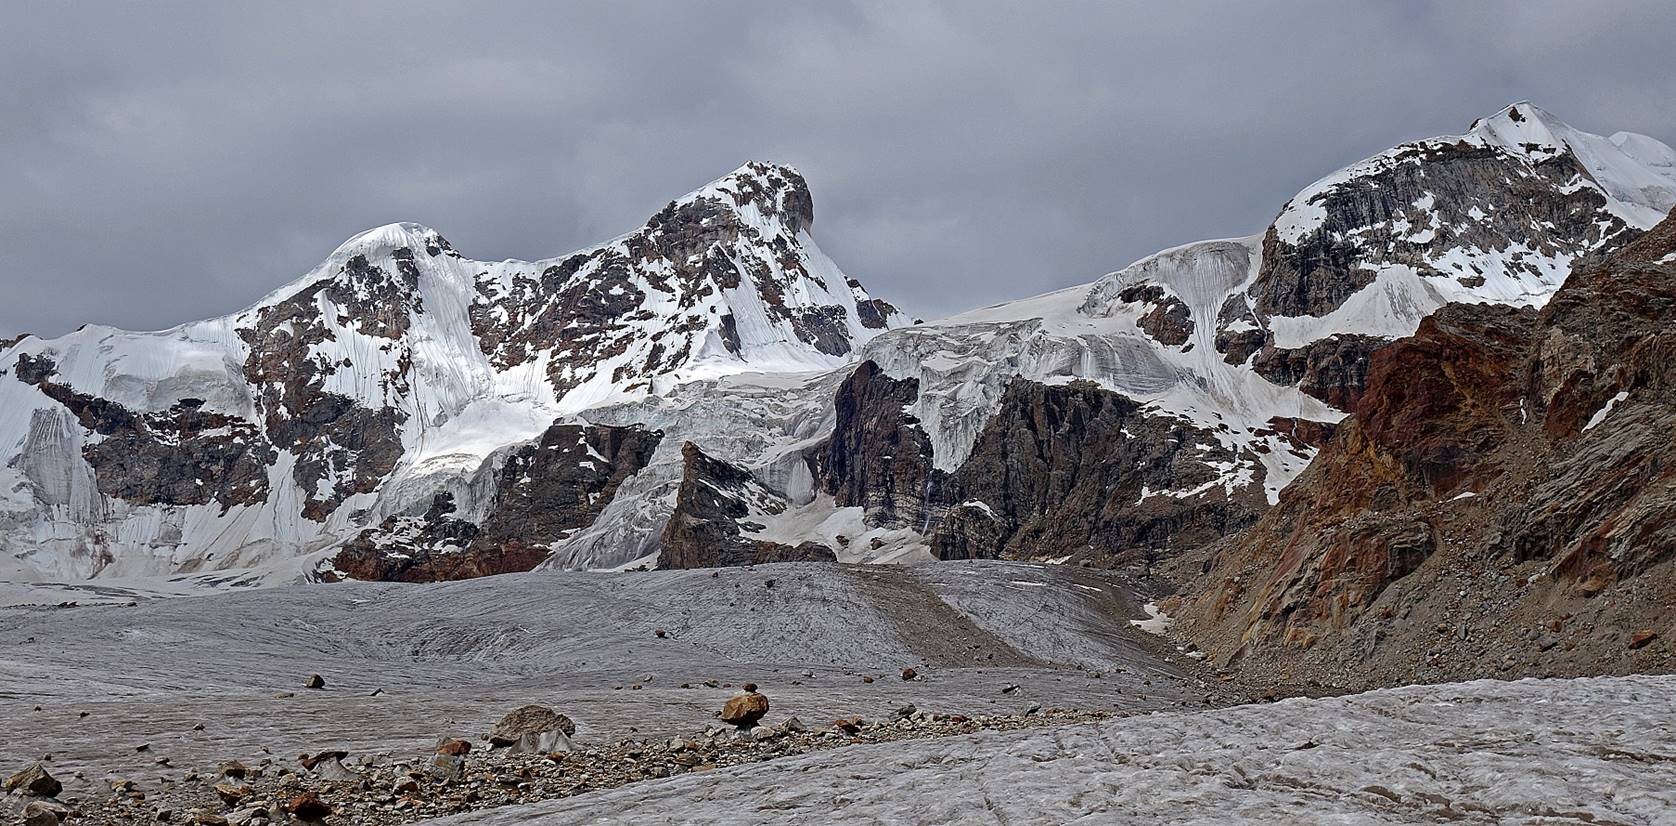
There was not a single clear option for
the location of Muni La. The porters decided to explore two options, including
the one on the left of the following photo and at the center of the second
photo below. Both options looks very steep, but many other passes in this
mountain range are as steep (e.g., Umasi La that I
had crossed in 2018). In fact, the southern side of Agsho
La is much steeper and longer. Anyway, neither one the two options turned out
viable candidates. But we lost quite some time.
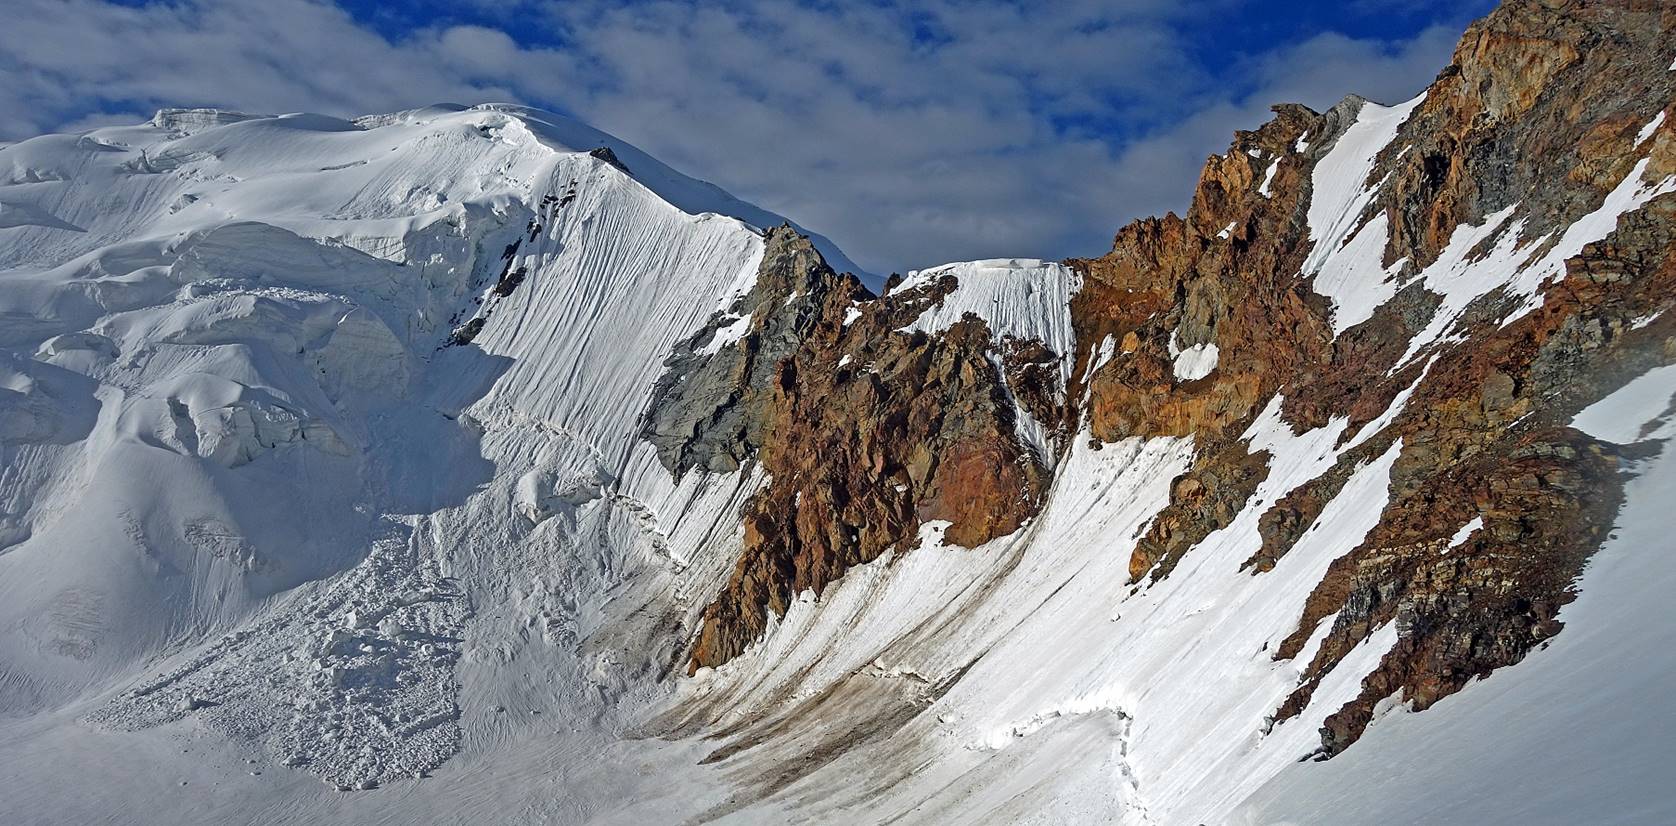
A promising (in fact, the correct)
option on the right side of the cirque. The porters were still worried: the
other side could be very steep and we would discover that only after a
relatively long approach.
We climbed to the pass. The porters had
been partially right. Getting to the pass took longer than expected and the
descent on the other side was much steeper than the ascent, but still quite
doable. As the pass itself offered us with a dry and reasonably flat platform, we
chose to set our camp right at the pass. The elevation given by my GPS was
5480m. The night was the coldest of the entire trek.
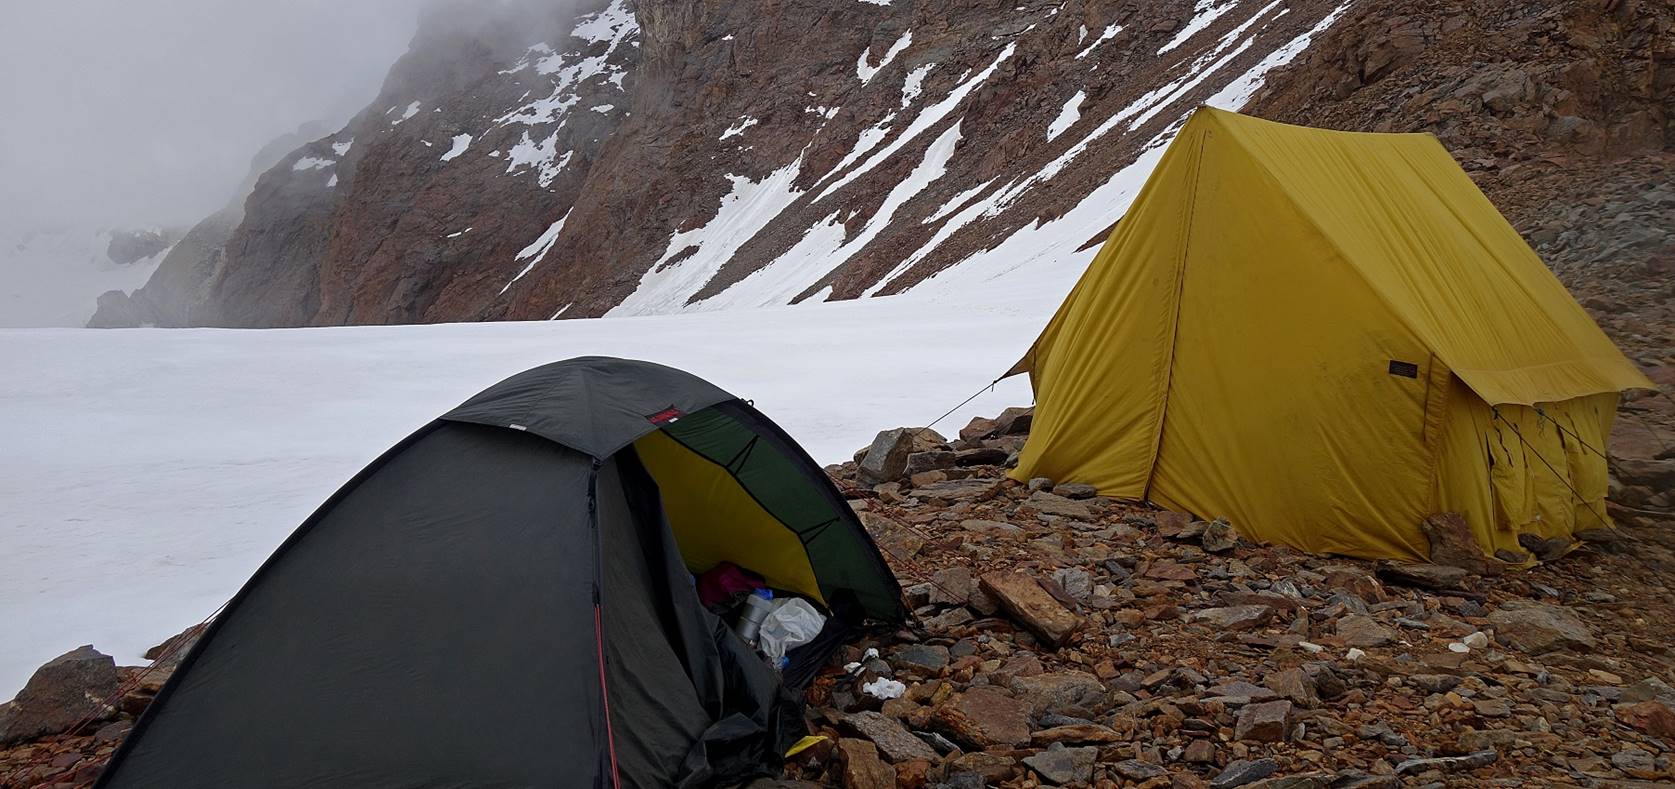
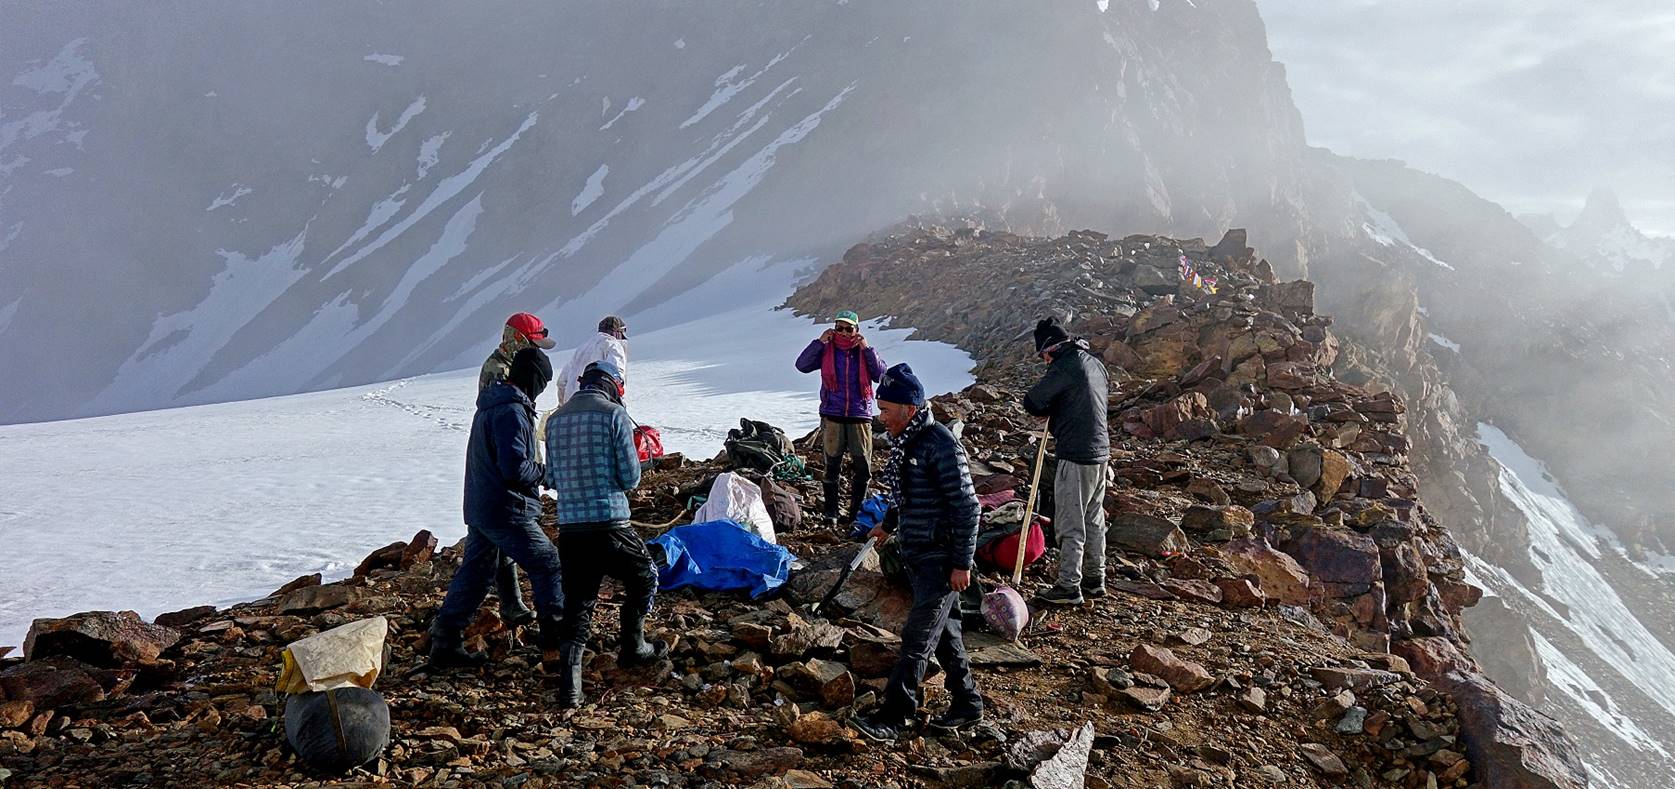
View of our camp at the pass (WP #110).
Day 24 (last
day of trek): From Muni La to Sani (a very long descent).
View from the
edge of our campsite.
|
|
|
View toward the east from the camp.
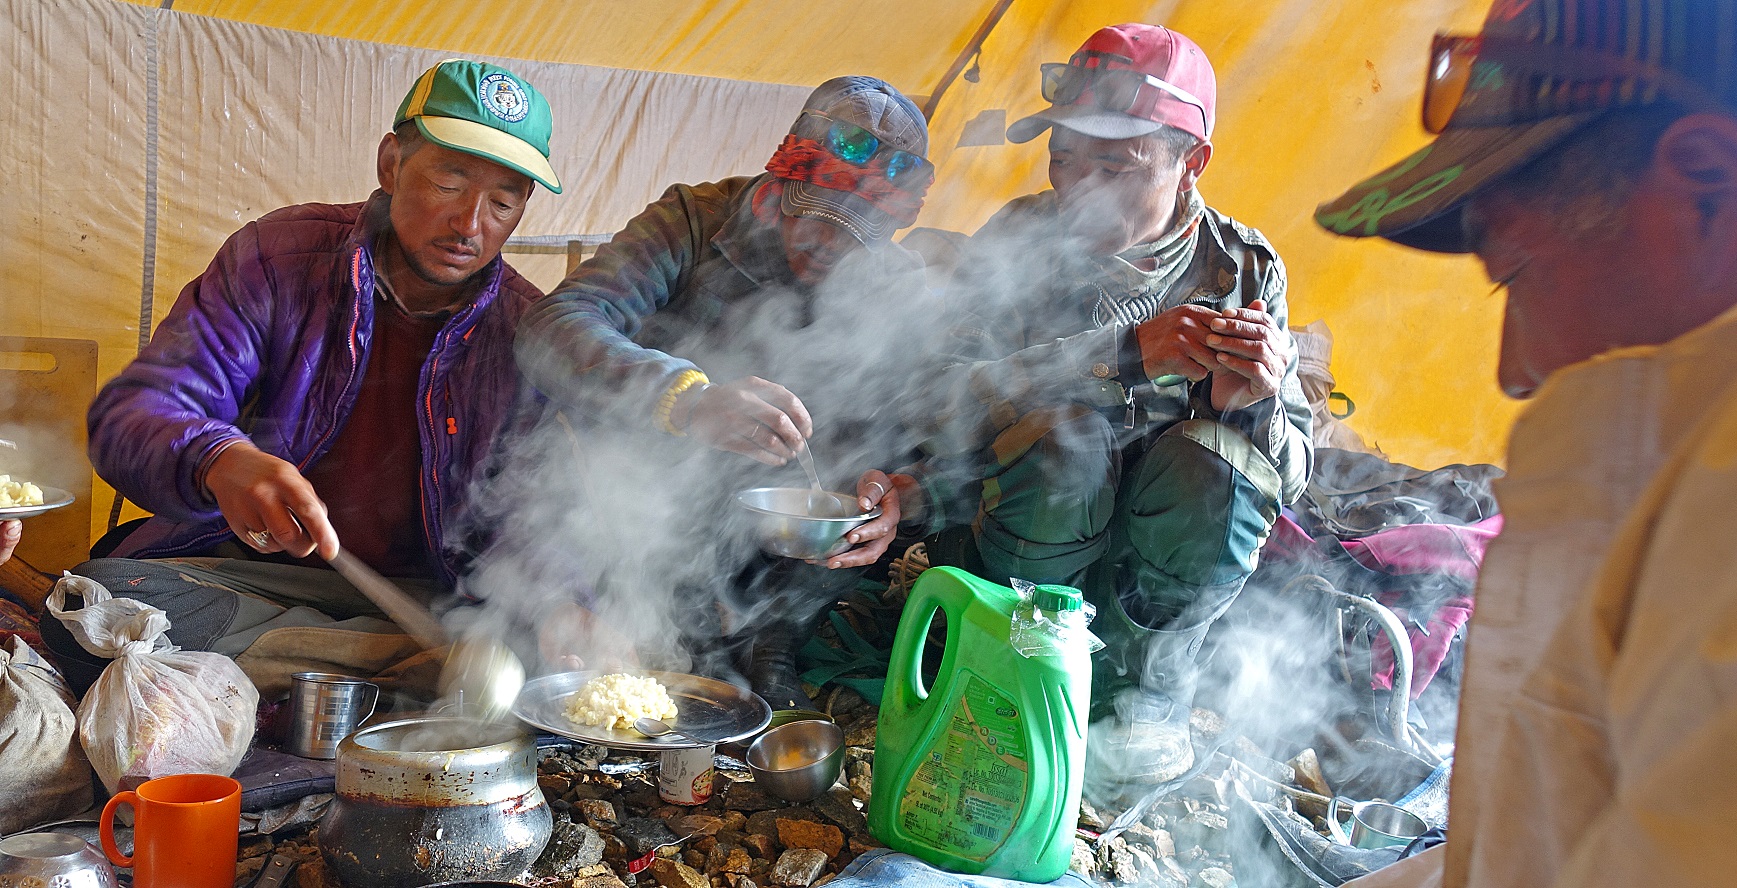
Eating breakfast in the morning sun.

We quickly packed our camp, hanged some
prayer flags, and started our long descent.
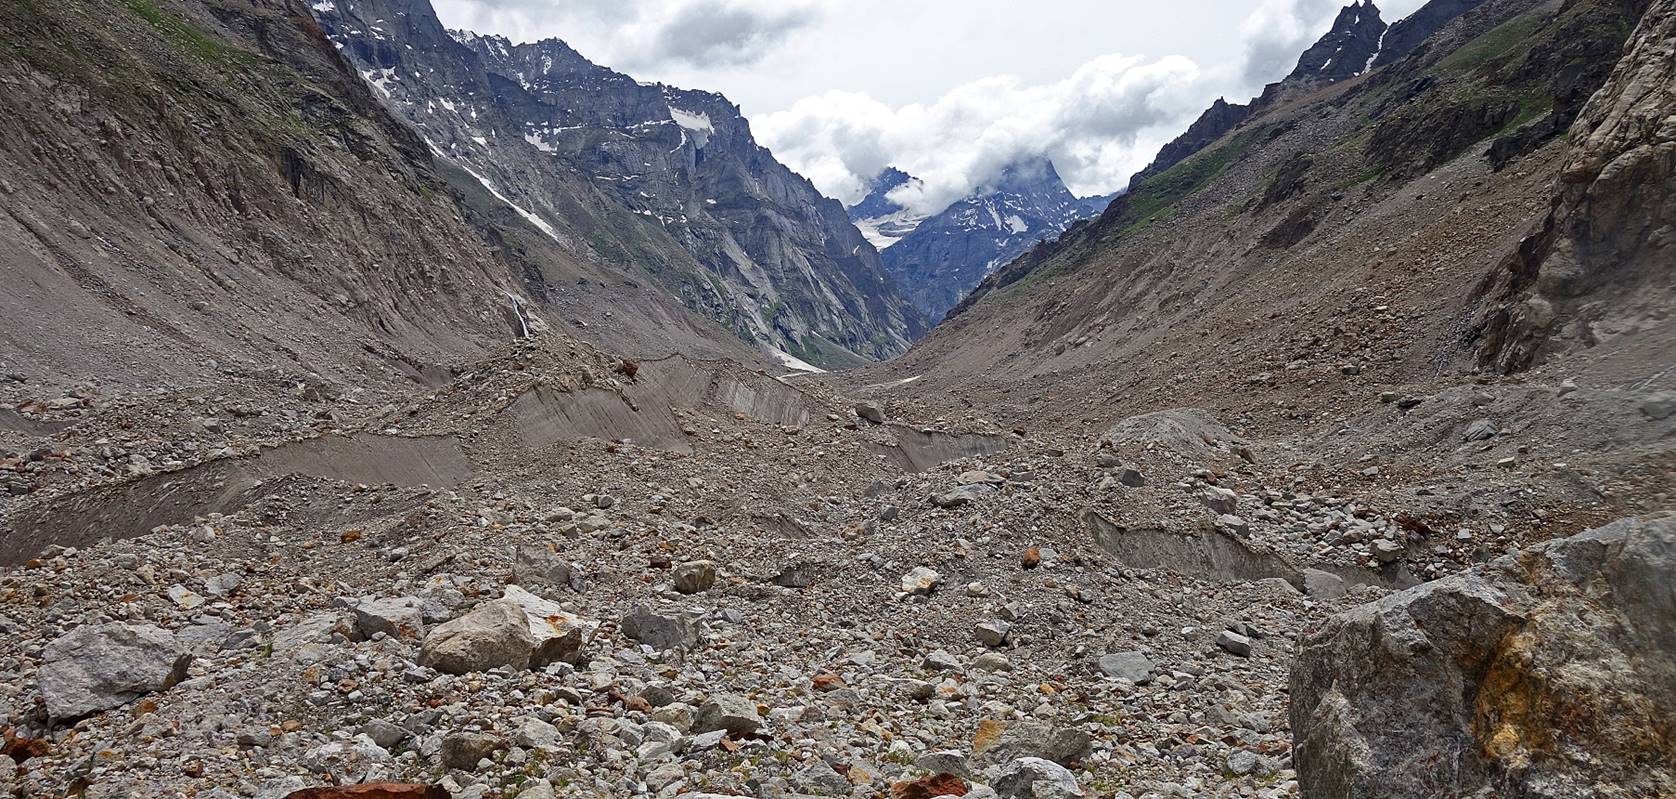
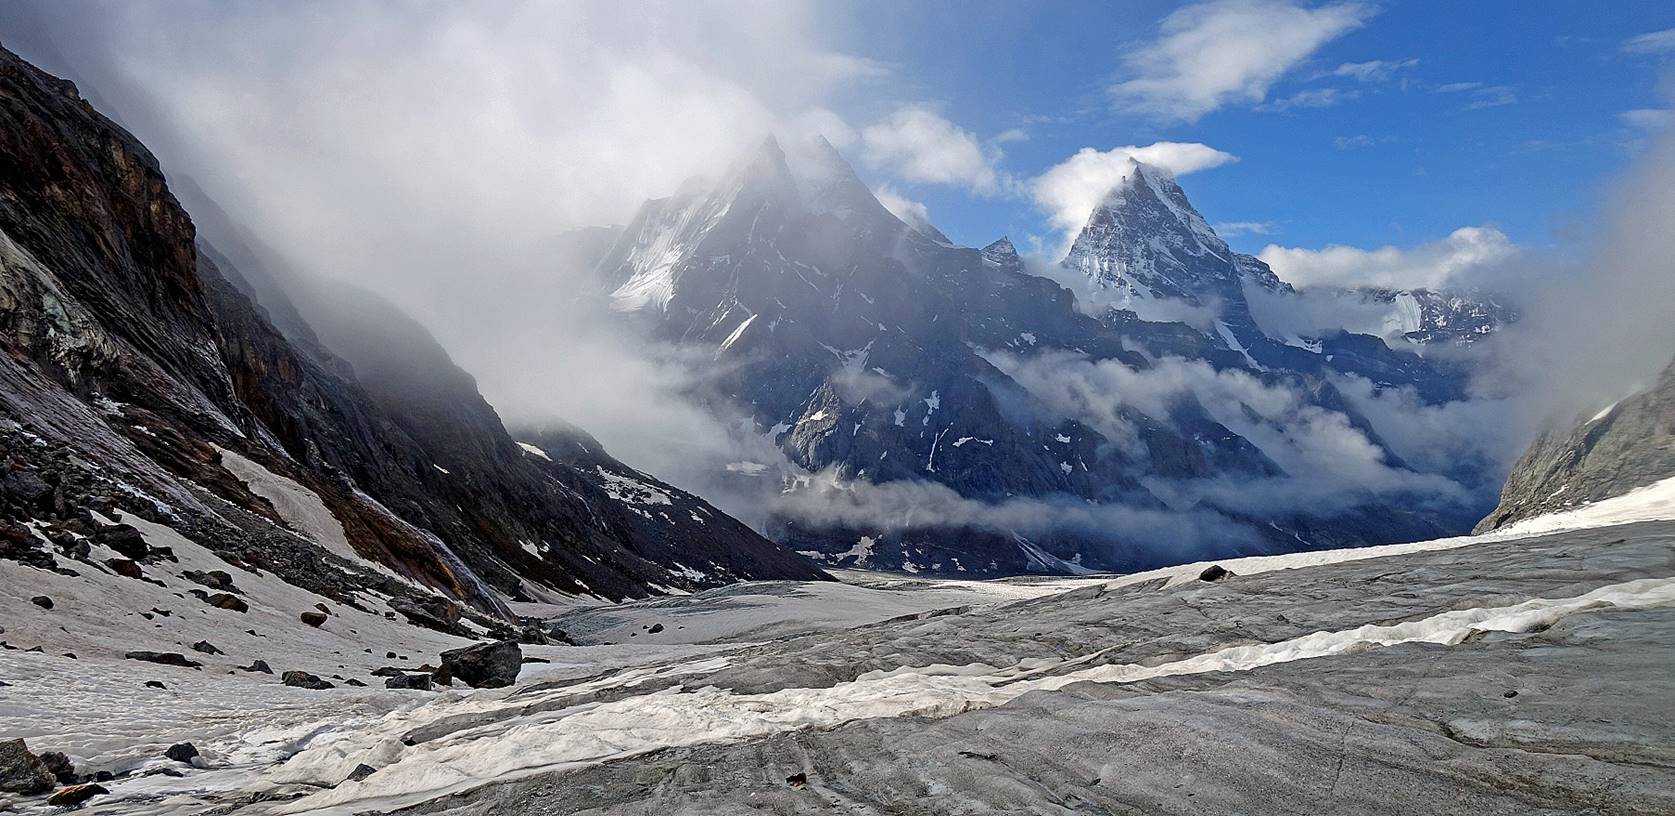
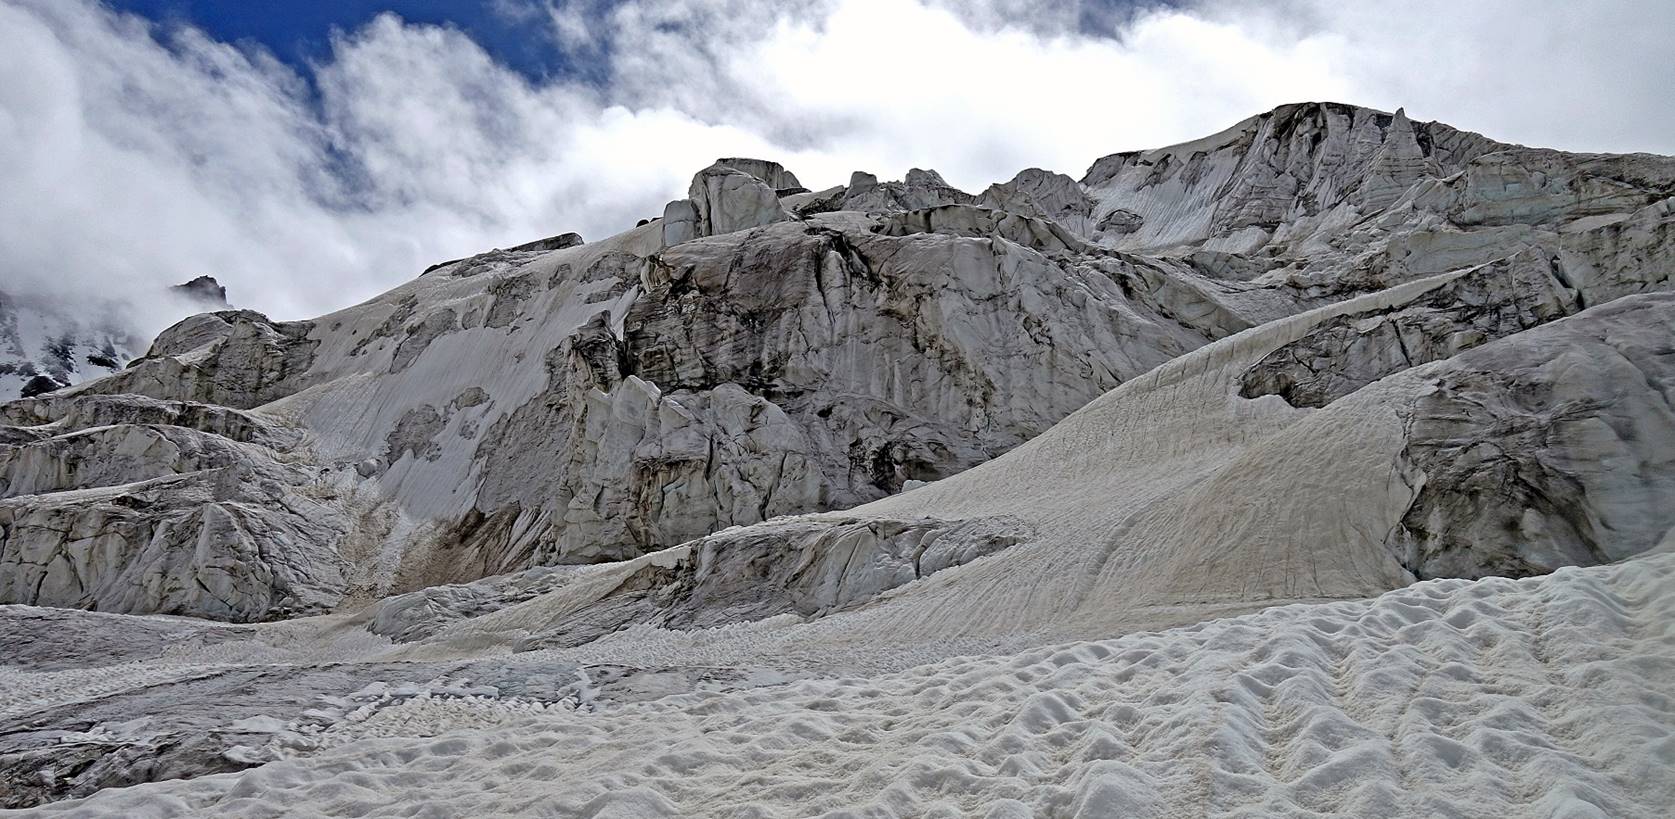
The descent on the glaciers was about
7km-long. The views were among the most spectacular of the entire trek.
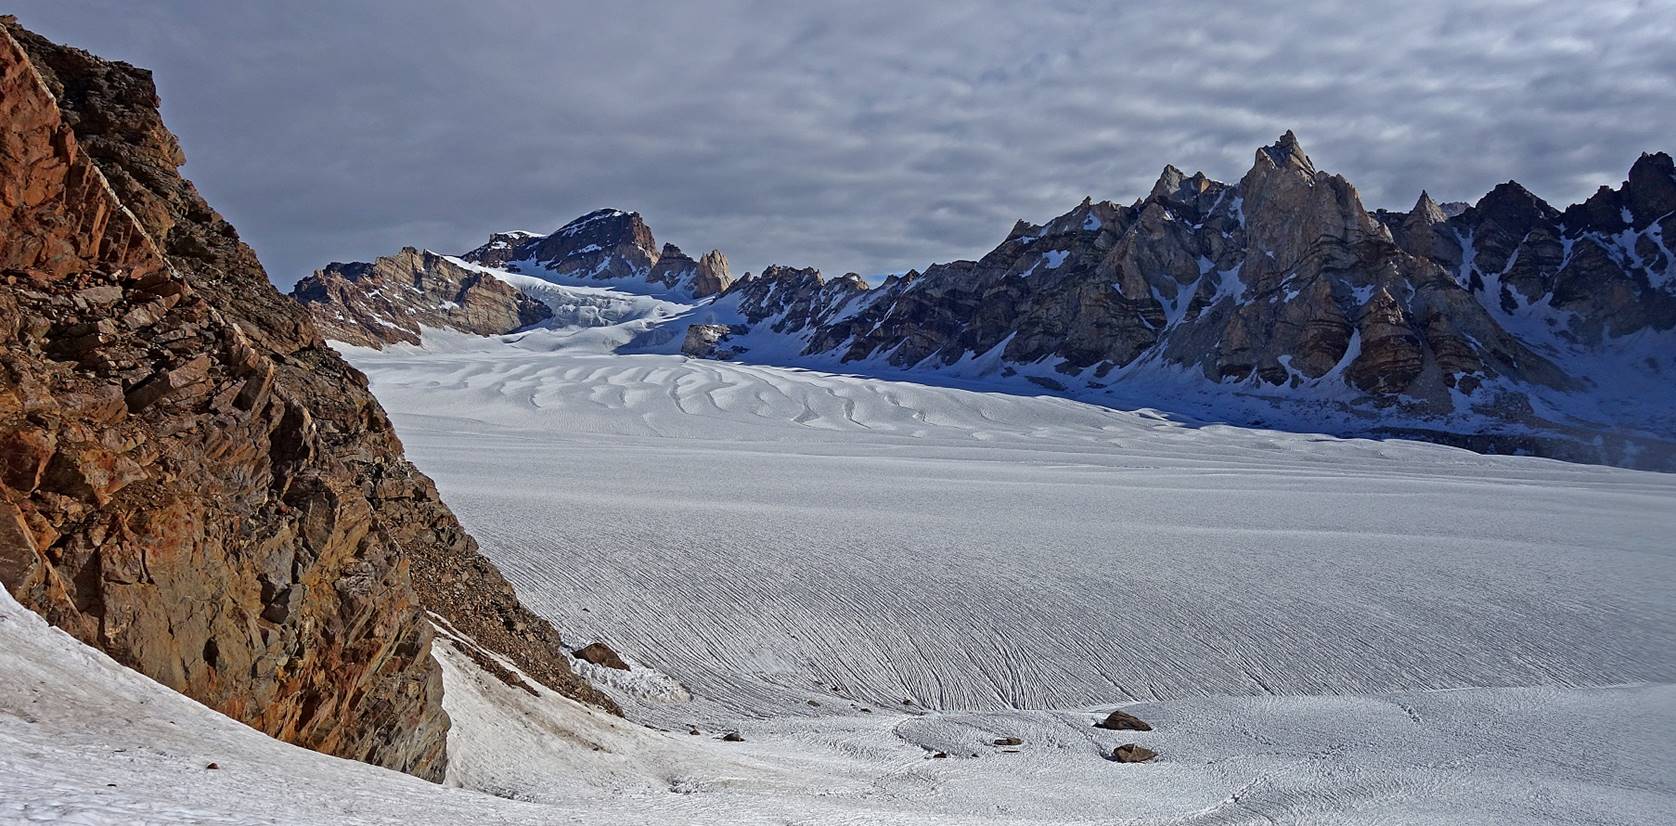

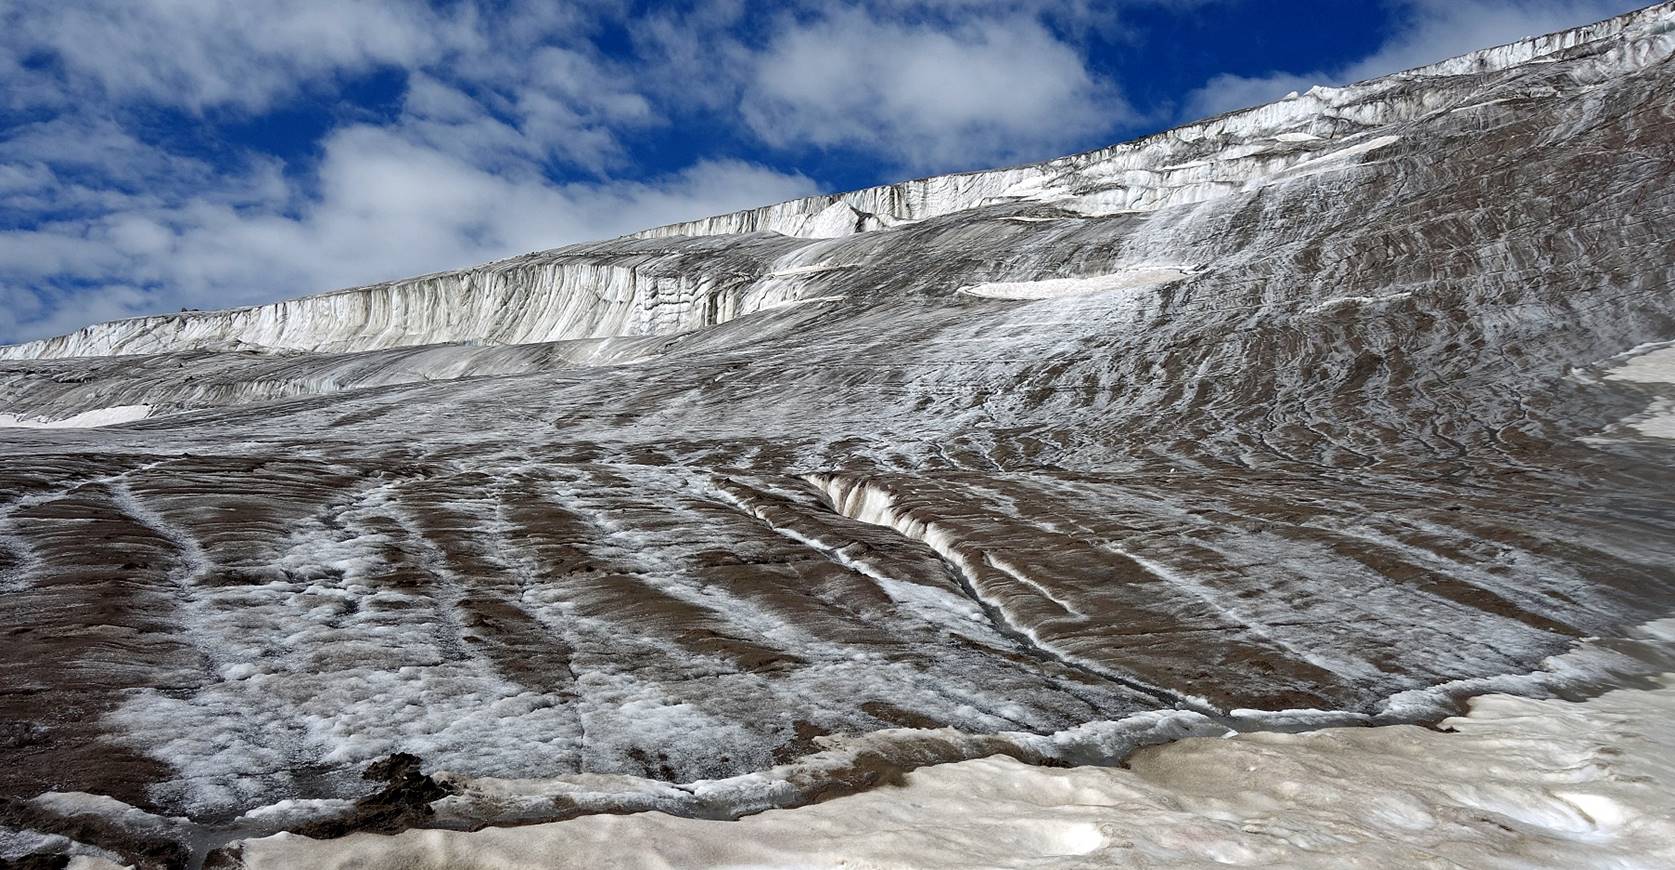
[I believe that the pass at the center of the above
photo is Muni La East.]
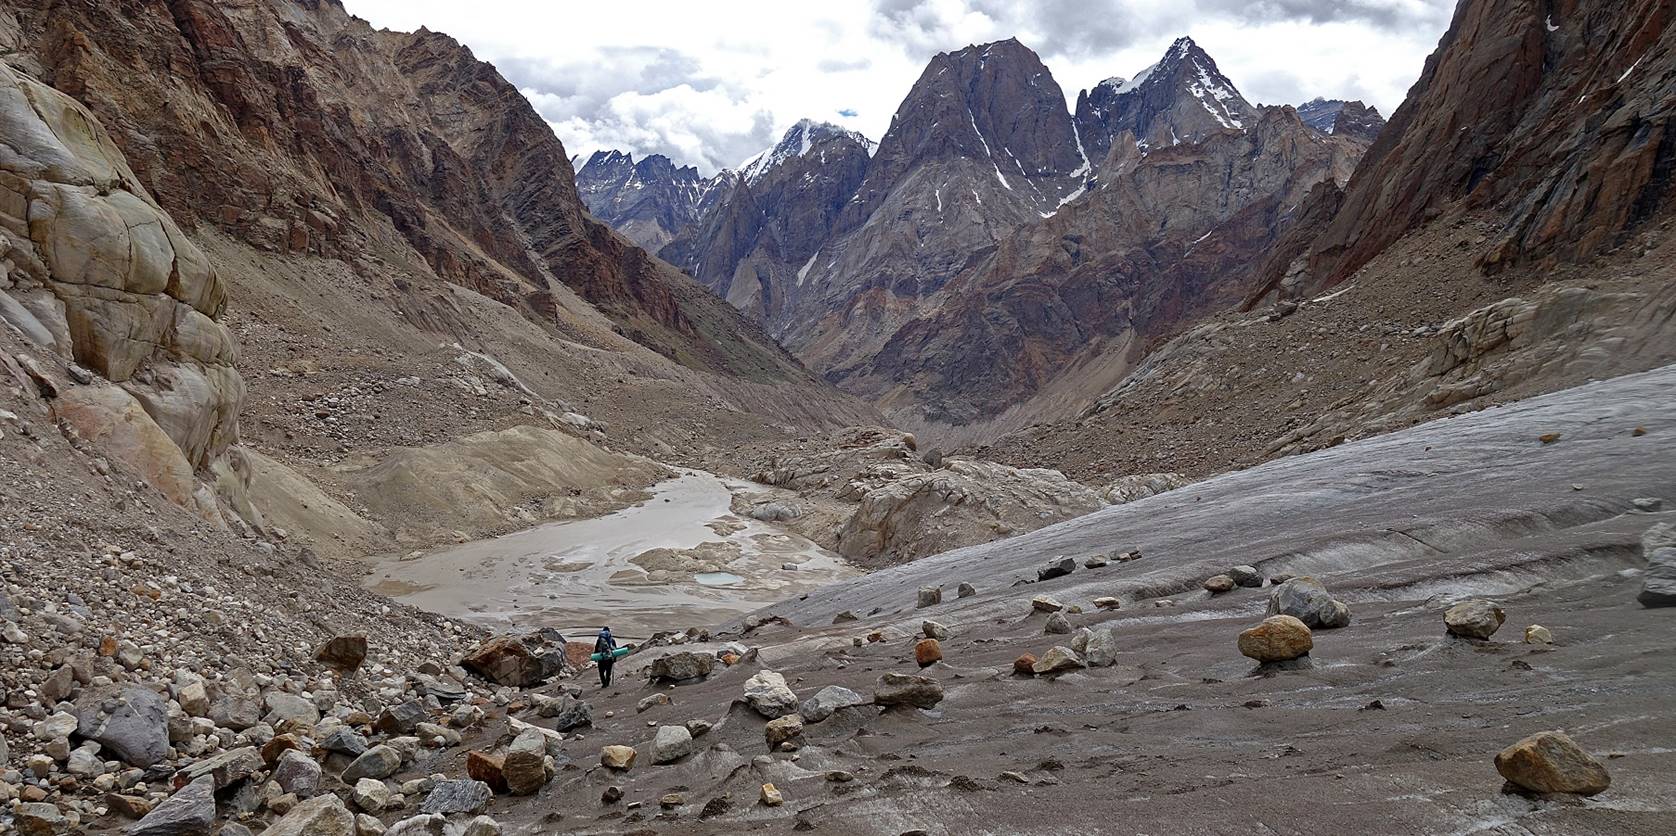
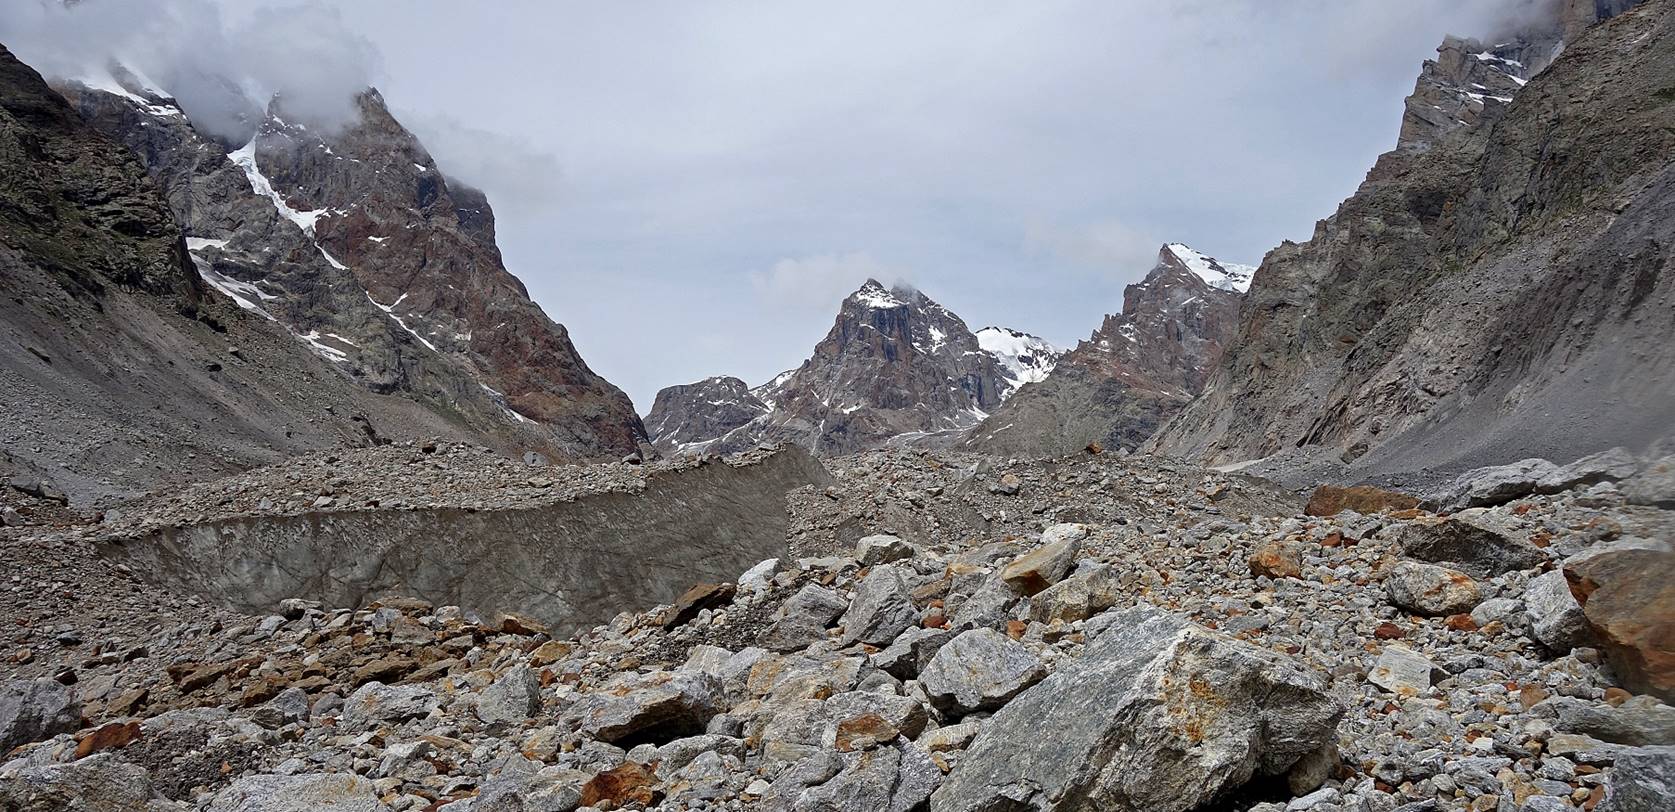
End of the glaciers.
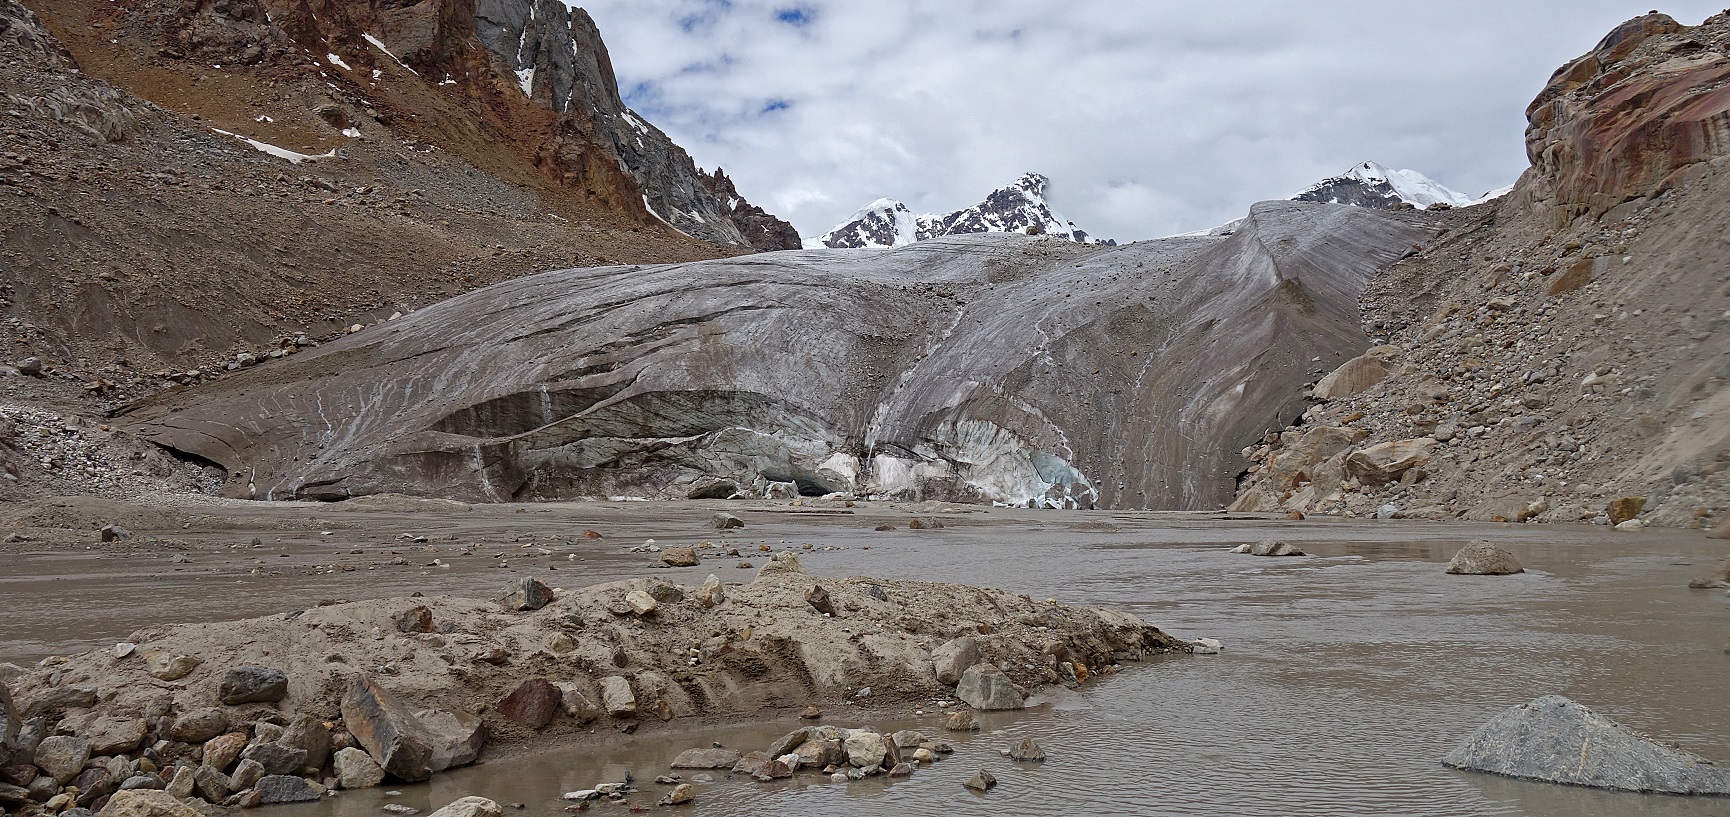
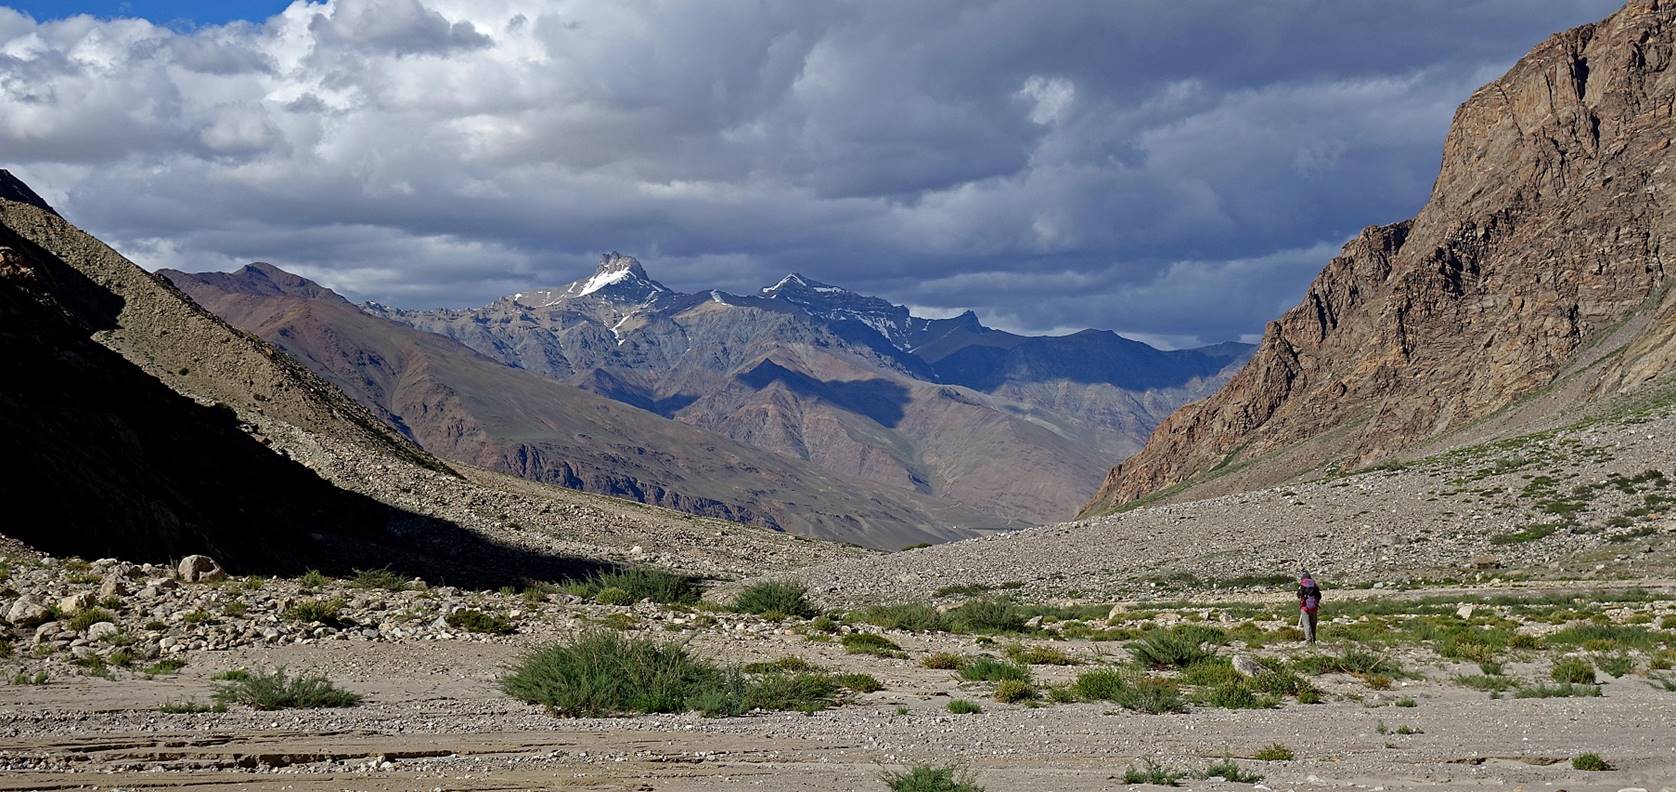
A short distance further down we reached
the valley of the Haptal Togpo
that leads to Sani.
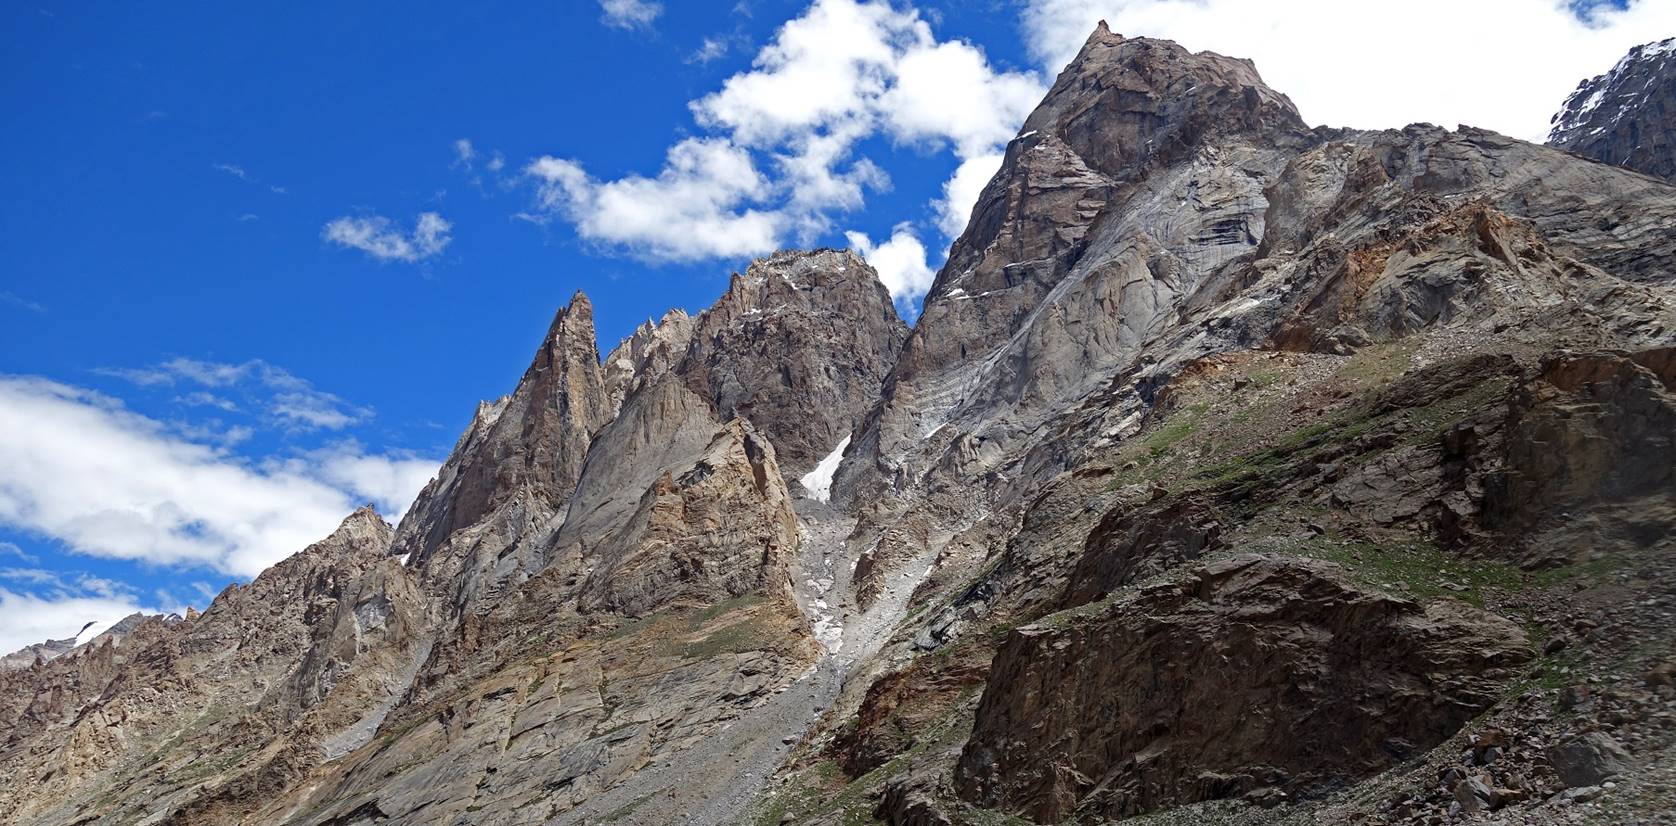
Peaks and rock faces along the Haptal Togpo valley.
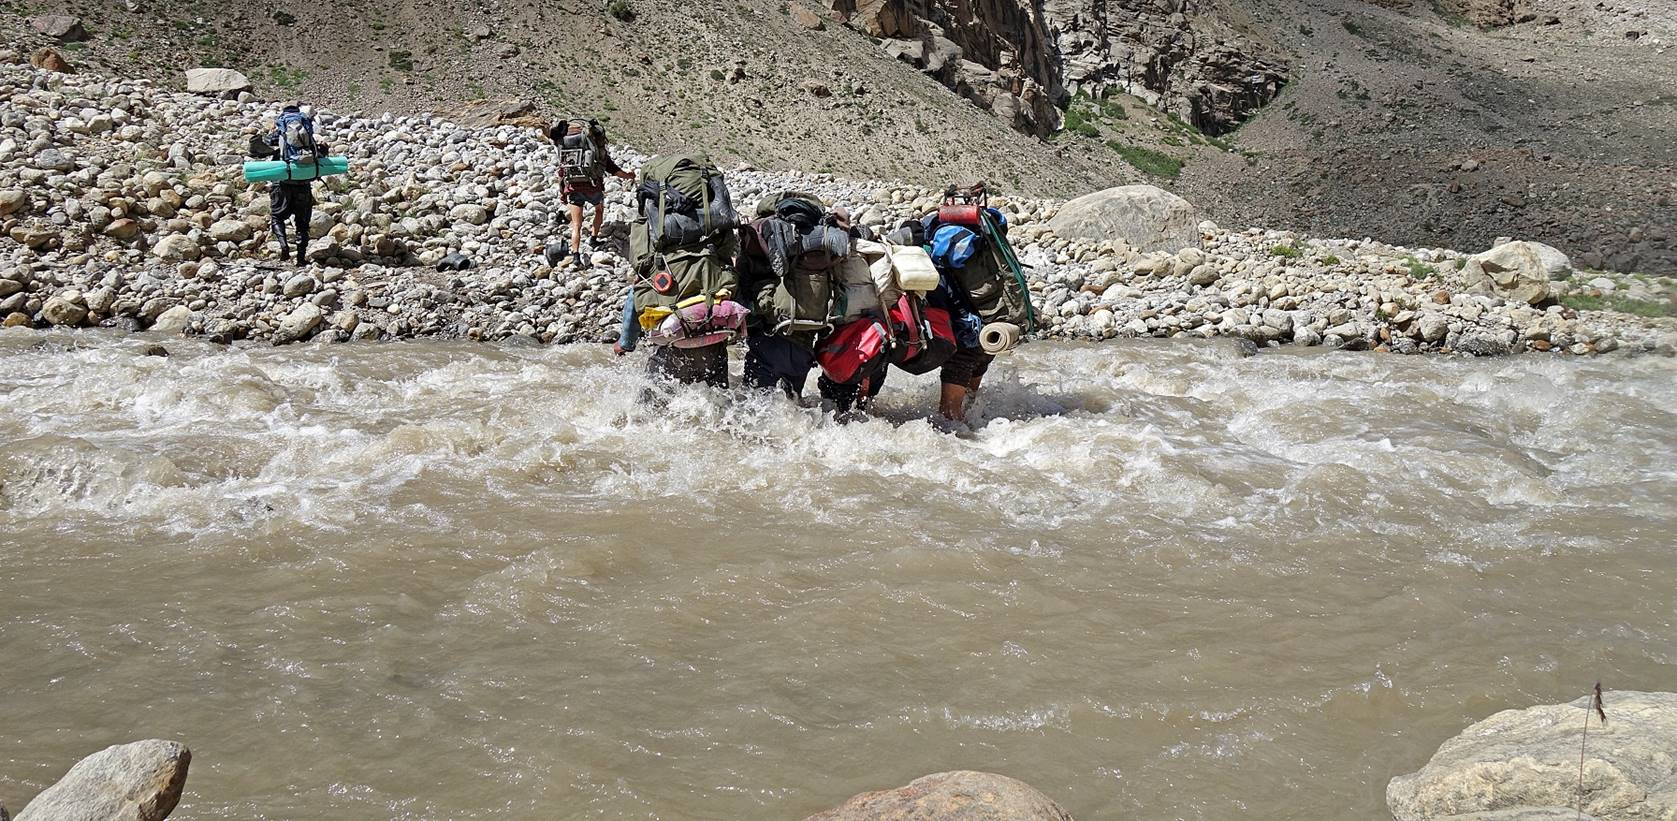
But we still had to ford one swift
river.
Reaching the end of the Haptal Togpo valley.
View over Sani. Its famous gompa (rectangular enclosure) is at the center-left of the
photo. End of the trek!
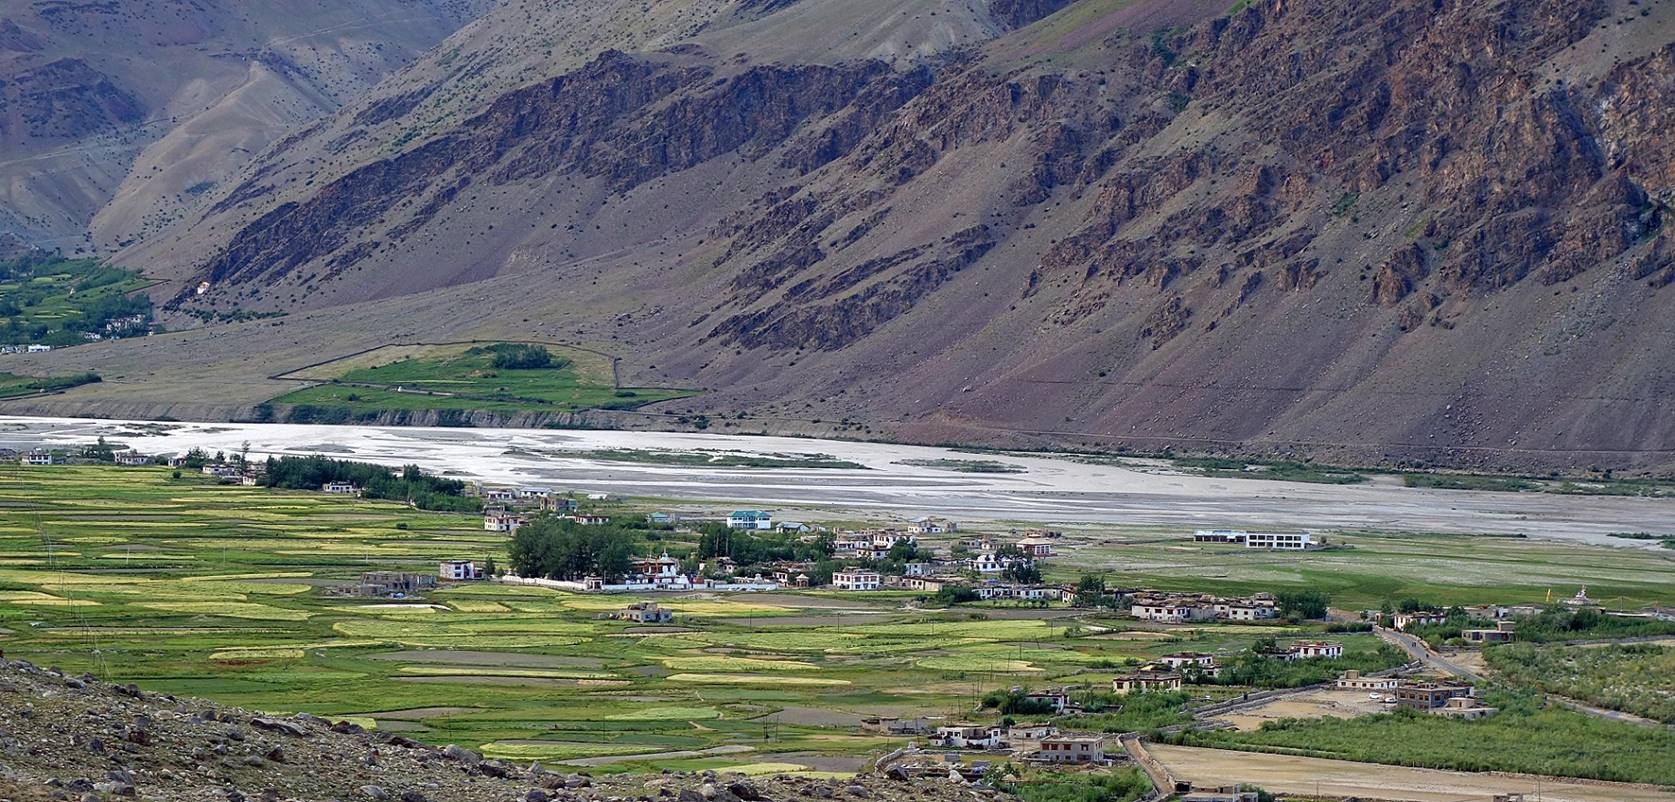
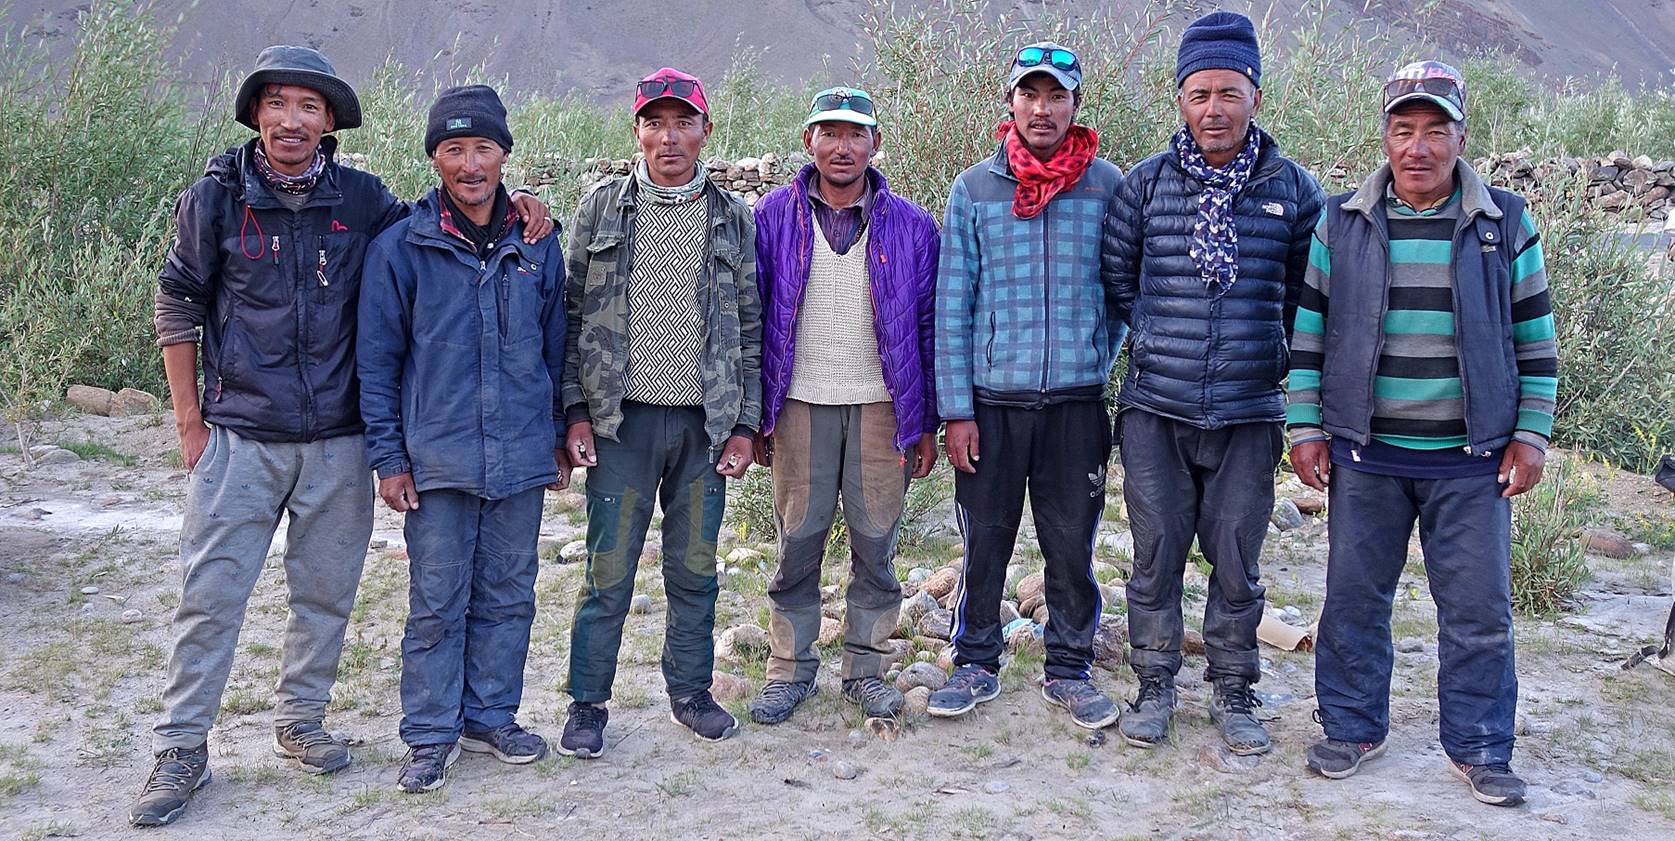
Photo of my support team in Sani. Thanks
to this team the third leg of the trek had been a complete success. All parts
of the leg (the difficult descent from Agsho La, the
friendly hamlet of Drangha, the mysterious Bakarwal shepherds of the Danlong
Nala valley, the search of the elusive Muni La, the
stunning views of the glaciers on both sides of Agsho
La and Muni La) were exciting. There had been no time for boredom.
The porters returned to their respective
homes immediately after the trek. Tundup, Nurbo, and I went to Padum, where
we spent the night. On the next day we left back to Leh,
a two-day road trip with a night-over in Mulbekh.
![]()