India
(July-August
2018): Lahaul to Zanskar
across Kang La (5450m) - 1/3
|
|
Return
to main India 2018 webpage
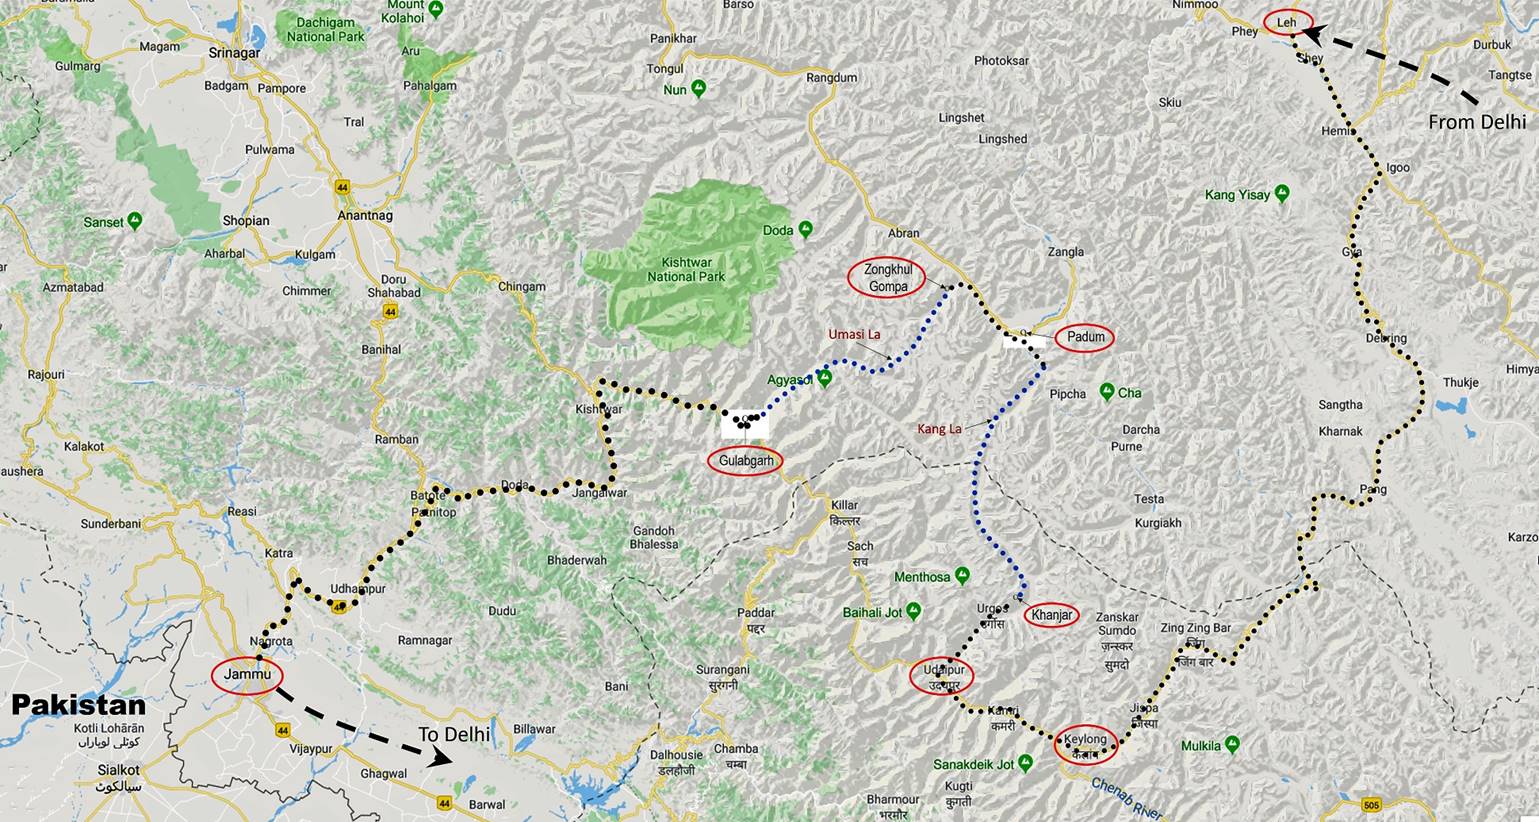
This leg of the trek starts at the
village of Khanjar (3850m) in the valley of the Miyar Nala (river) north of the
small town of Udaipur in Lahaul. It first follows the
left (eastern) bank of the Miyar Nala,
then the Miyar glacier up to Kang La. On the northern
side of the pass the trek follows a shorter glacier before reaching the valley
of the Temasa Togpo
(river). It ends near the confluence of the Temasa Togpo and the Tsarap river south-east of Padum
Location
map:
Google Earth views:
|
|
|
|
Entire leg. |
Part 1/3 of leg. |
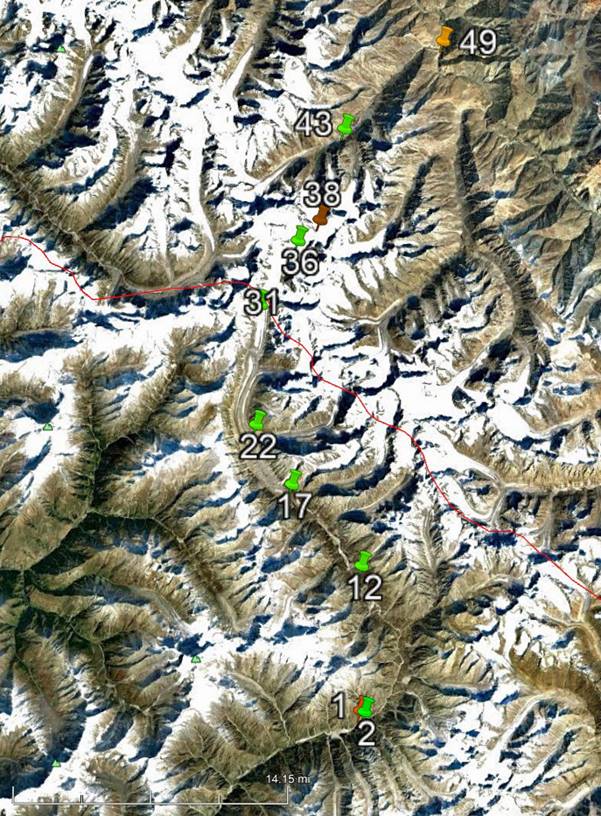
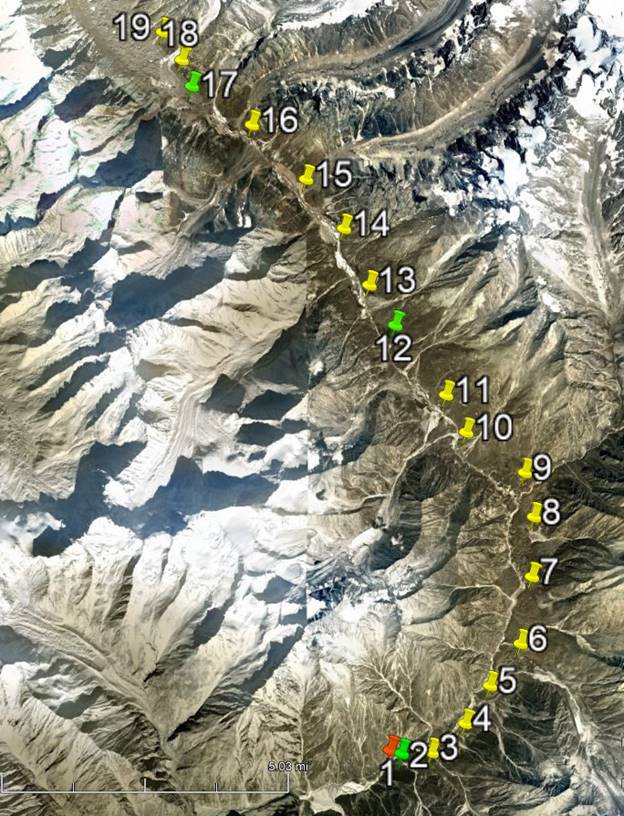
[Reminder: Click here (kmz file) and open the downloaded
file in Google Earth to access the GPS waypoints (numbered 1 to 49 for the
first leg and 50 to 78 for the second leg) that I recorded during the trek: red
pins for starts, orange for finishes, green for camps, brown for passes, and
yellow for other waypoints.]
From Leh to Khanjar:
View from the plane before landing in Leh.

Along the road between Leh and Keylong.
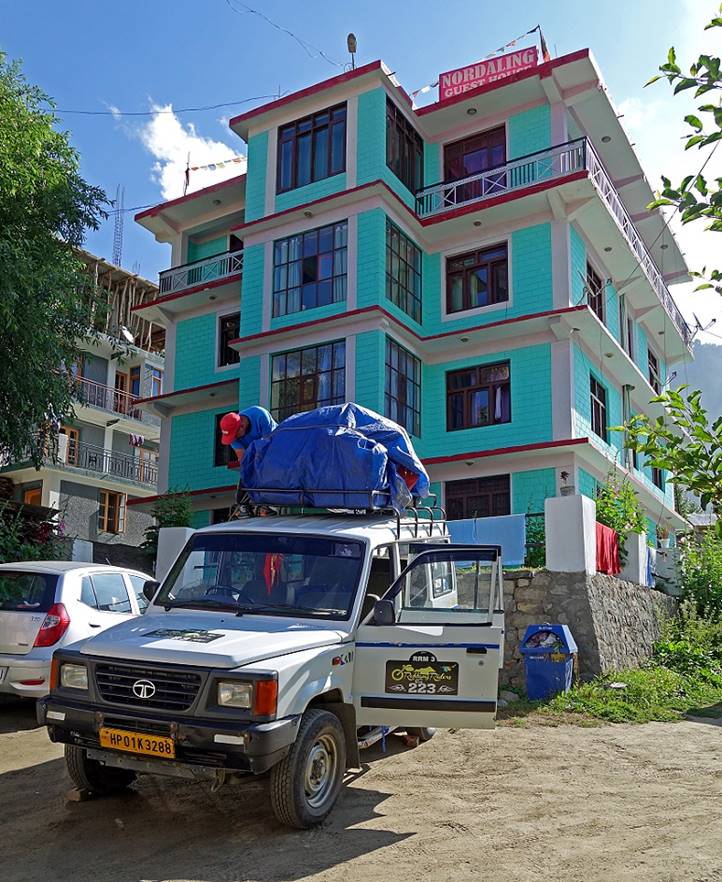
Sunset on the mountains seen from the Nordaling guesthouse (excellent) in Keylong.

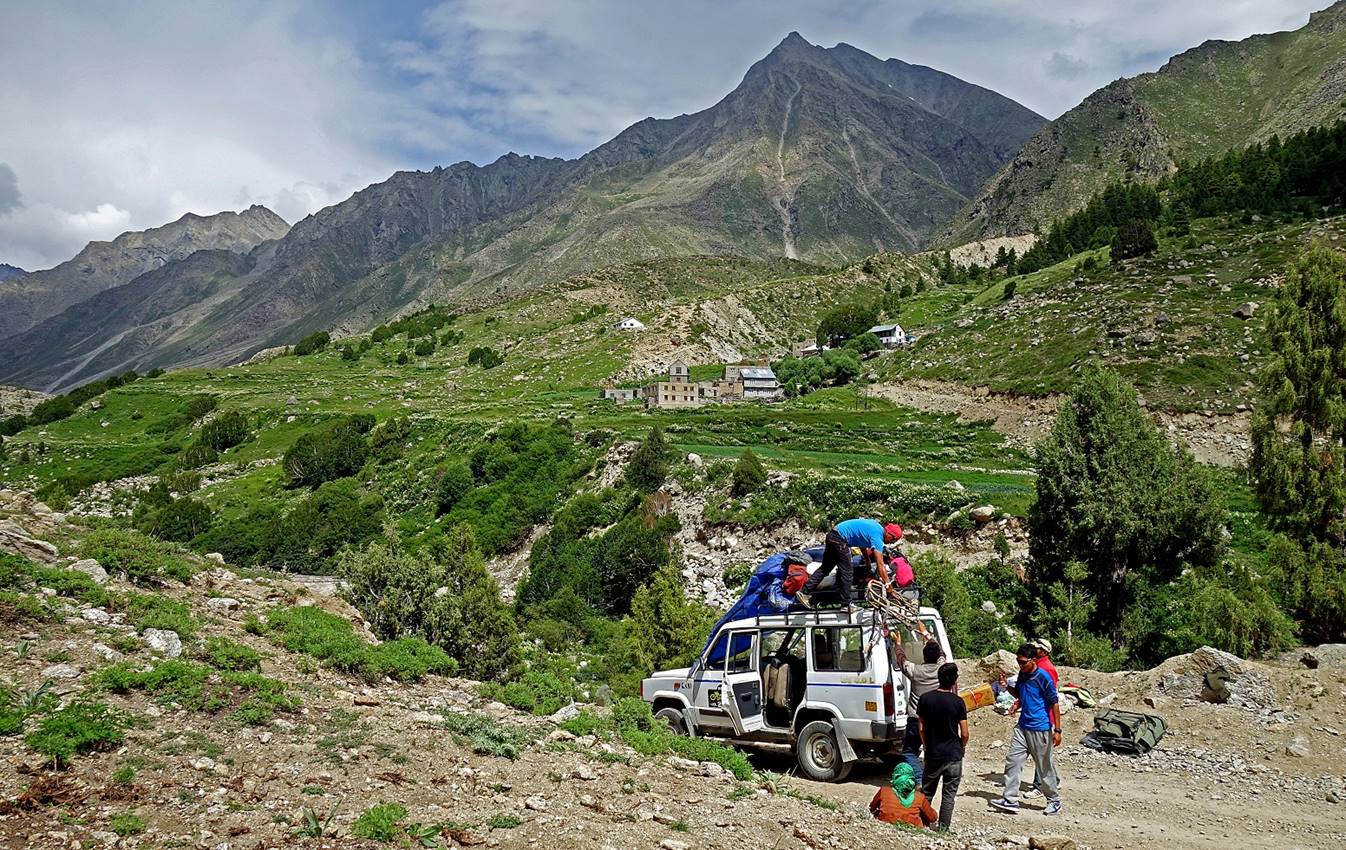
Loading the 4WD in Keylong before leaving to Khanjar.
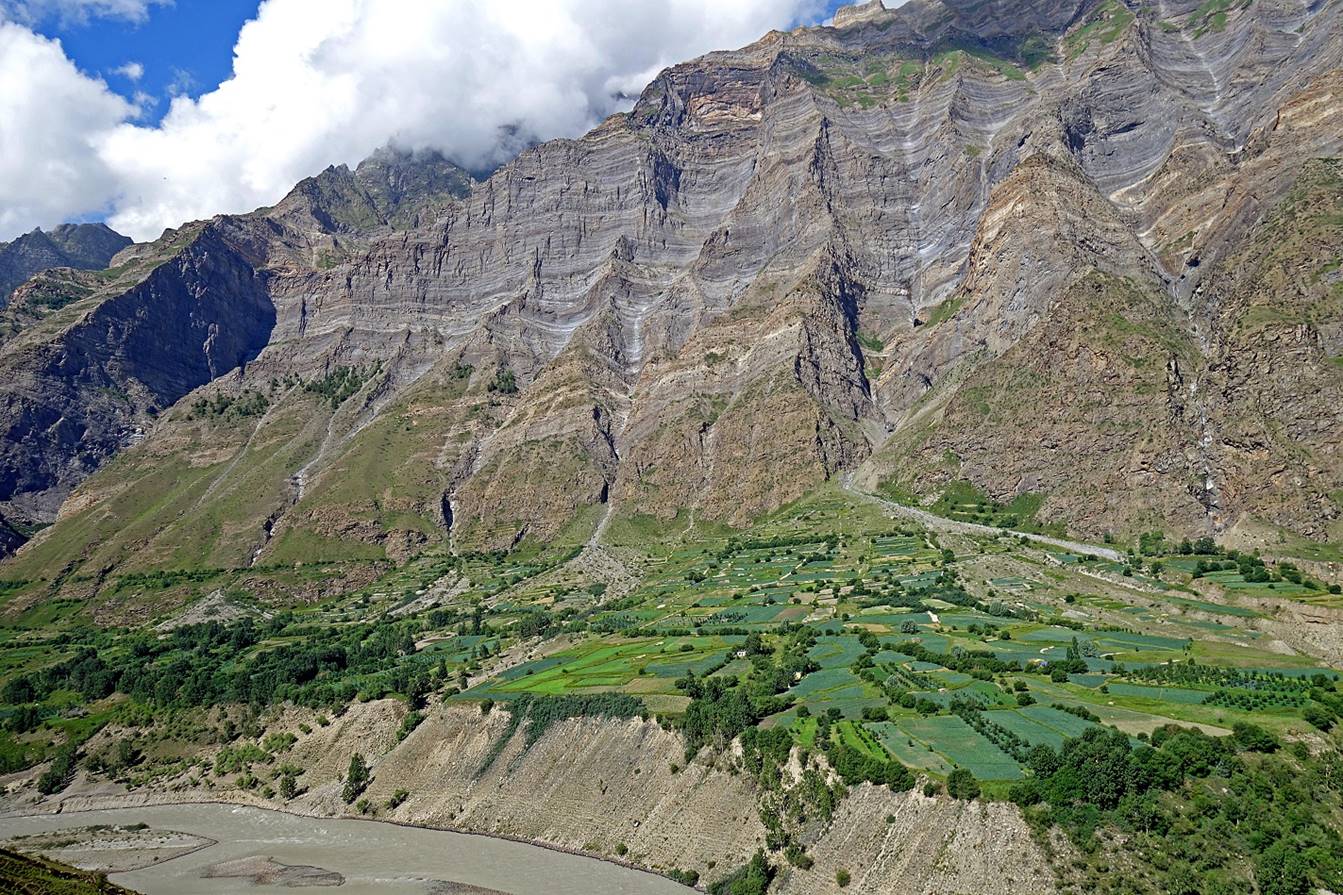
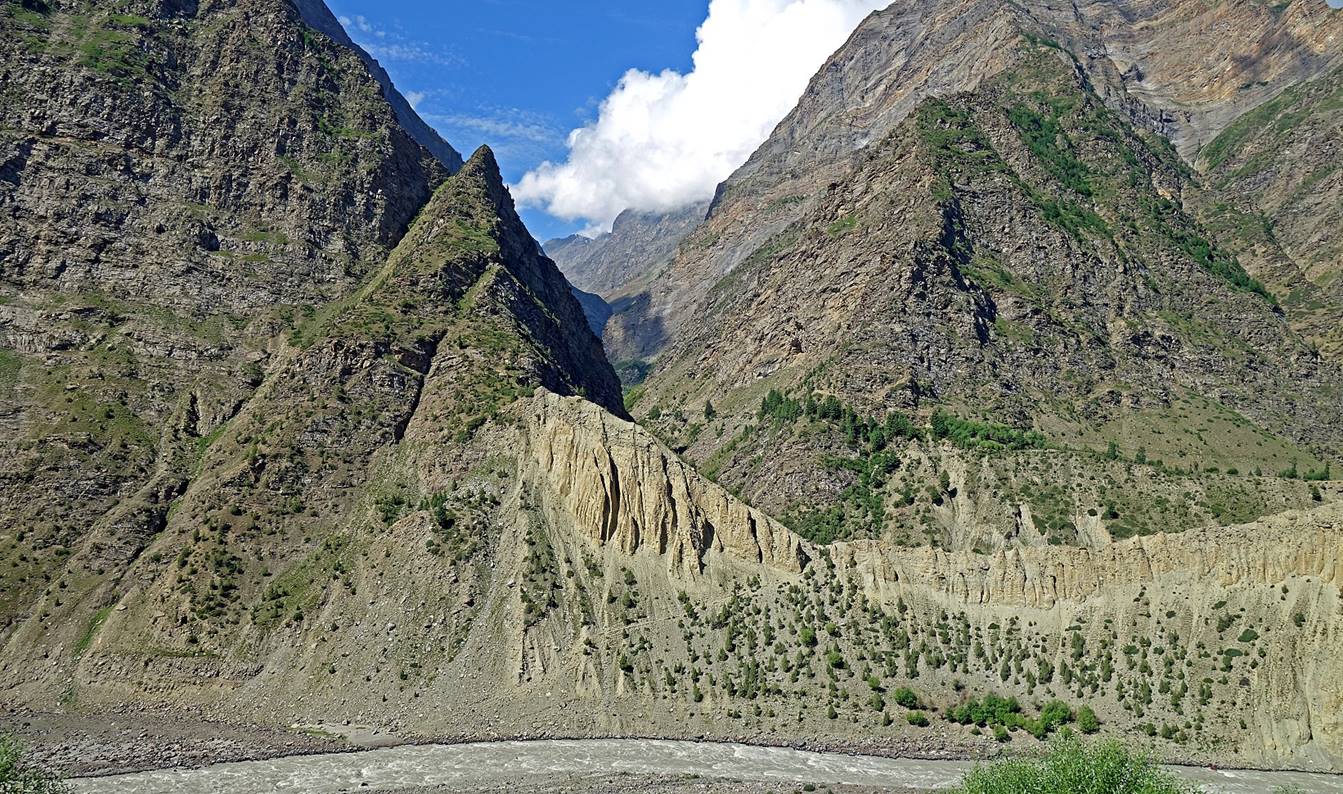
In the valley of the Chenab river between Keylong
and Udaipur.
Main street in Udaipur.

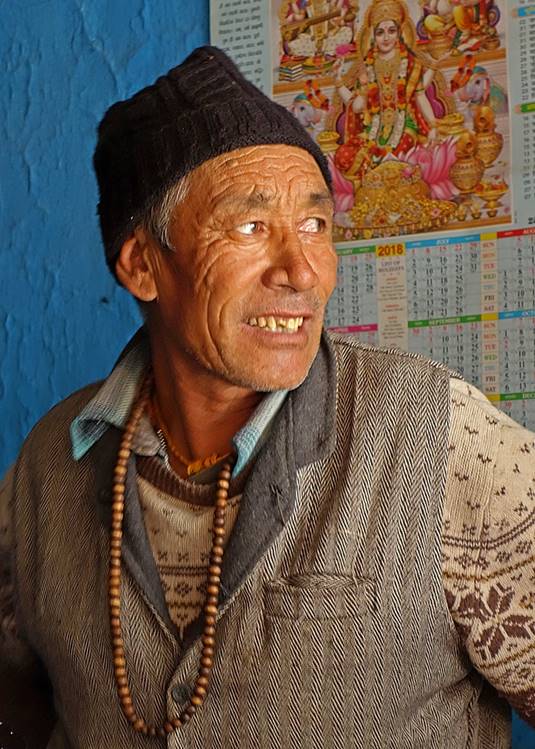
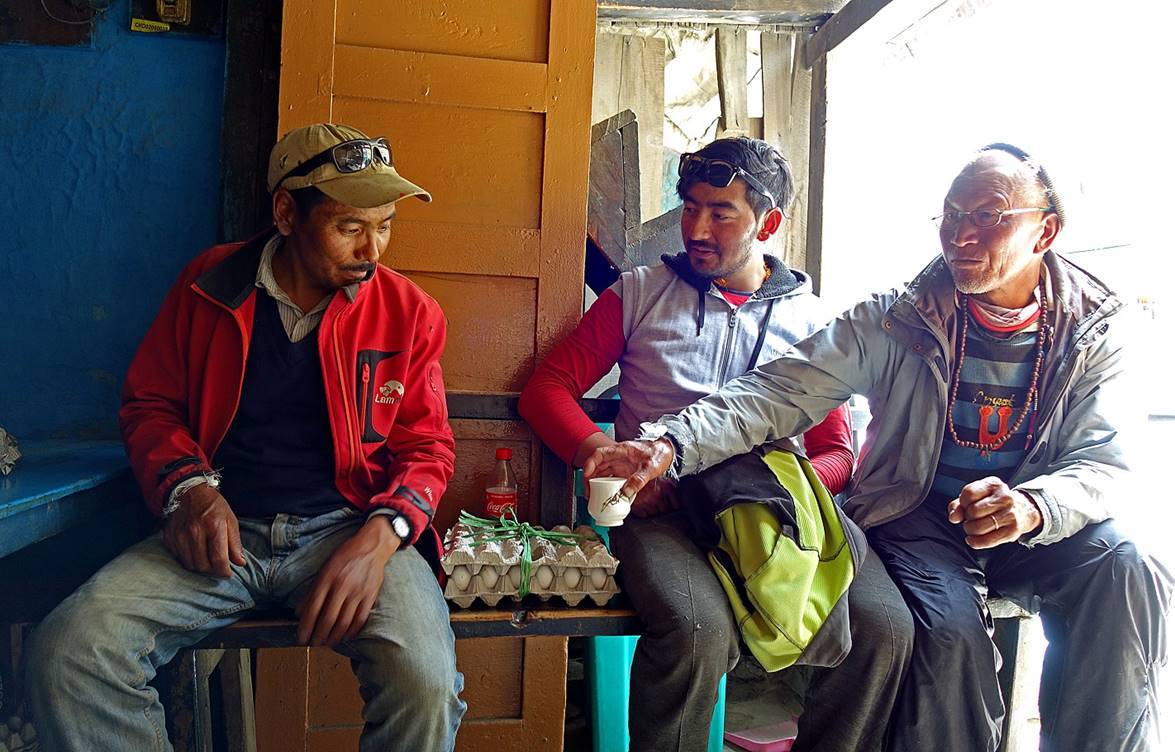
From left to right: Falkays,
Rinchen, Laskhap, and Anchuk in a teahouse of Udaipur. Note the beautiful
Buddhist prayer beads (″malas″) around
the neck of Falkays. My entire supporting team was
Buddhist, but Falkays was definitively the most
devout of all. Note also his wool vest, locally made in his Zanskar
village.
|
|
|
Reaching the end of the road and start of the trek, north of Udaipur (WP
#1). The village of Khanjar is on the other side of
the Miyar Nala.
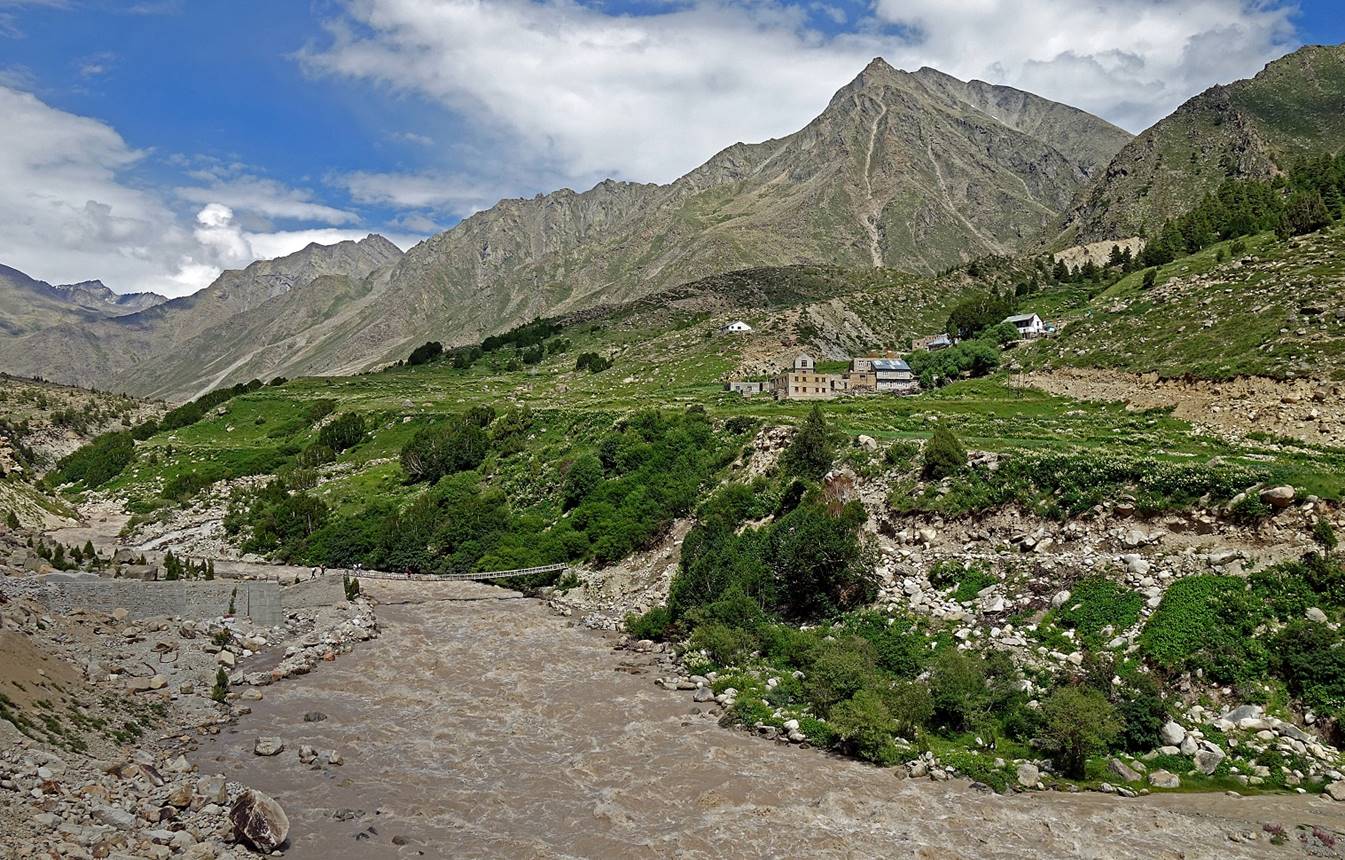
The village is accessible by a suspension foot bridge. We set our camp
for two nights on the grounds of the village′s school (WP #2).
Day 1 of
trek:
Looking back at the valley of the Miyar Nala soon after leaving the
village.
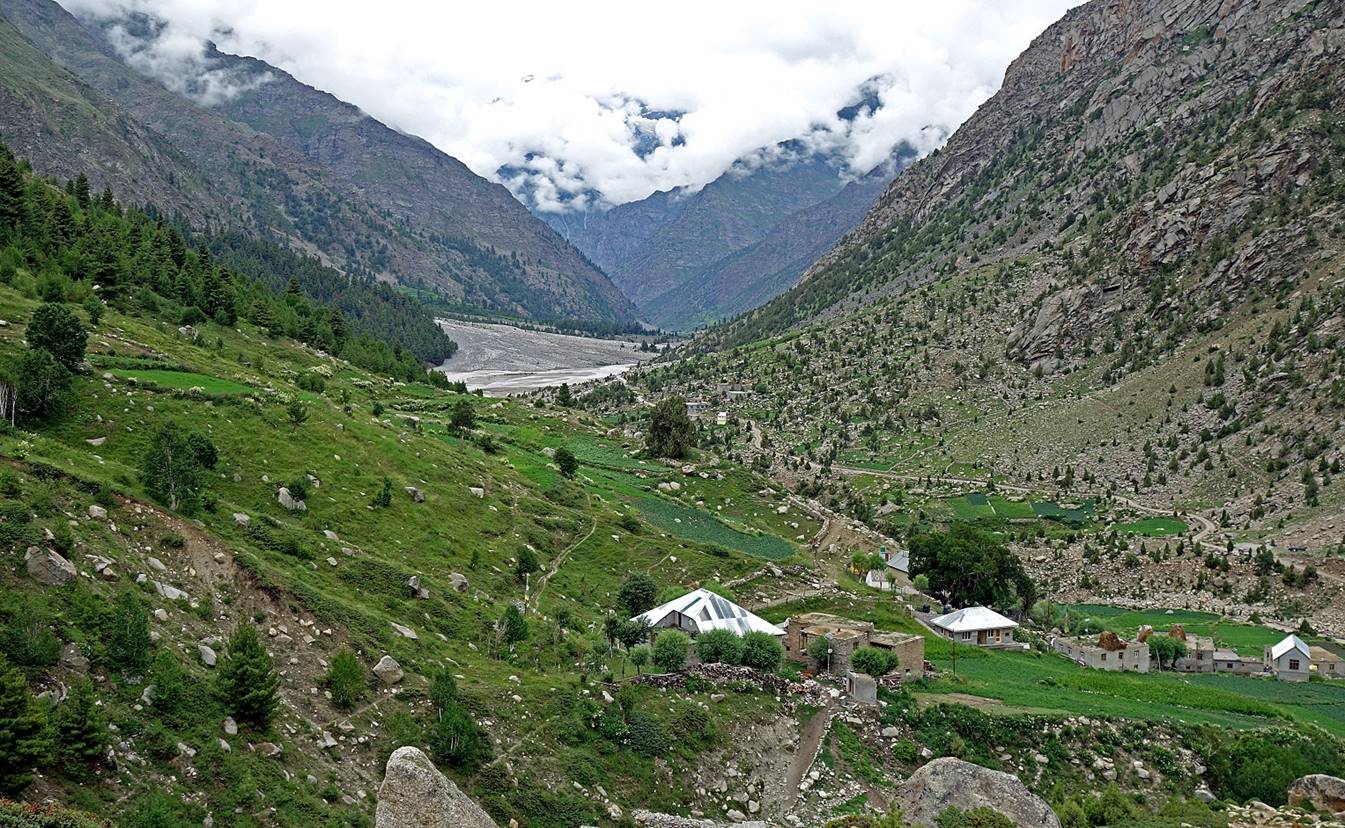
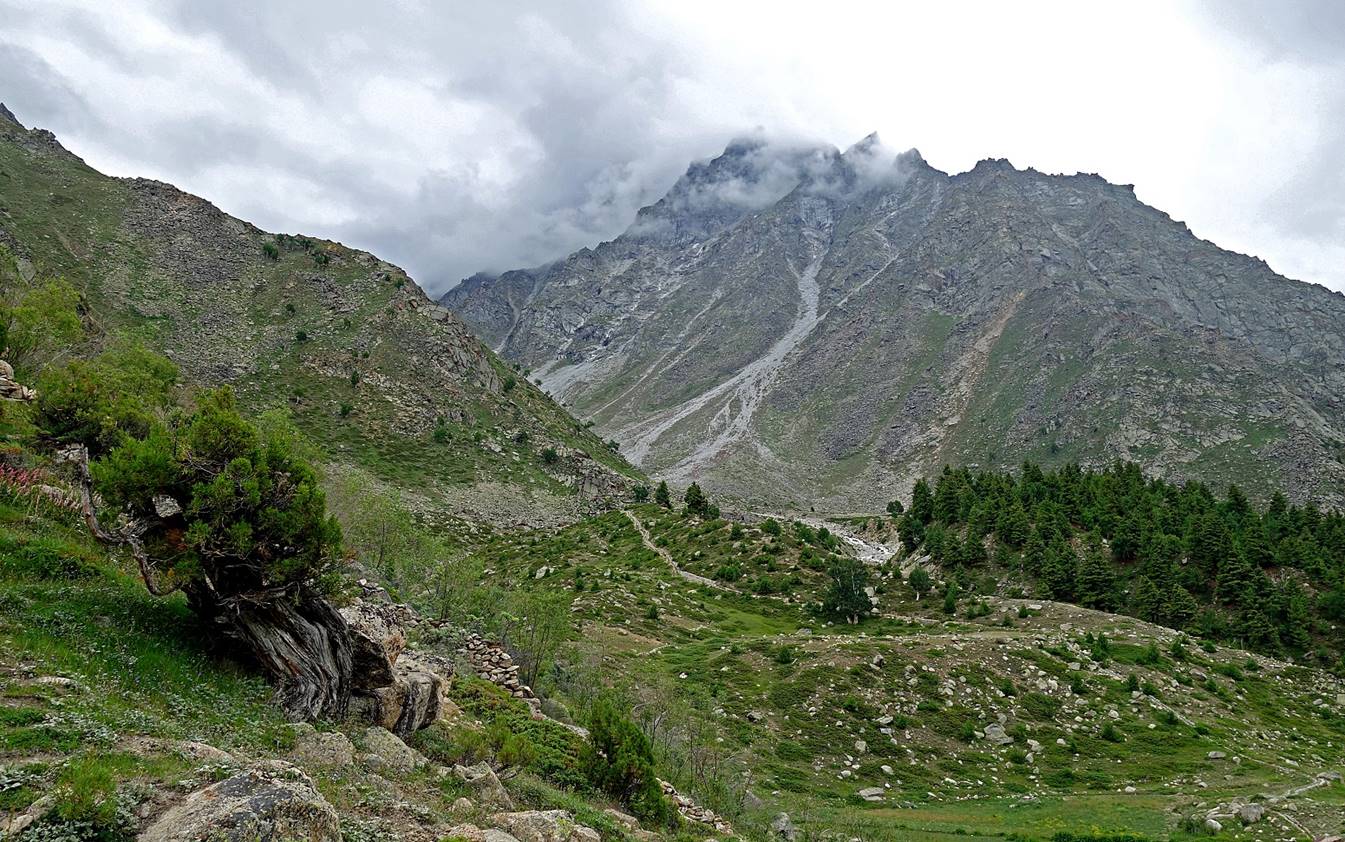
Side valley.
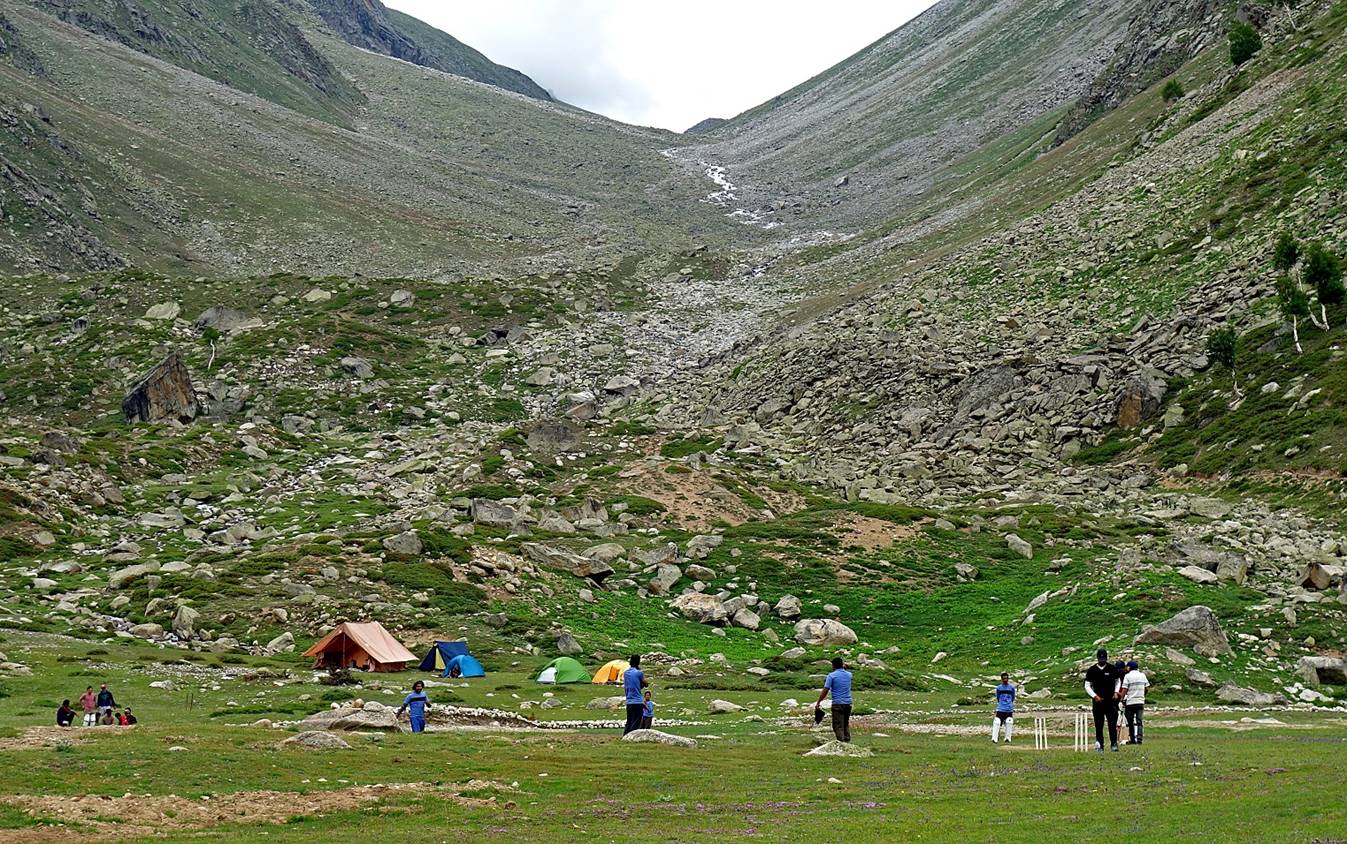
Surprise! Local people from Udaipur and
around were running a small cricket tournament.
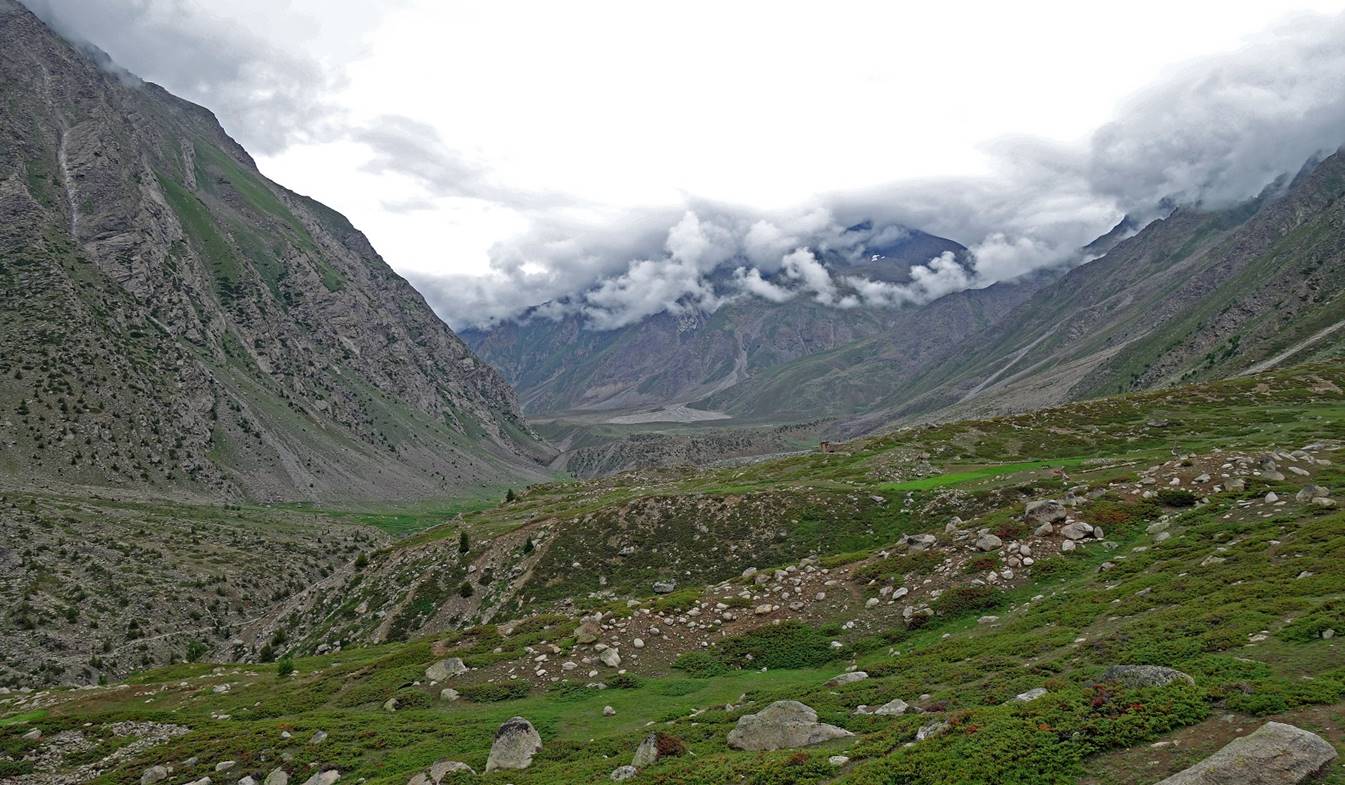
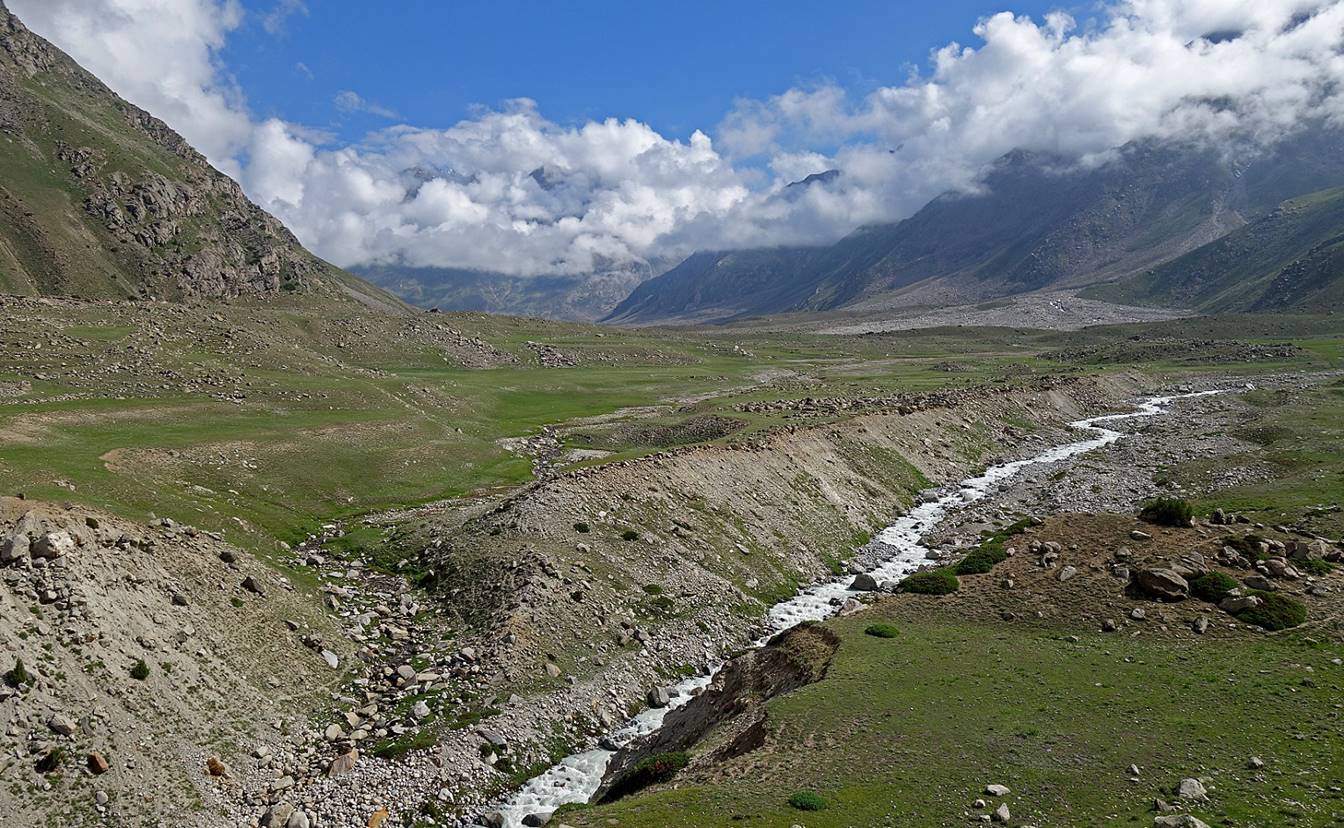
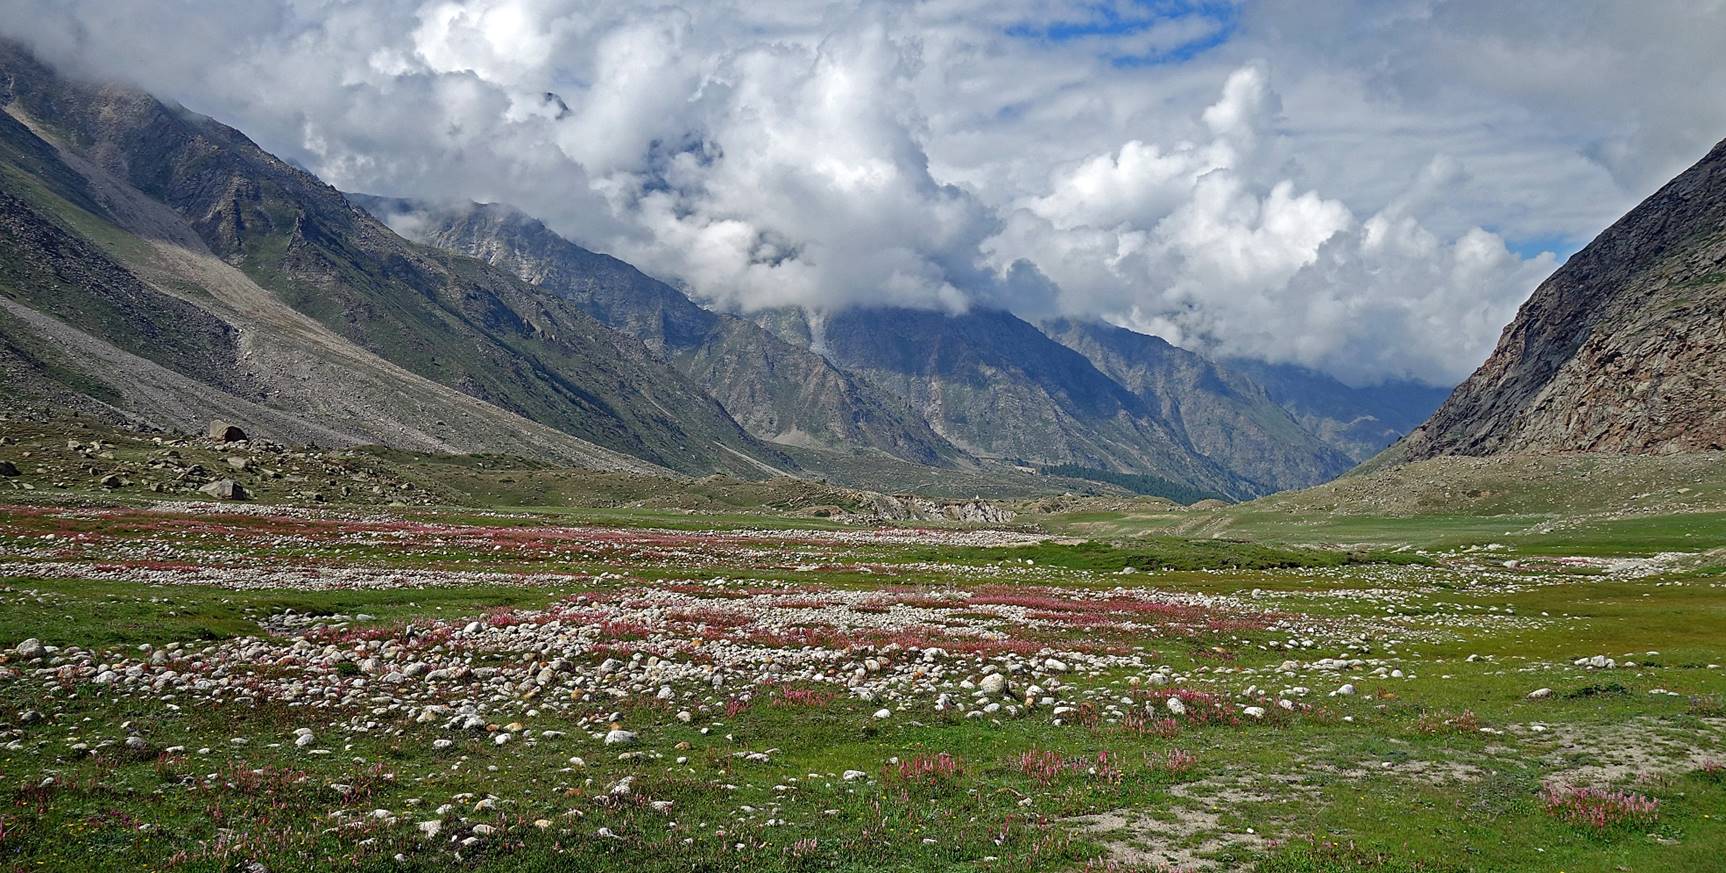
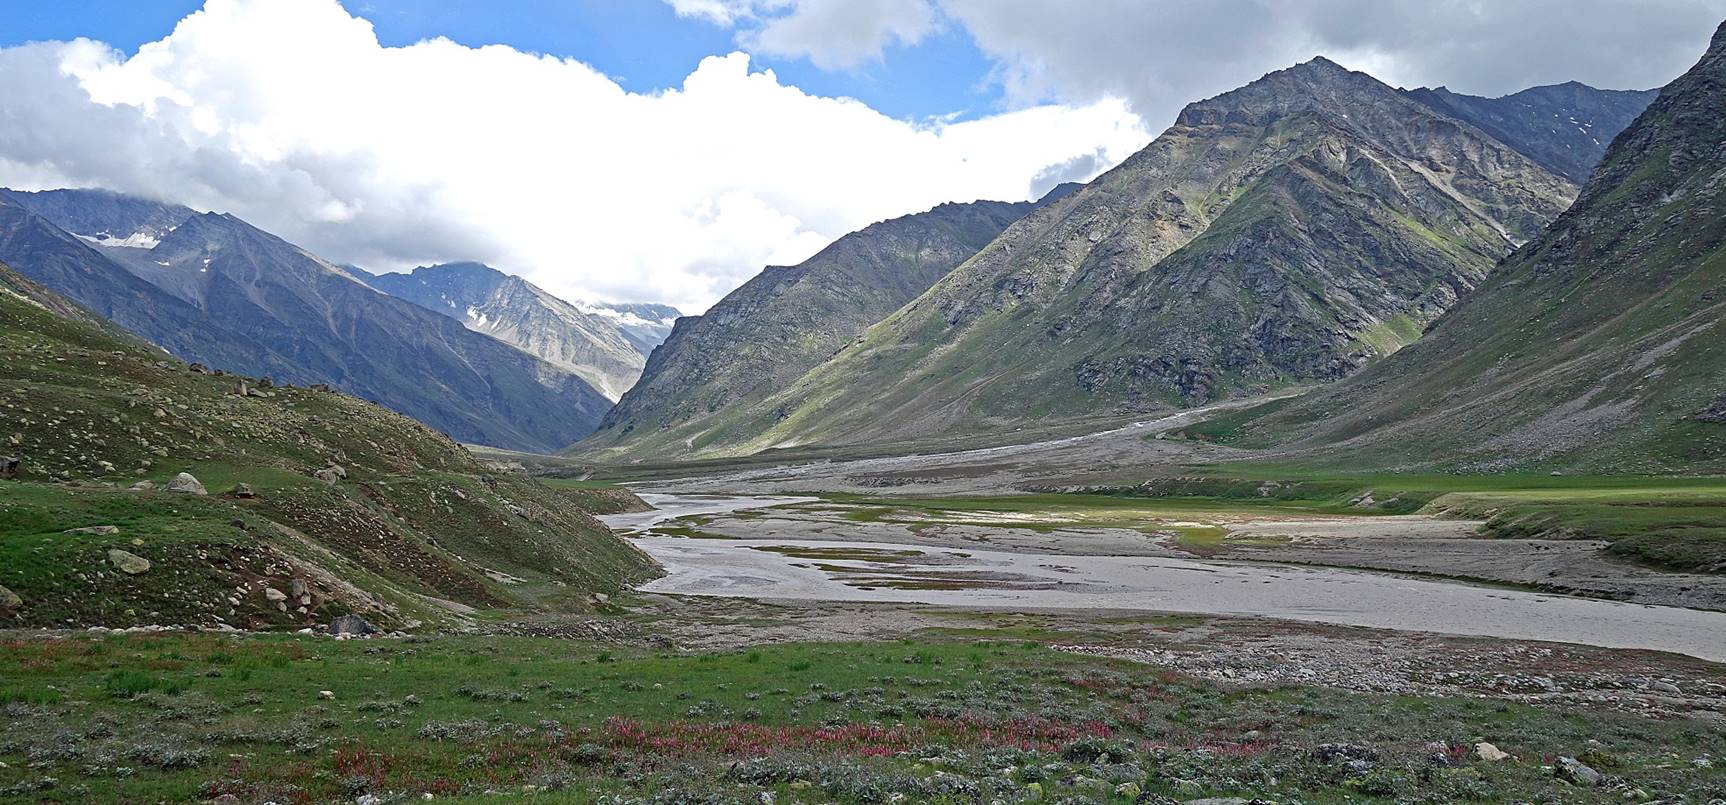
Further up in the Miyar Nala valley.

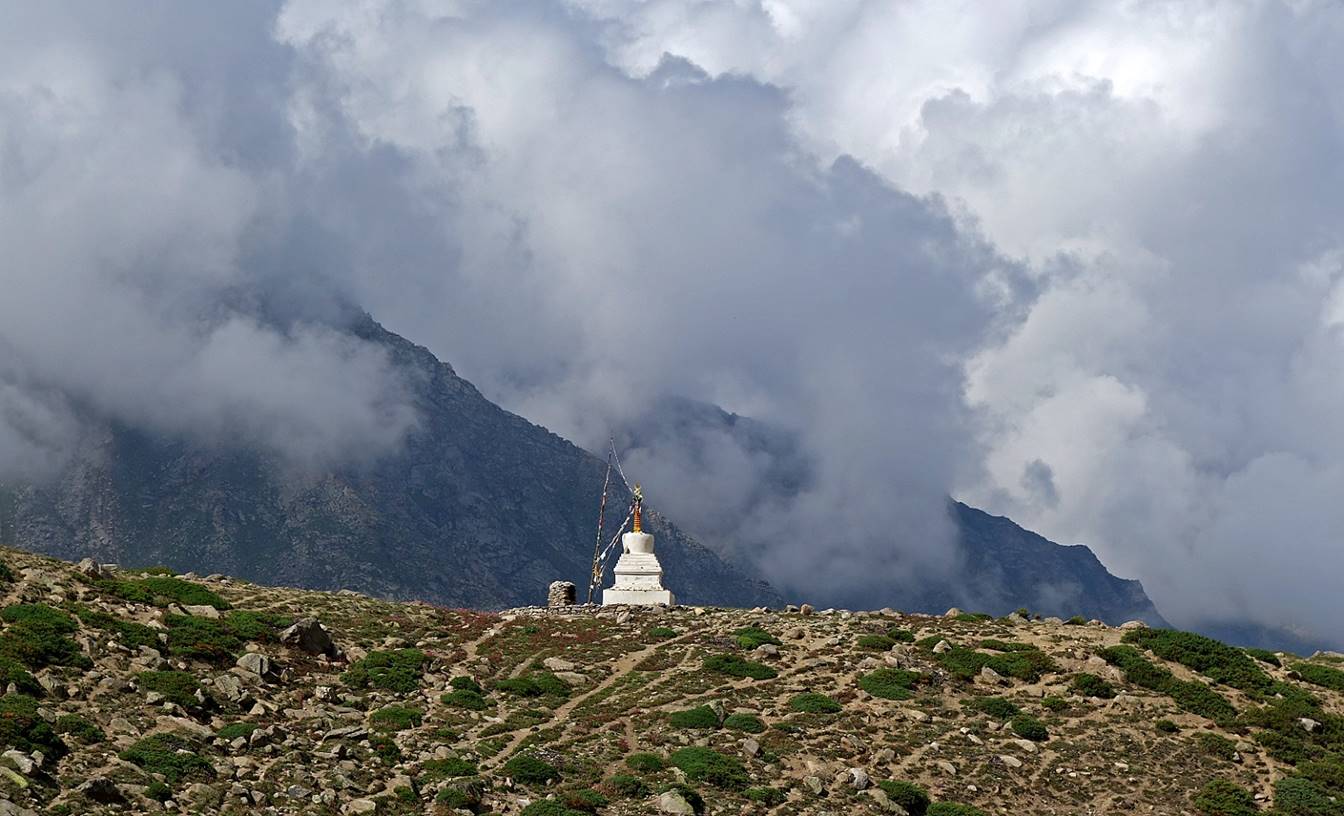
Chorten on a ridge.
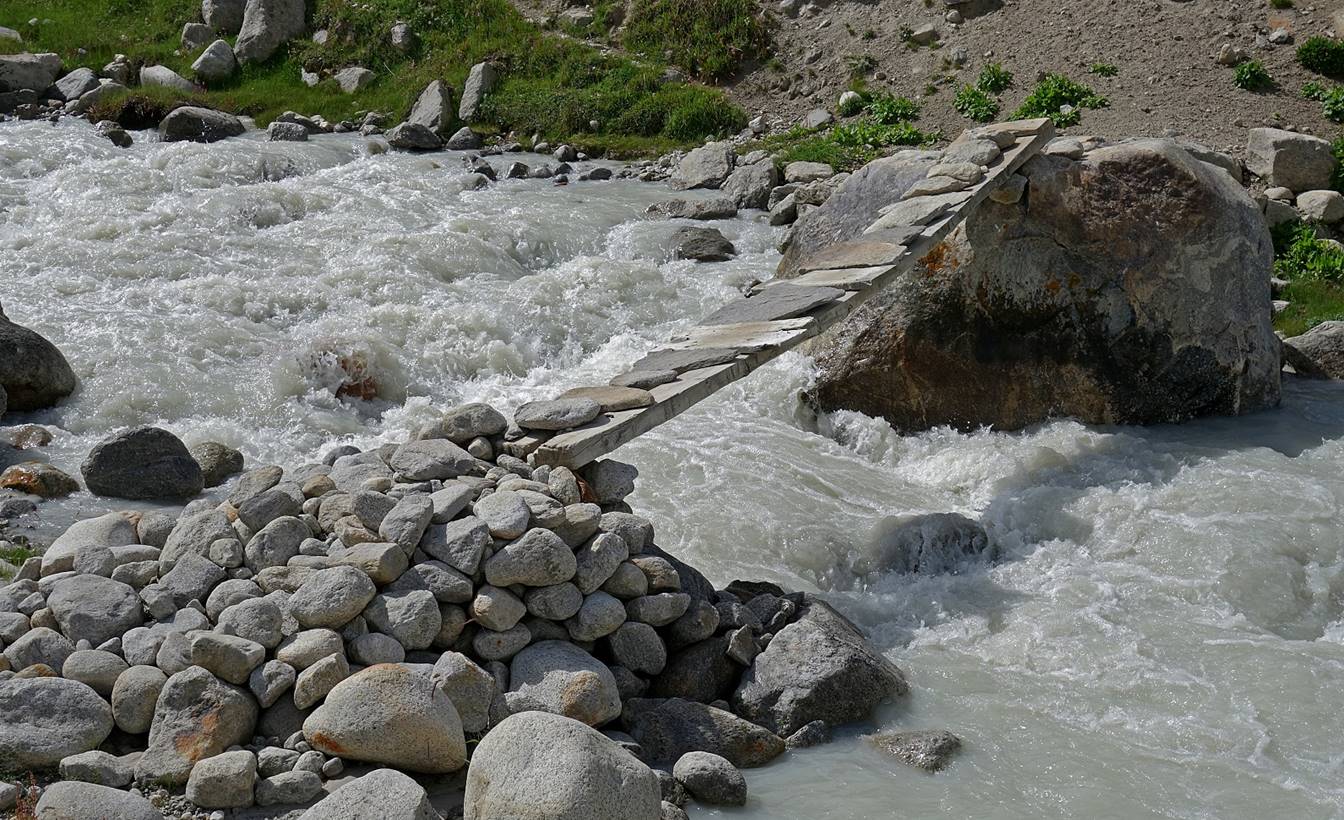
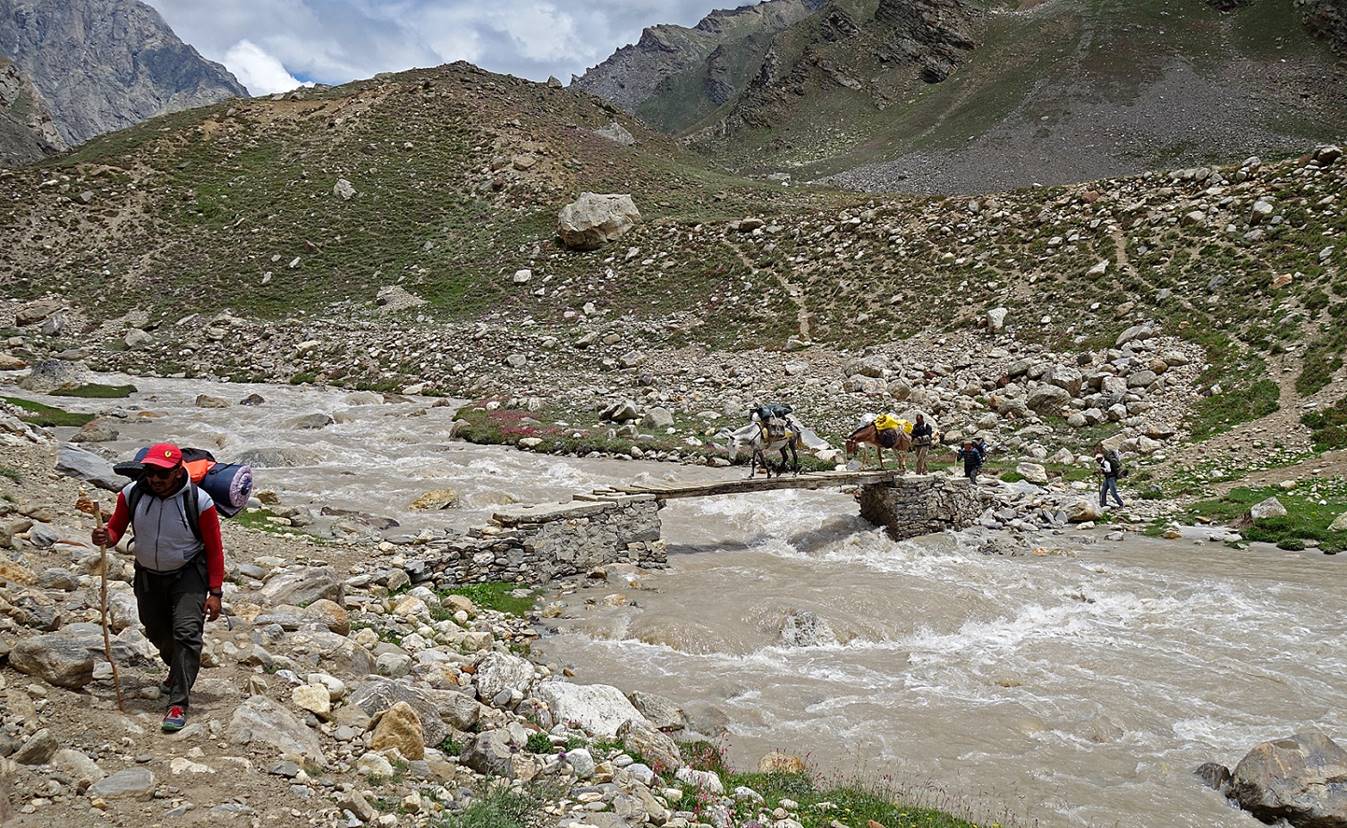
A somewhat precarious bridge, but still much better than no bridge at
all.
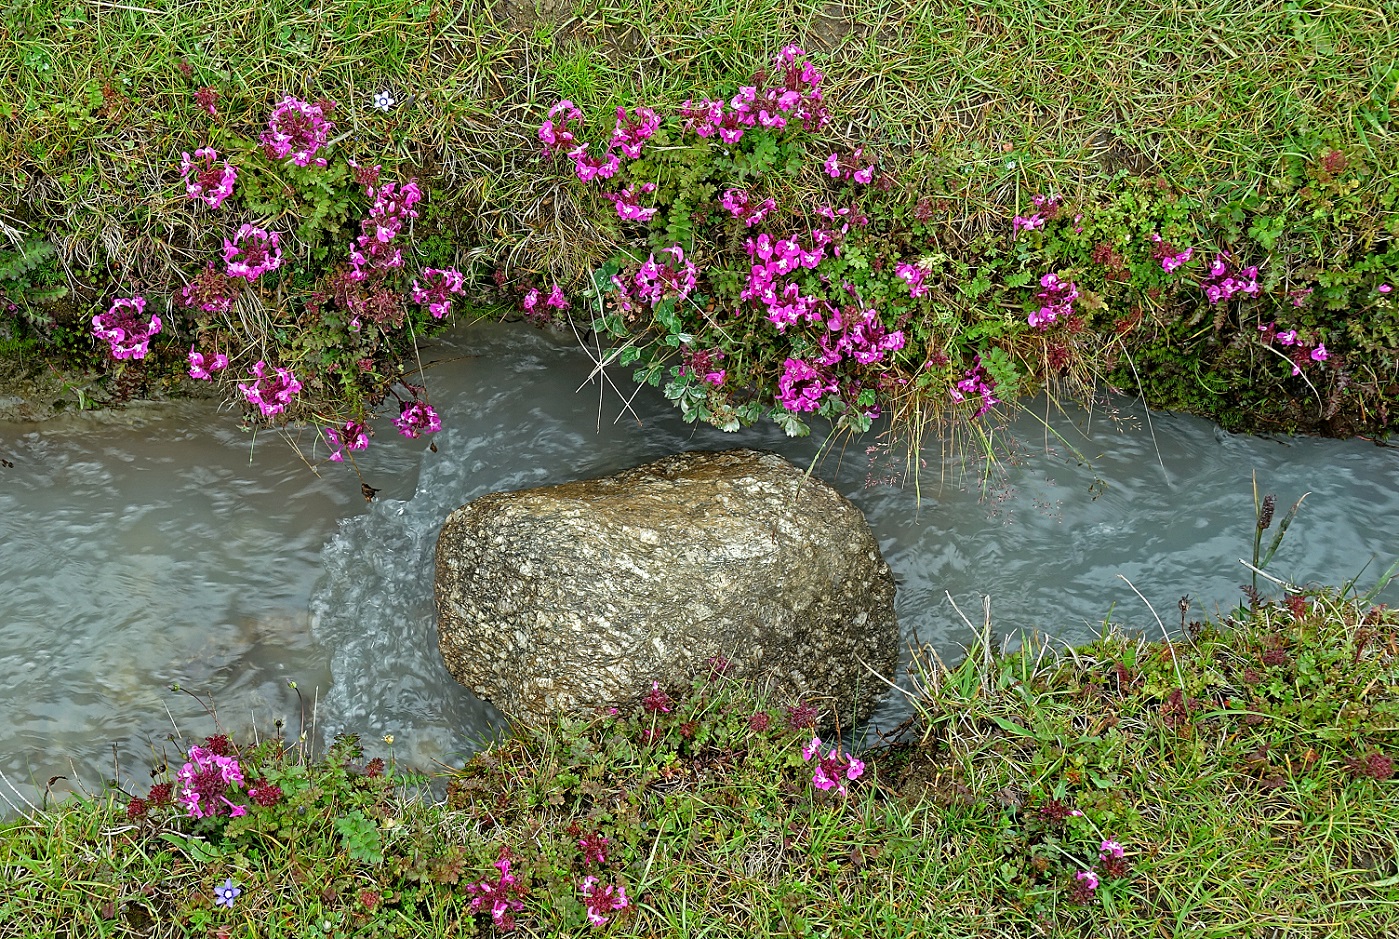
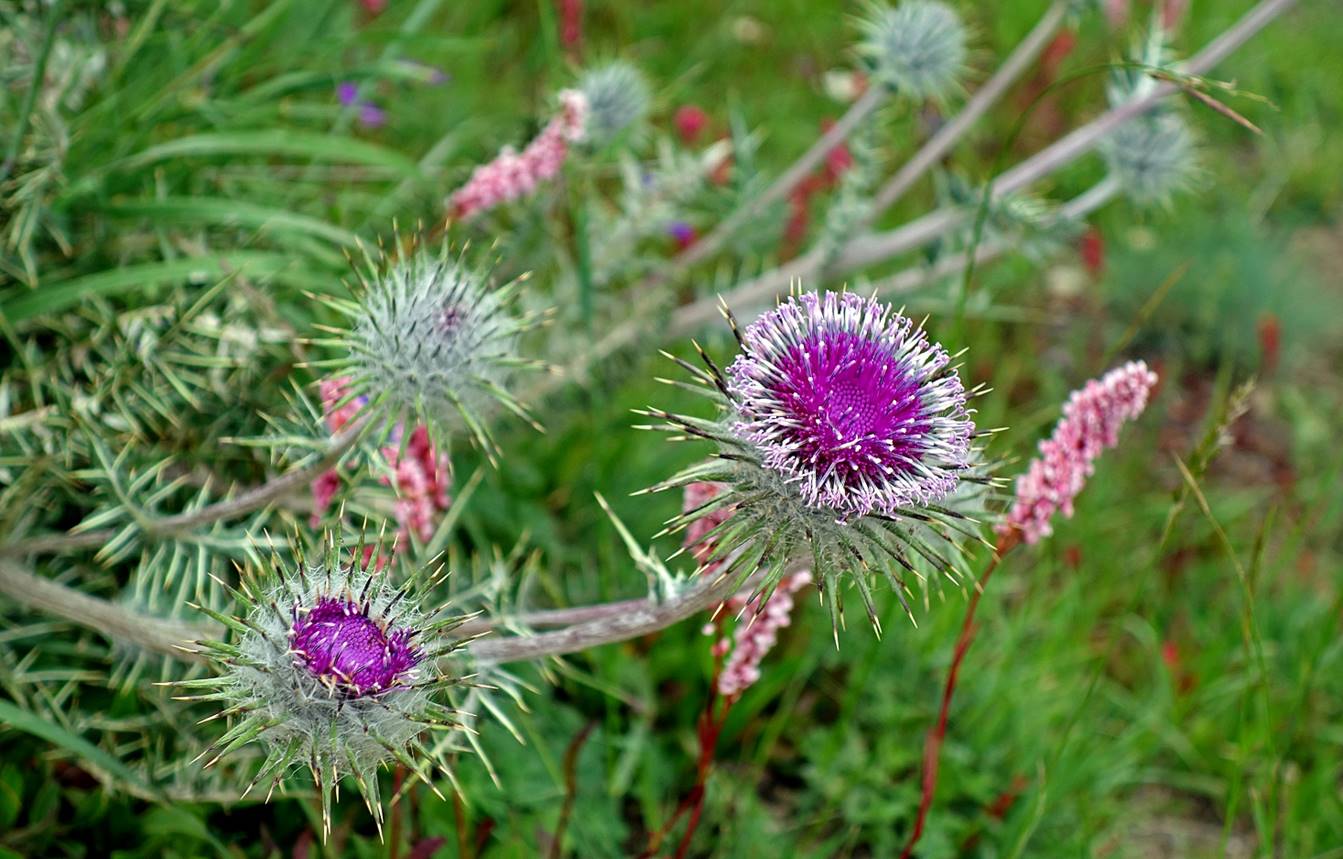
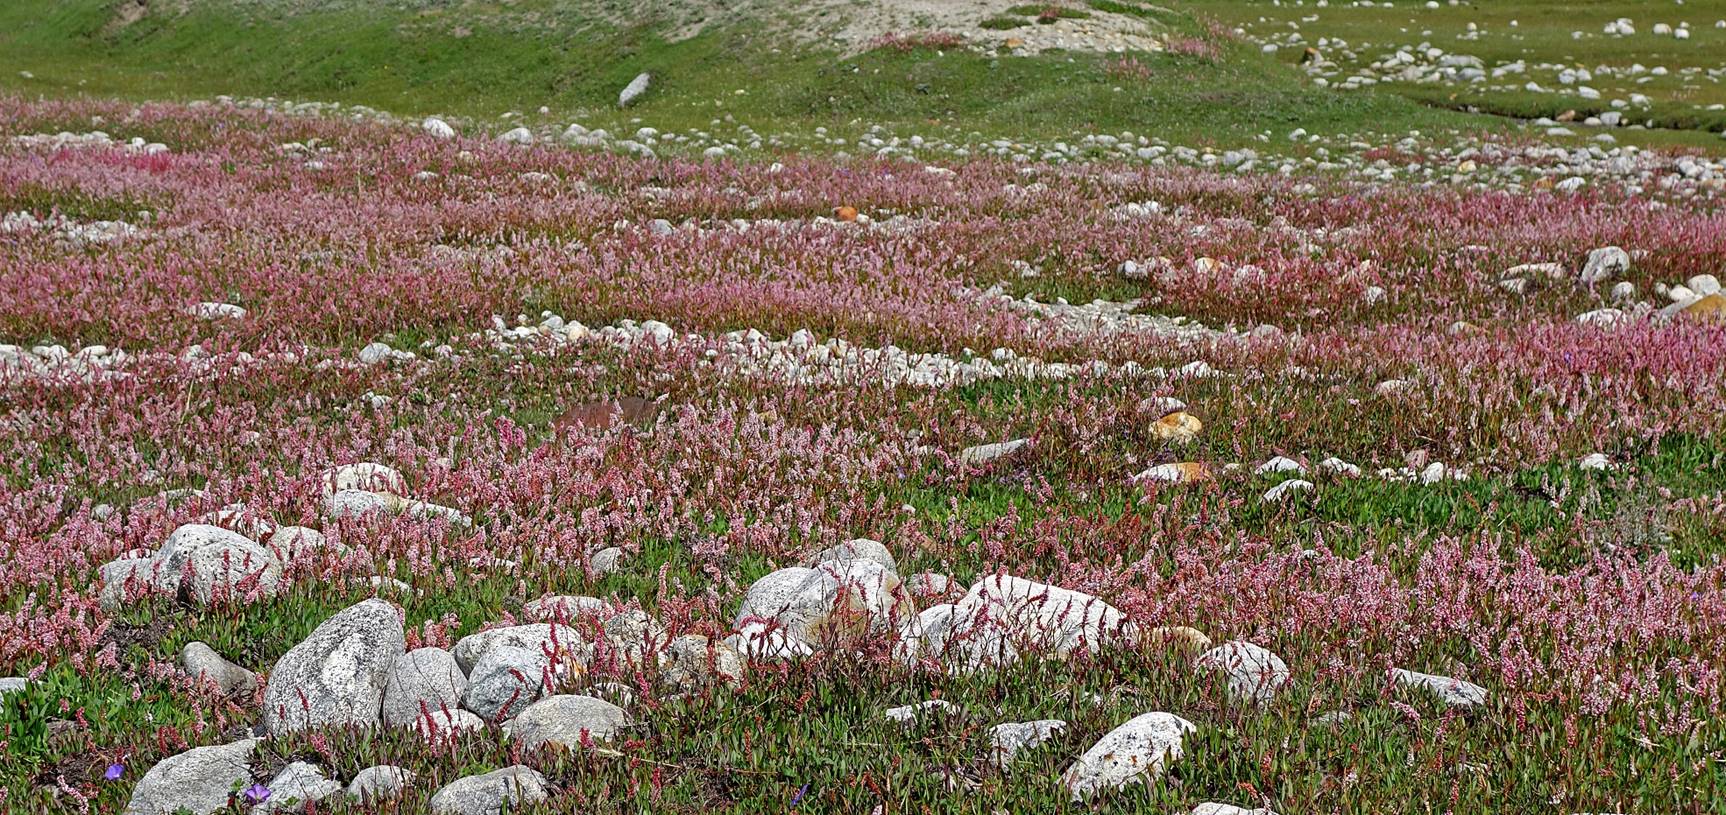
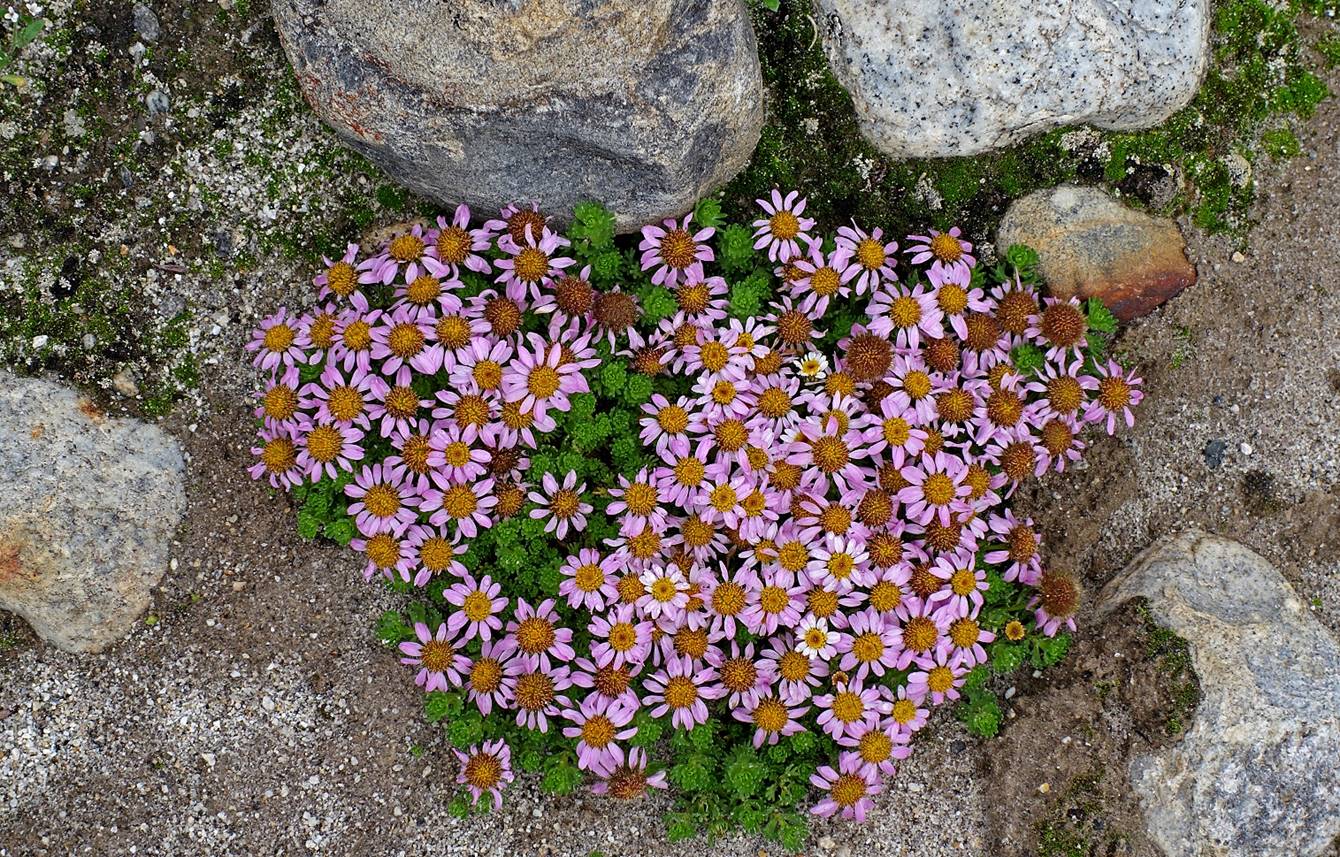
Spreads of pink flowers.

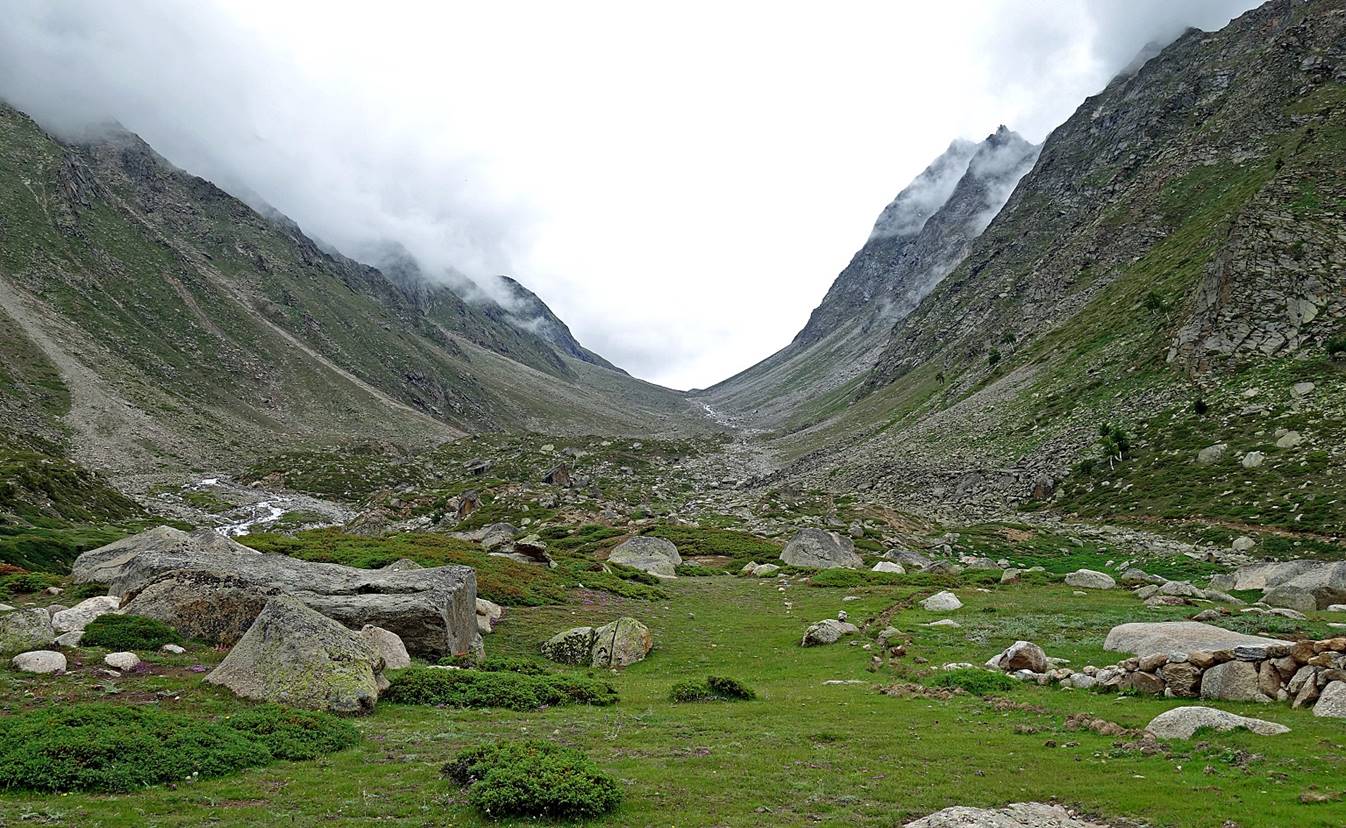
Another side valley.
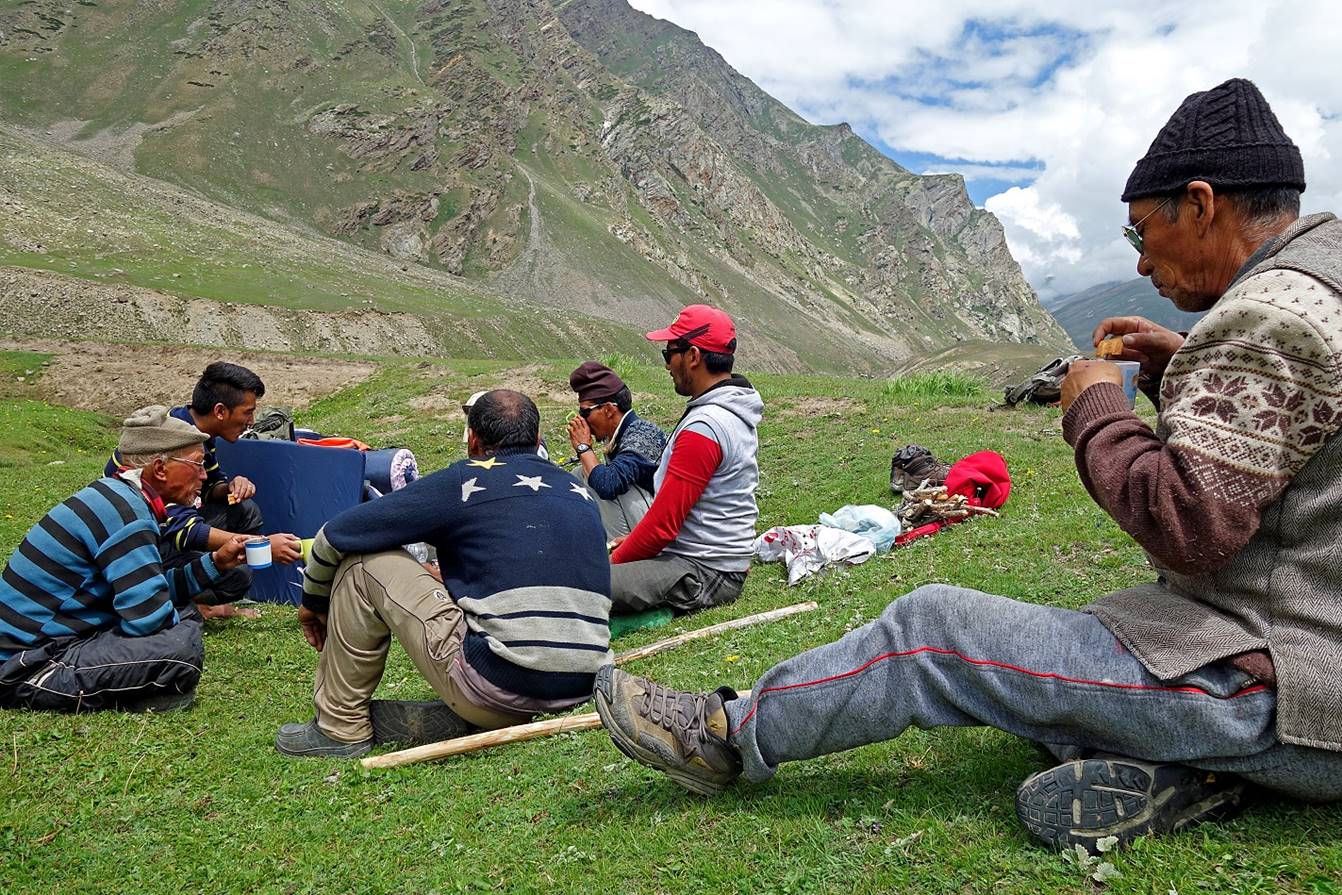
Tea and lunch on the way.
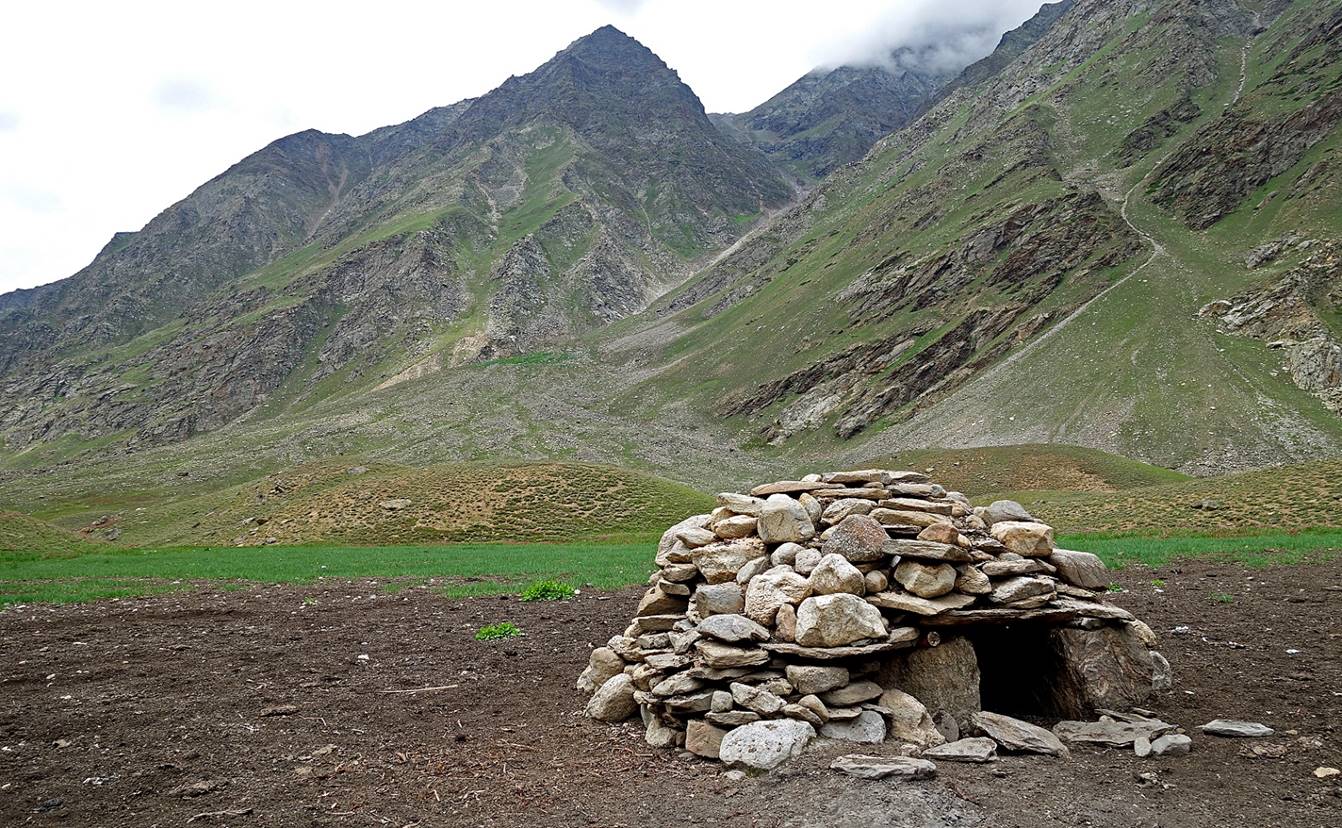
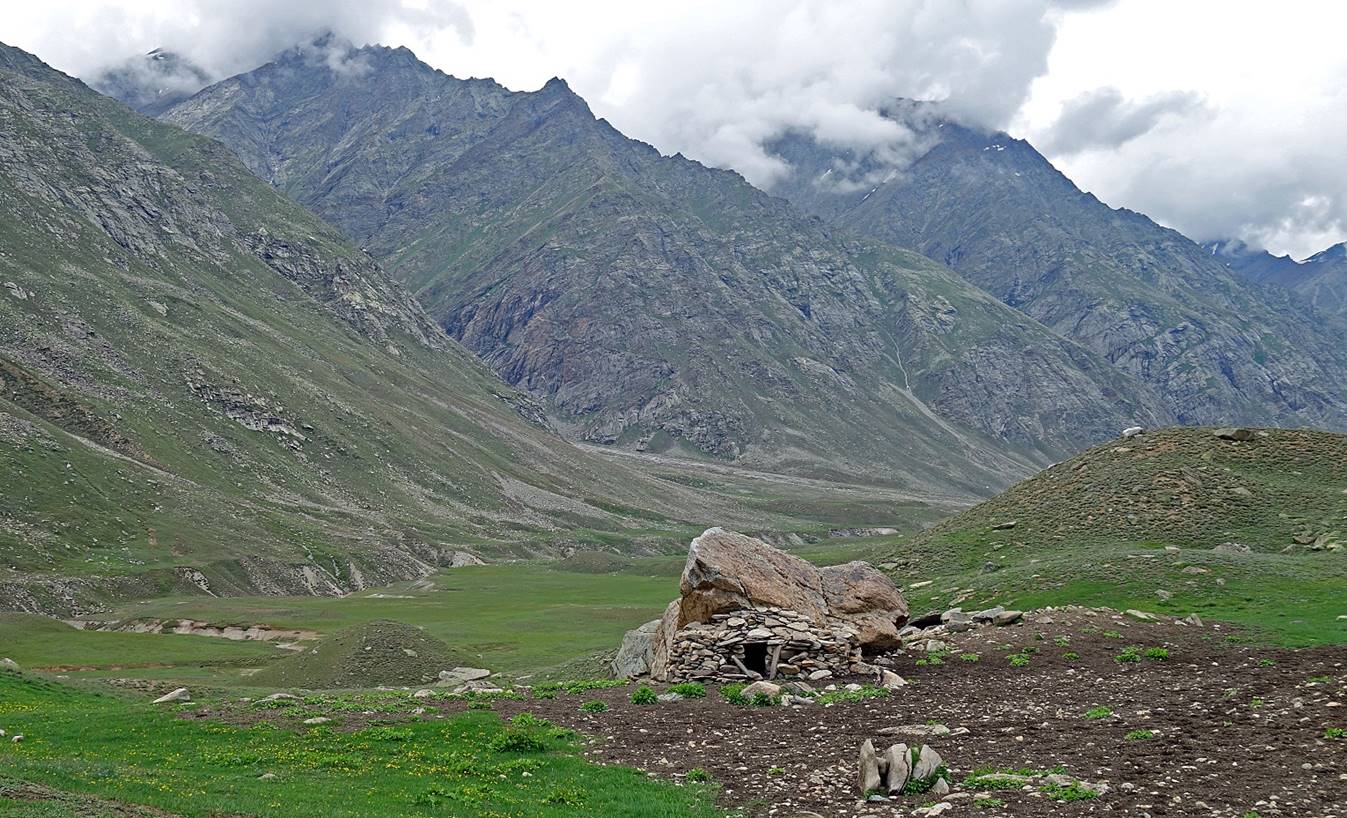
Shepherd shelter.
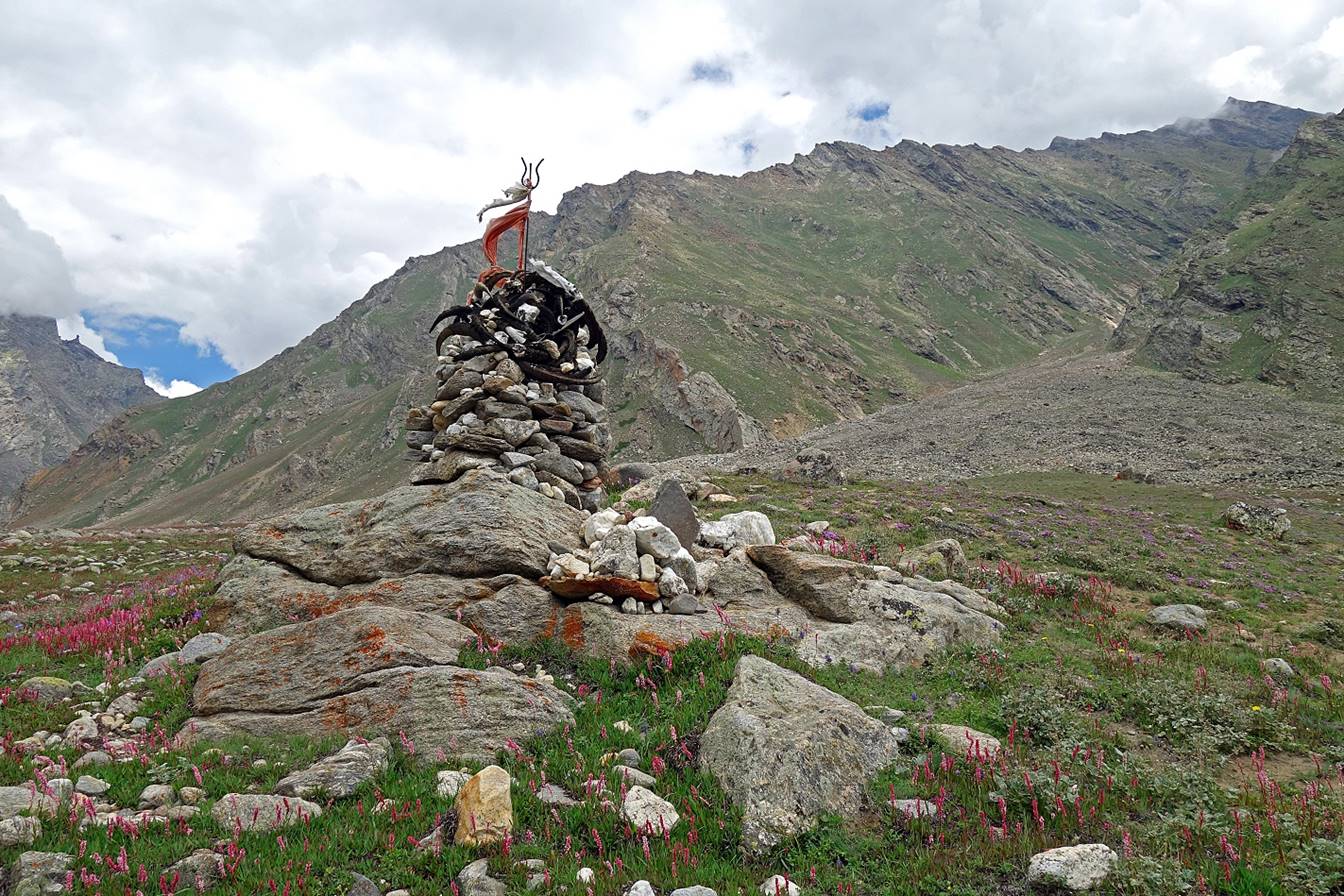
Small Buddhist structure with goat horns.
The Gumba Nala
side-valley between WP #8 and #9. At the confluence the Miyar
Nala valley makes a turn toward the north-west (see
map at the top of the page).
Another, better bridge.
Another shepherd shelter.
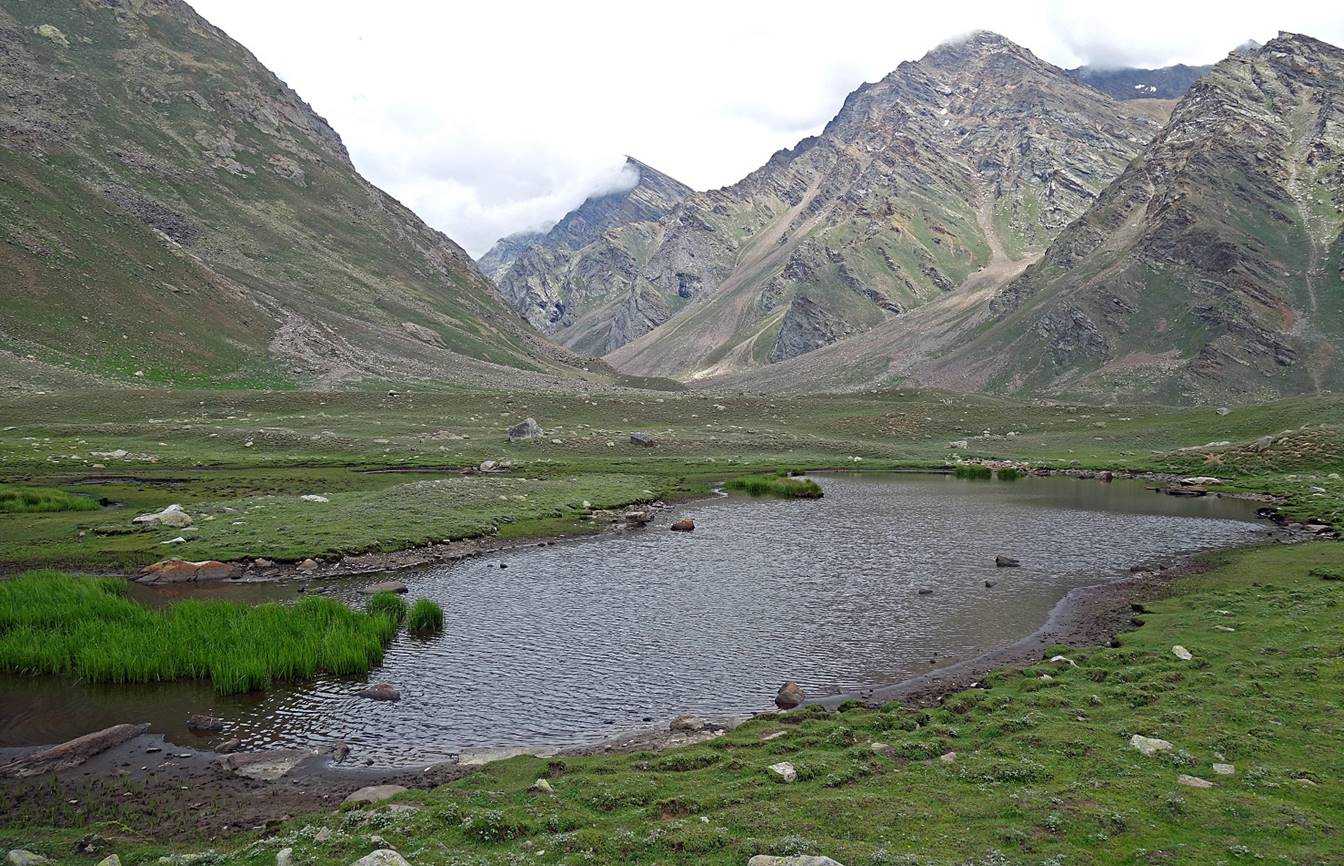
Small lake.
Side valley on the western side of the Miyar Nala.
Site of our second camp (WP #12).
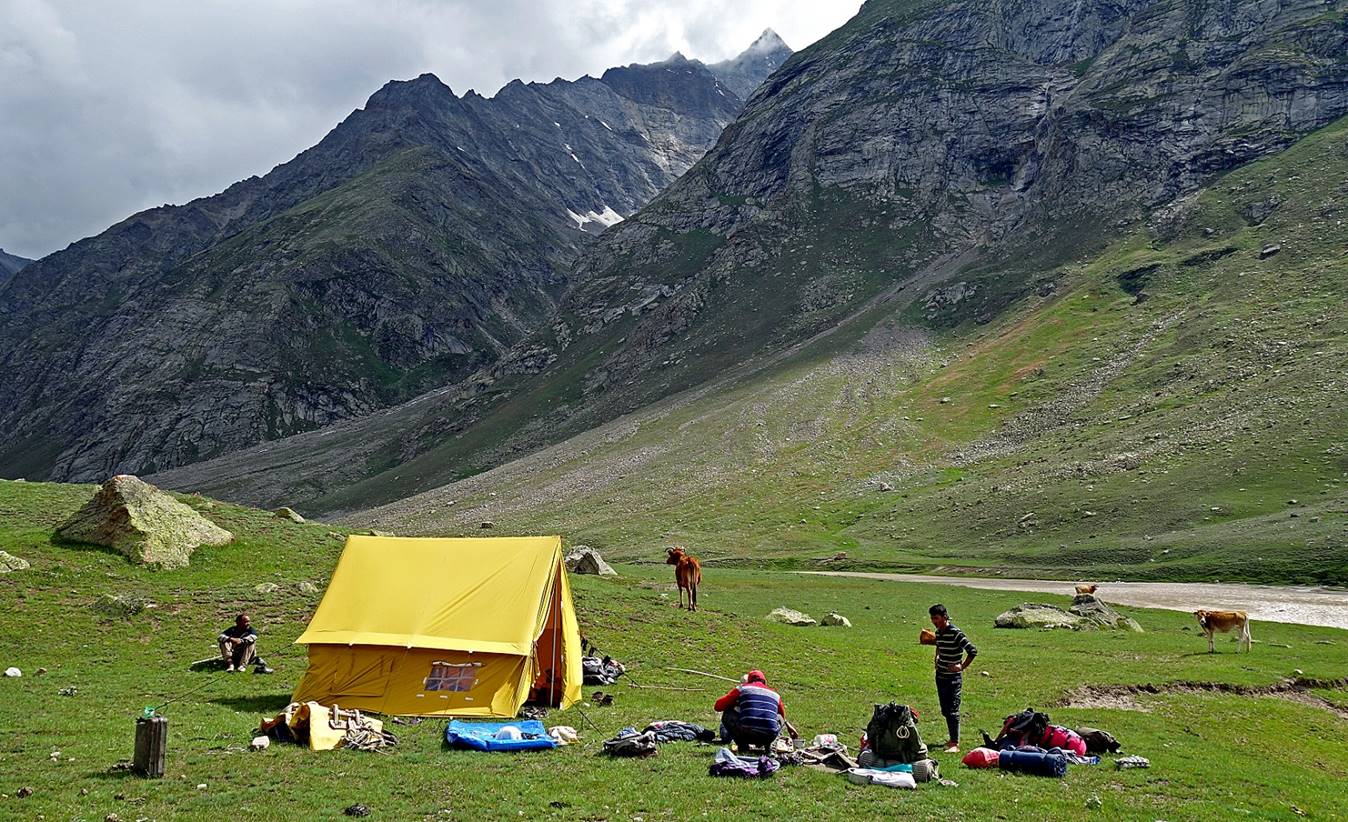
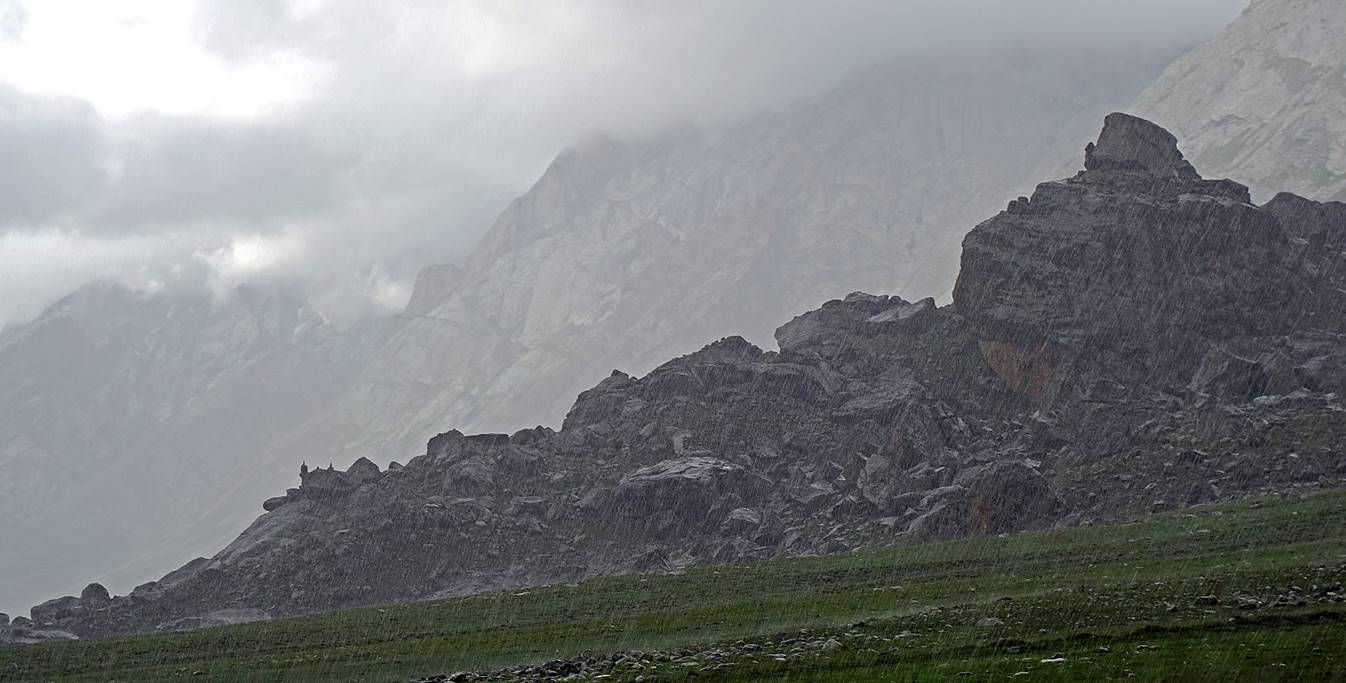
View from my tent in the late afternoon, soon before the brewing storm...
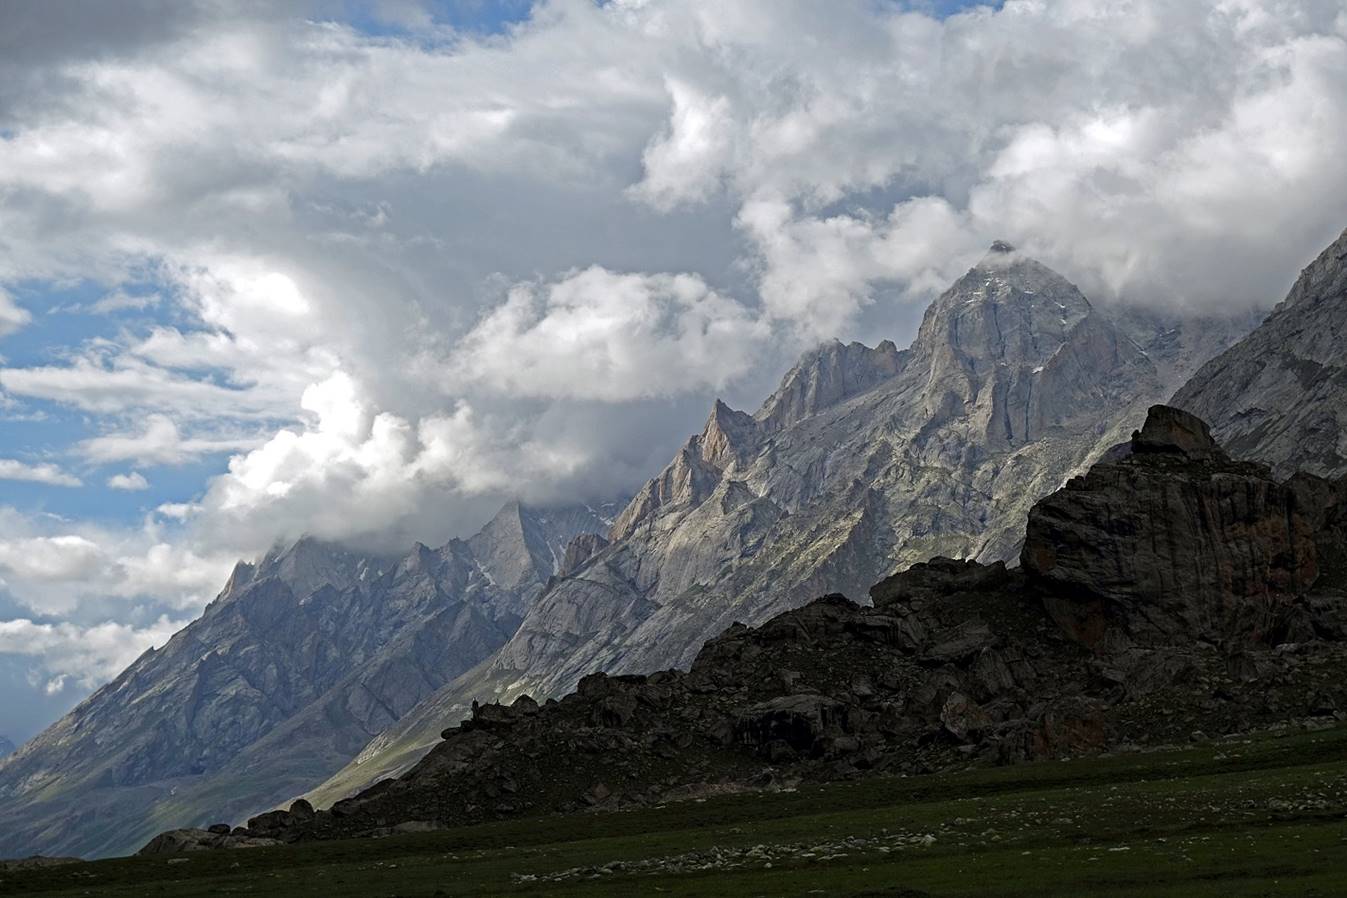
...blew up.
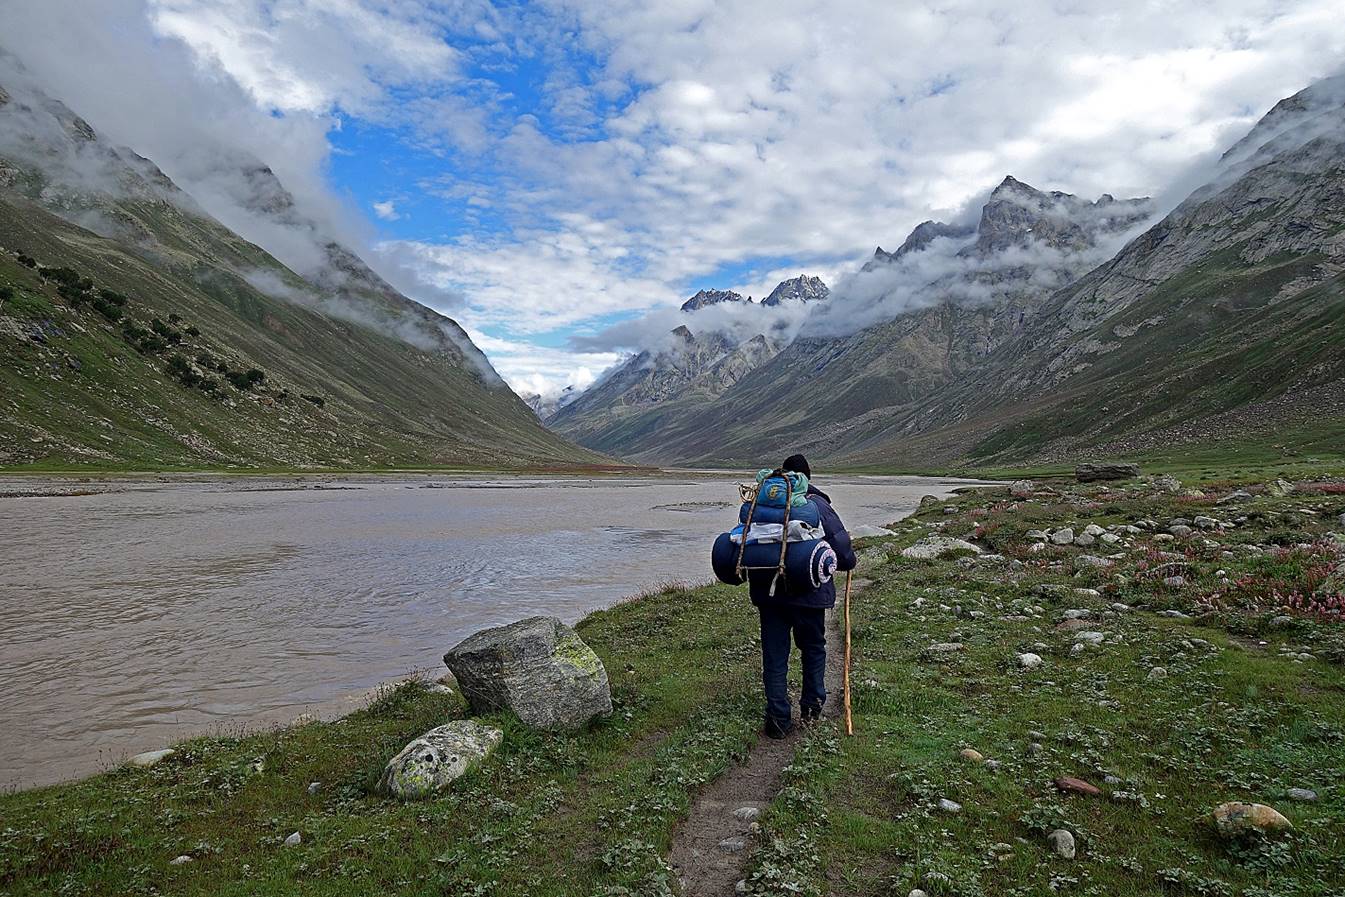
Day 2:
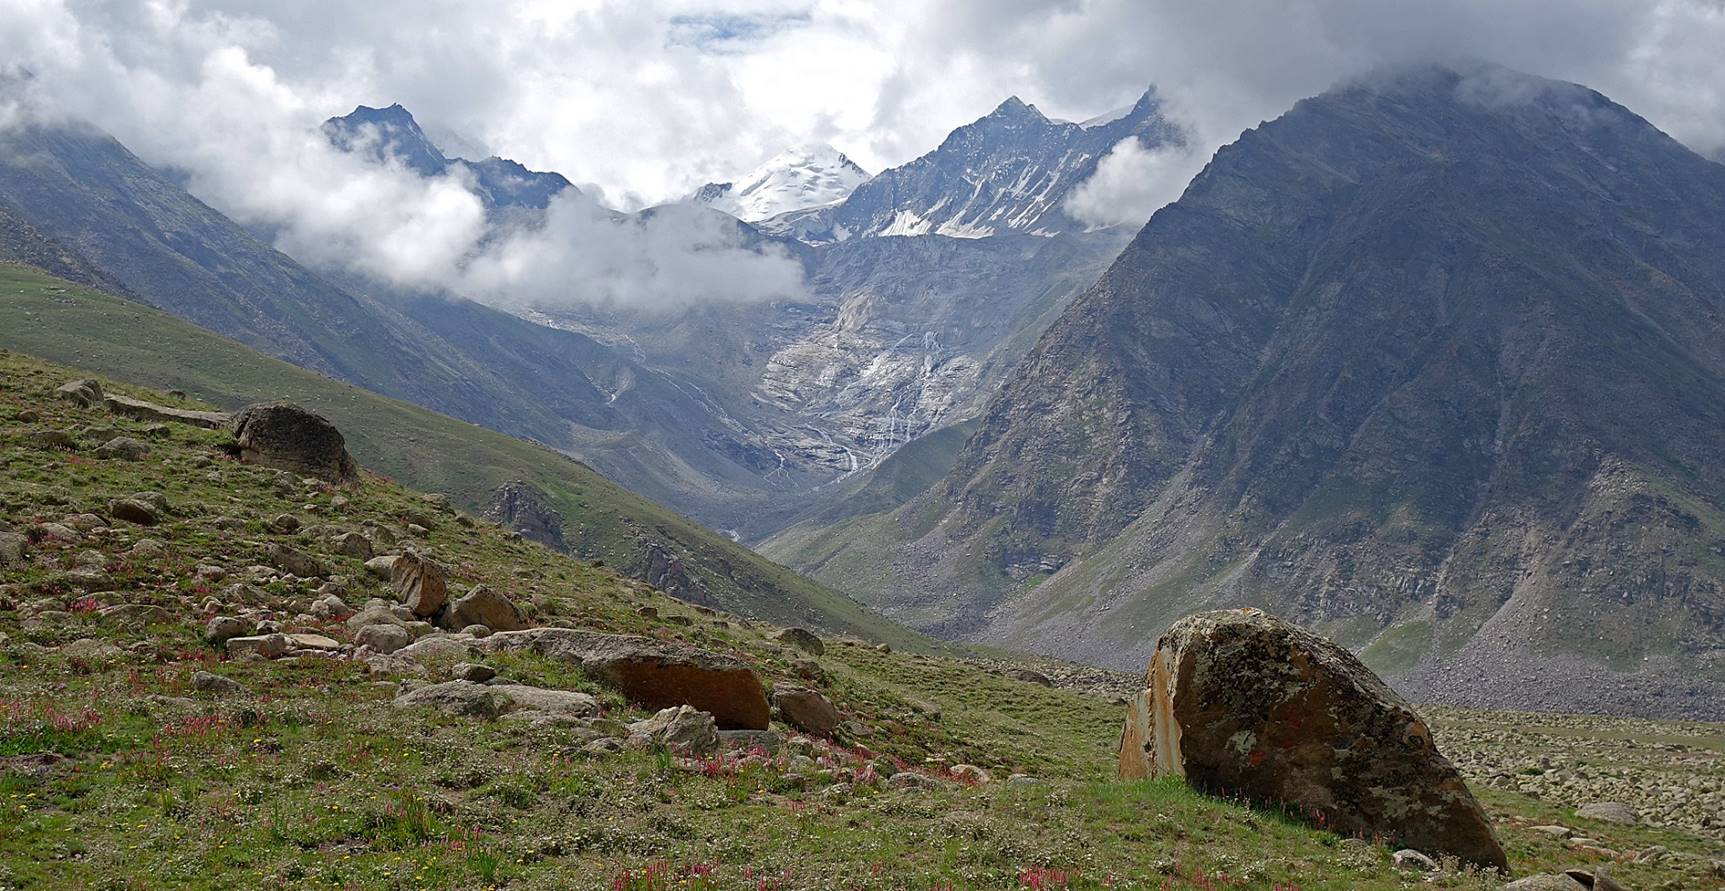
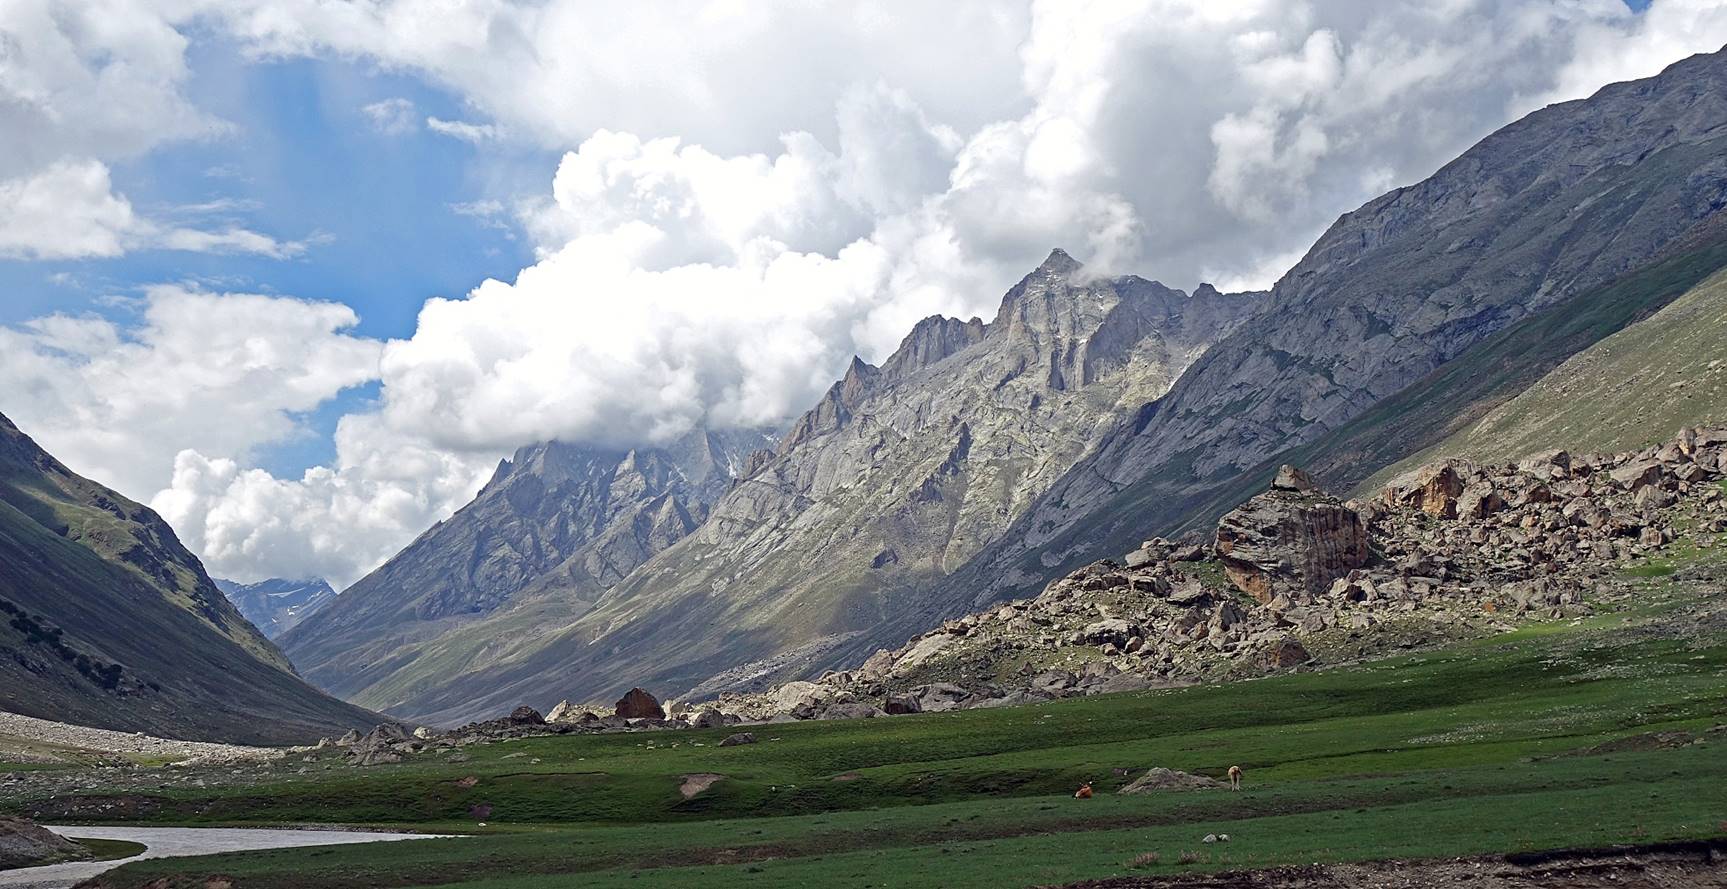
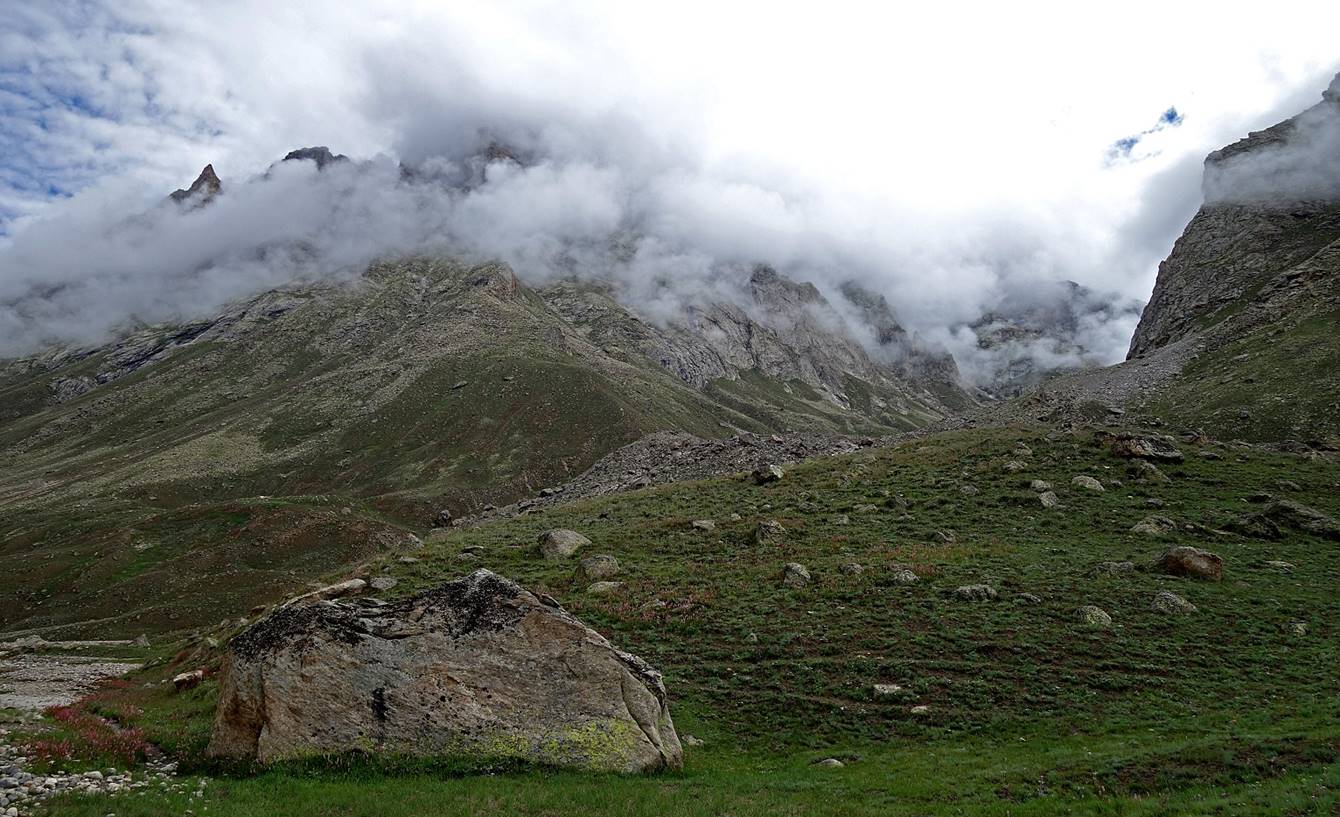
Georgeous morning views (toward the north) from
my tent.


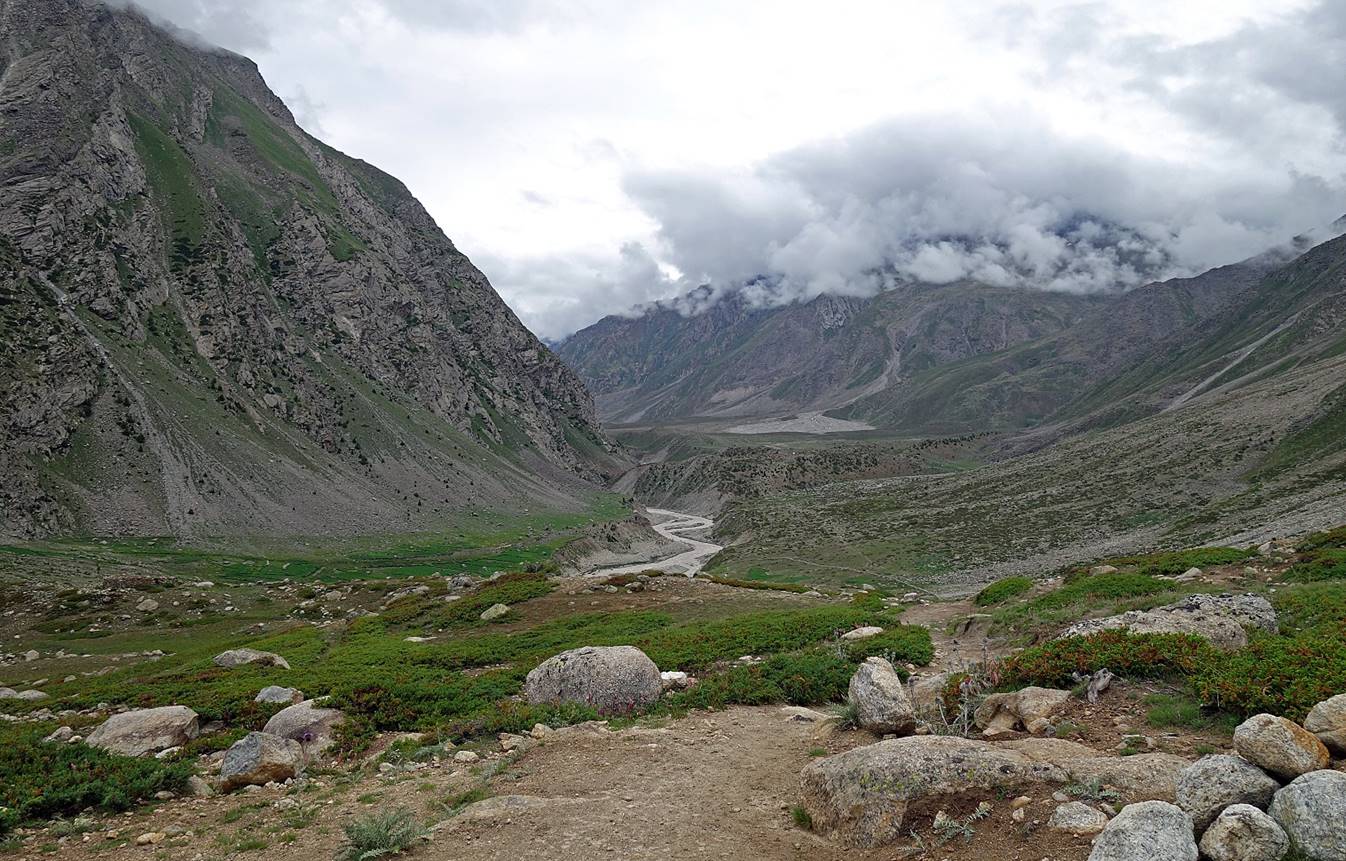
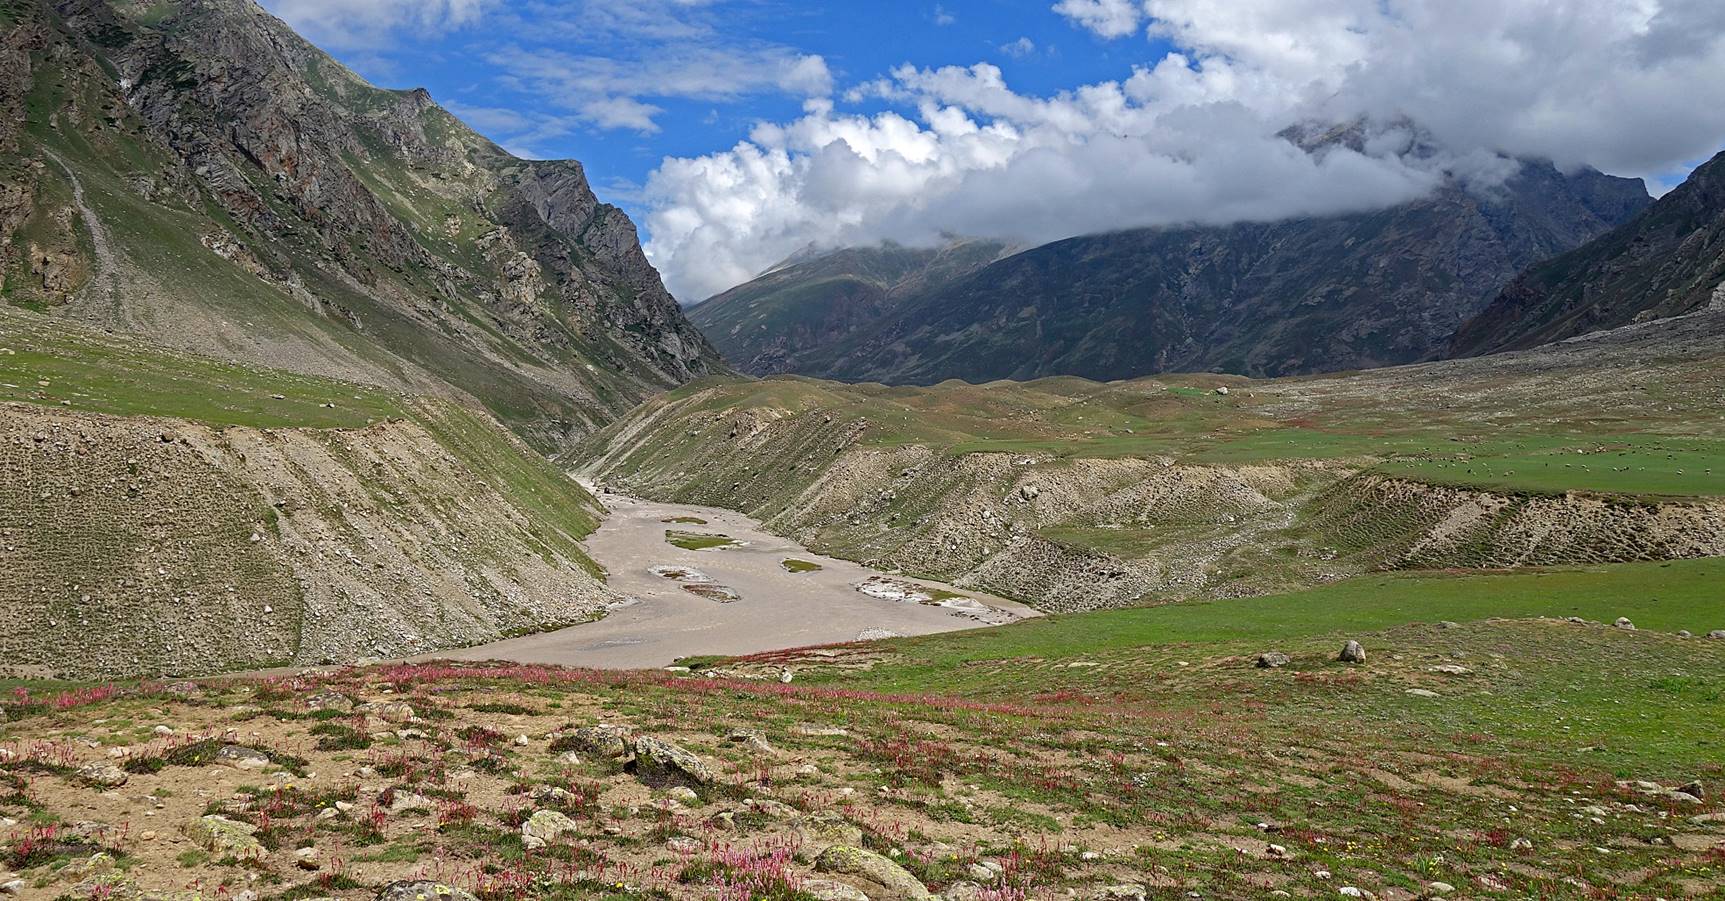
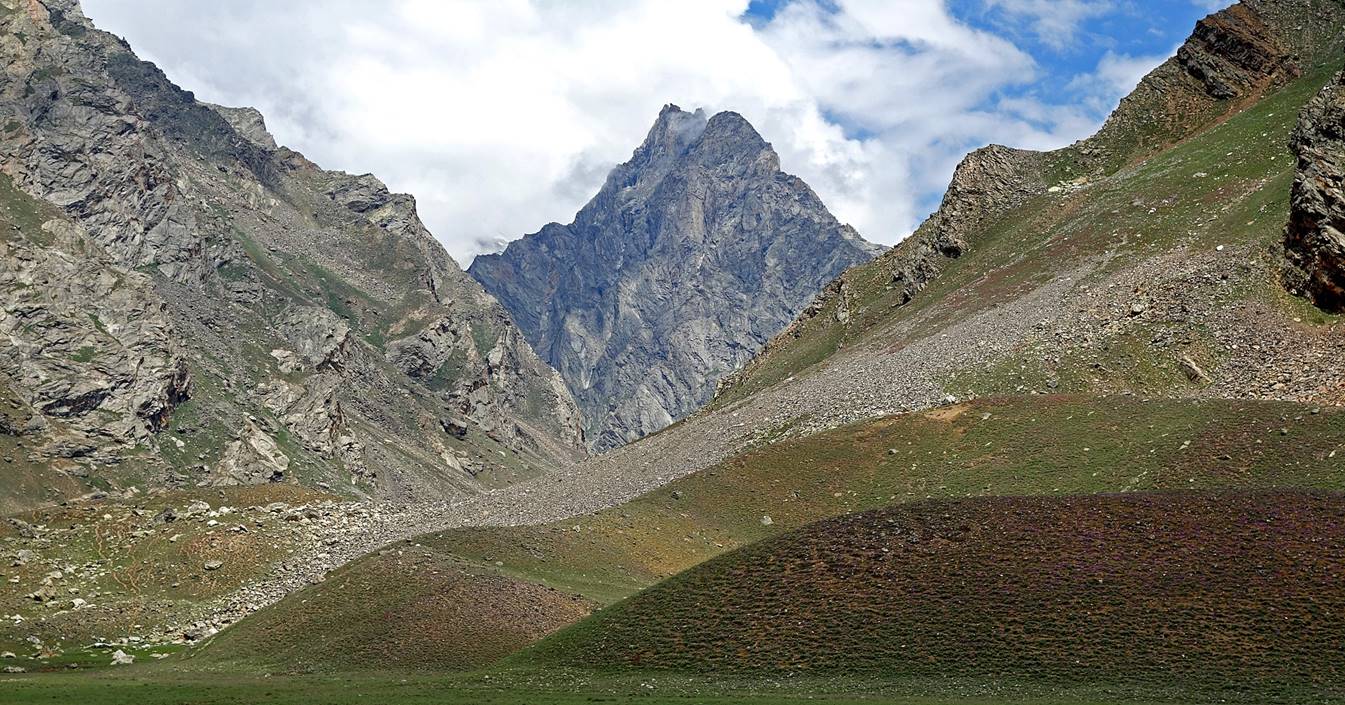
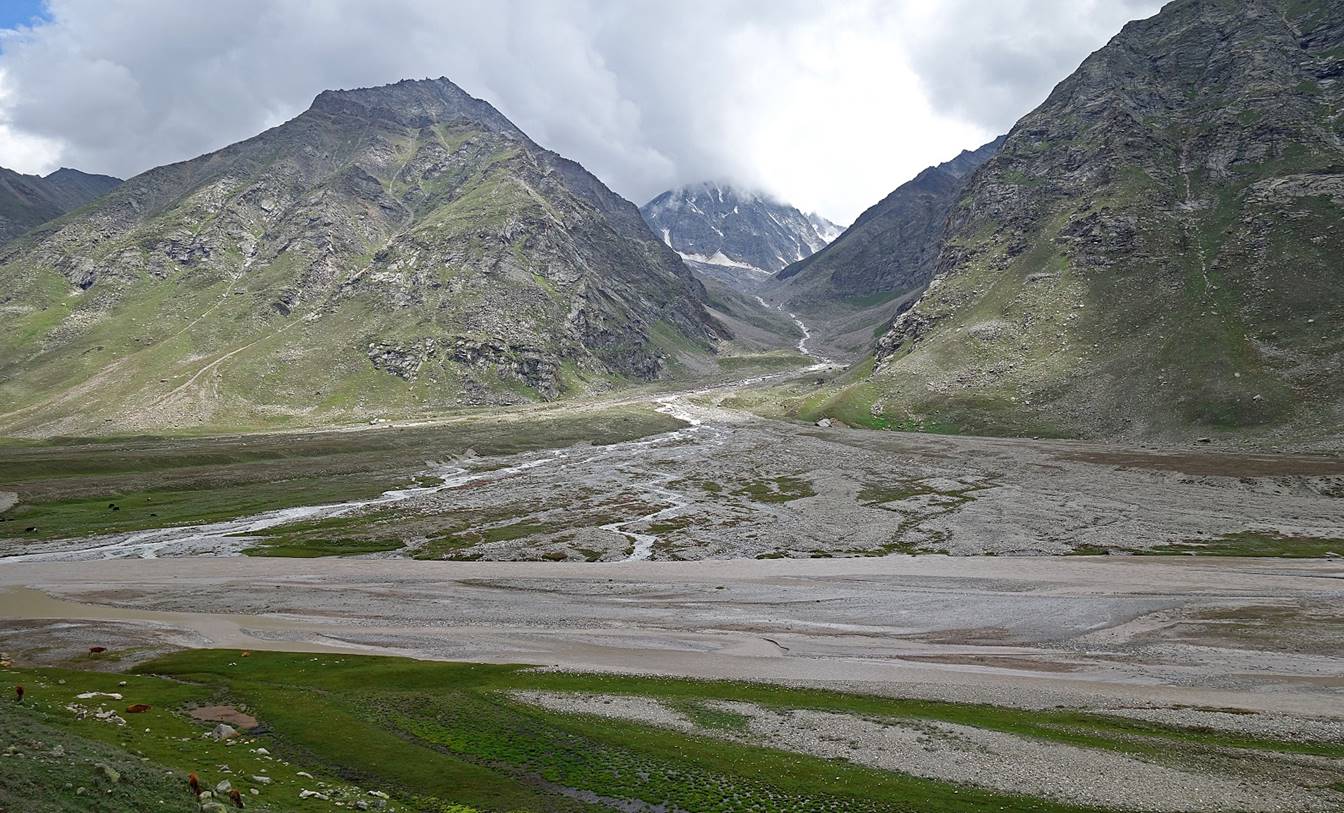
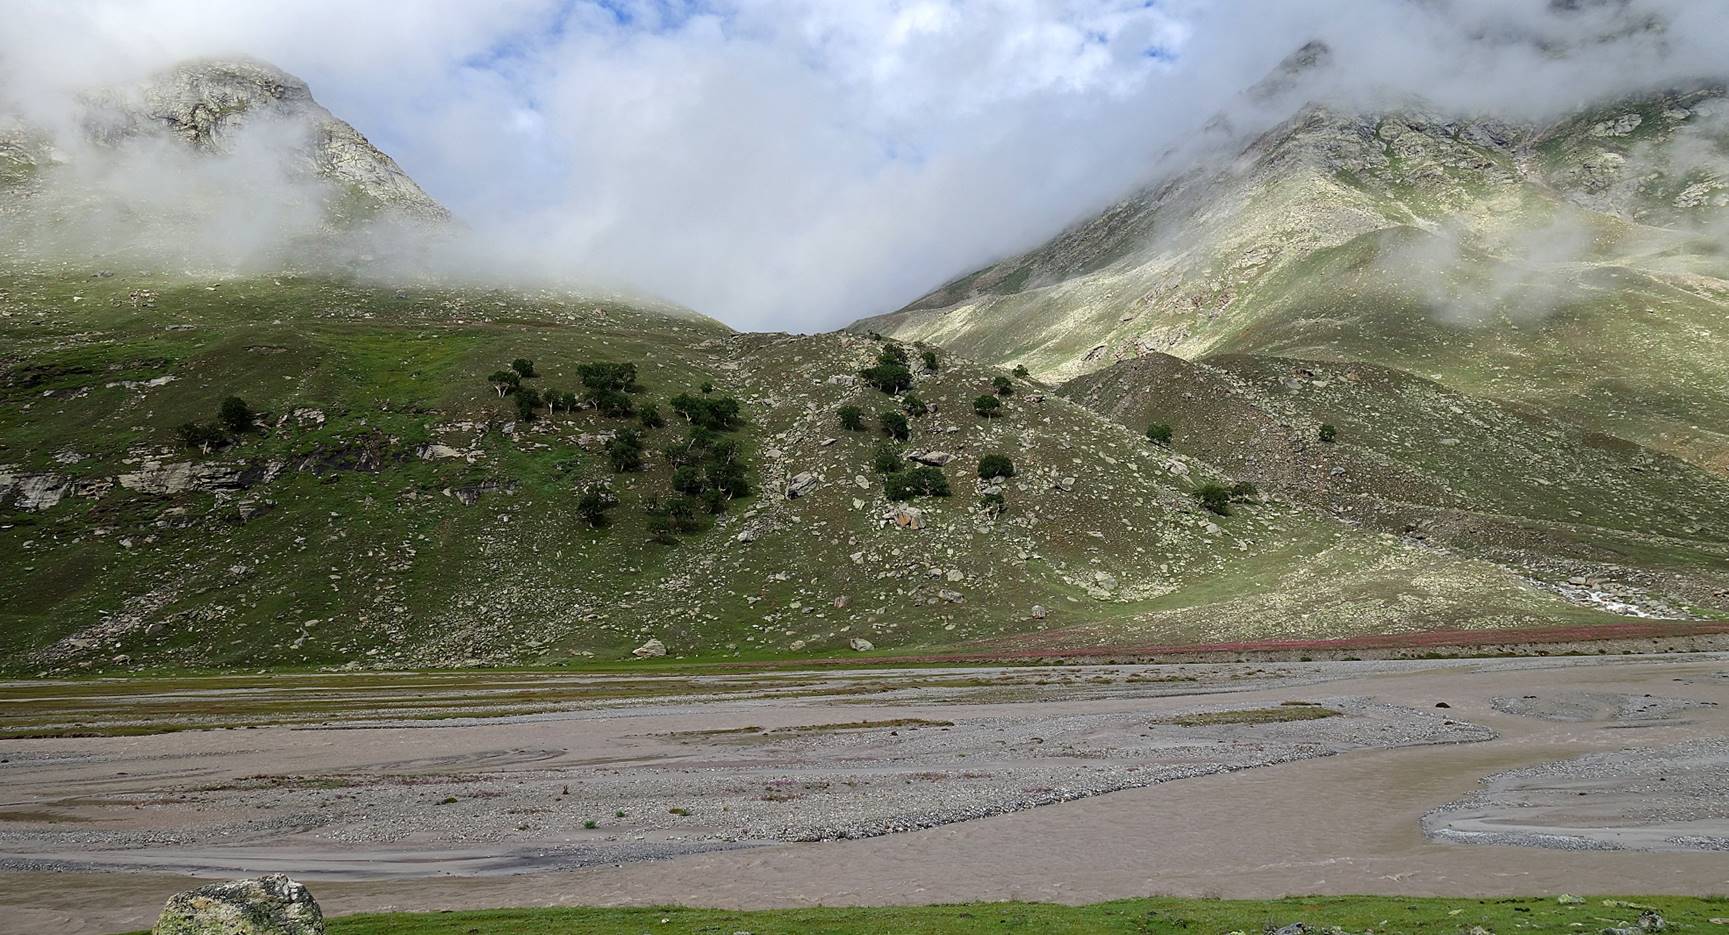
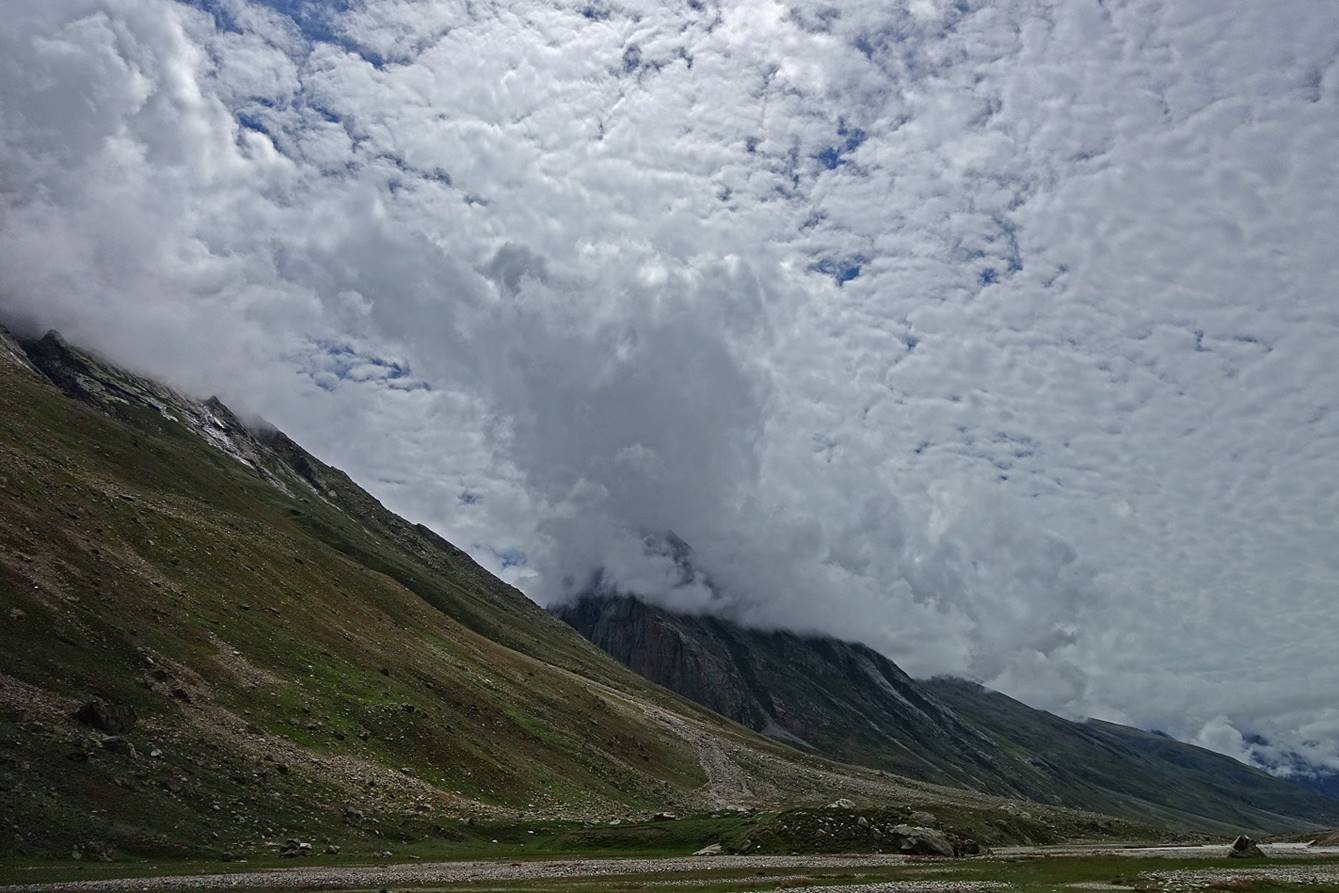
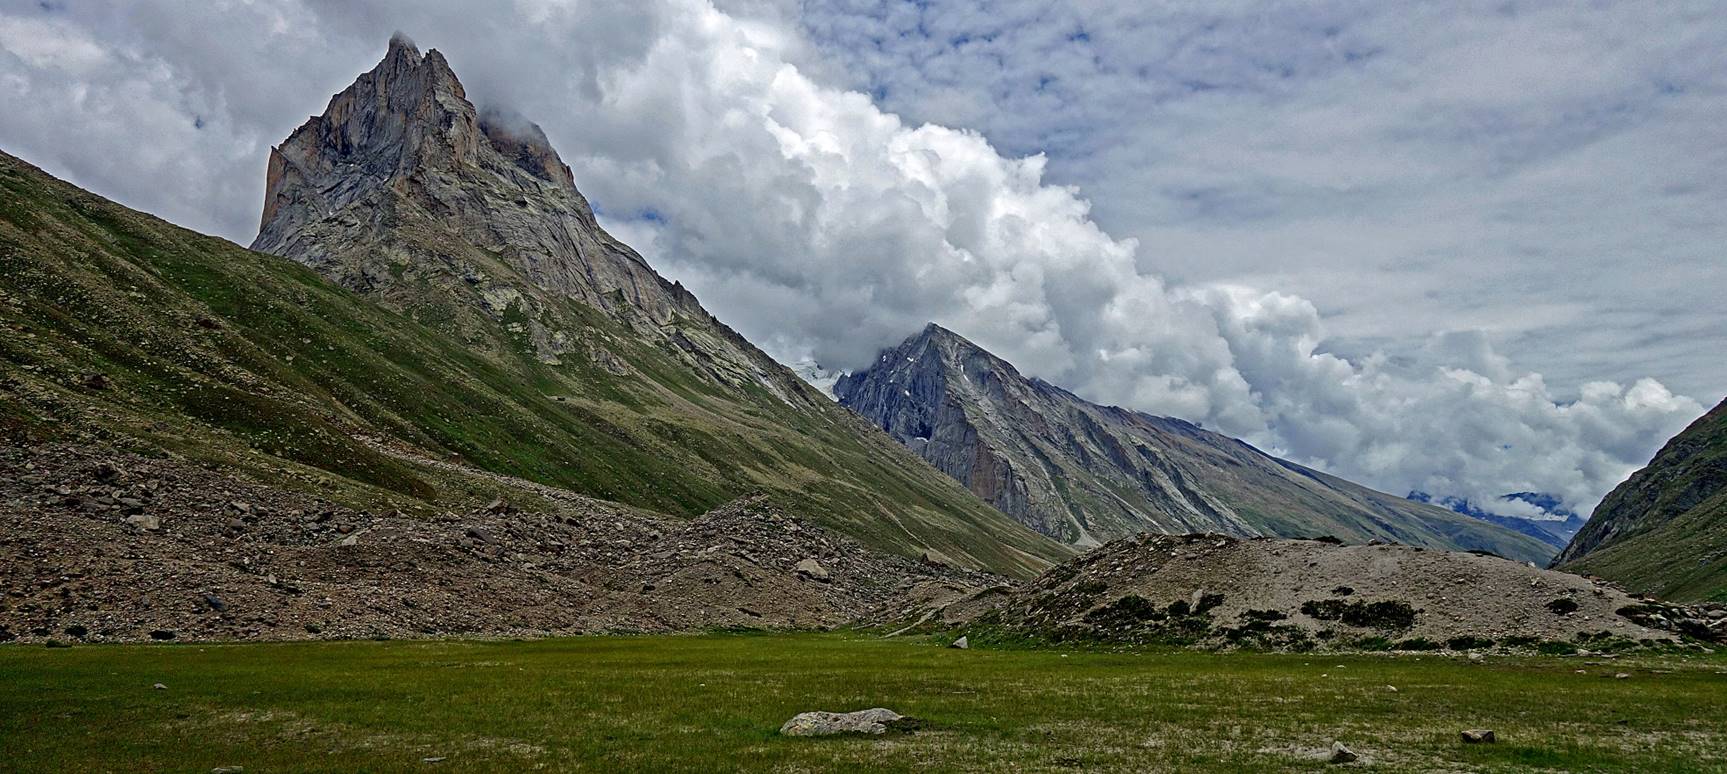
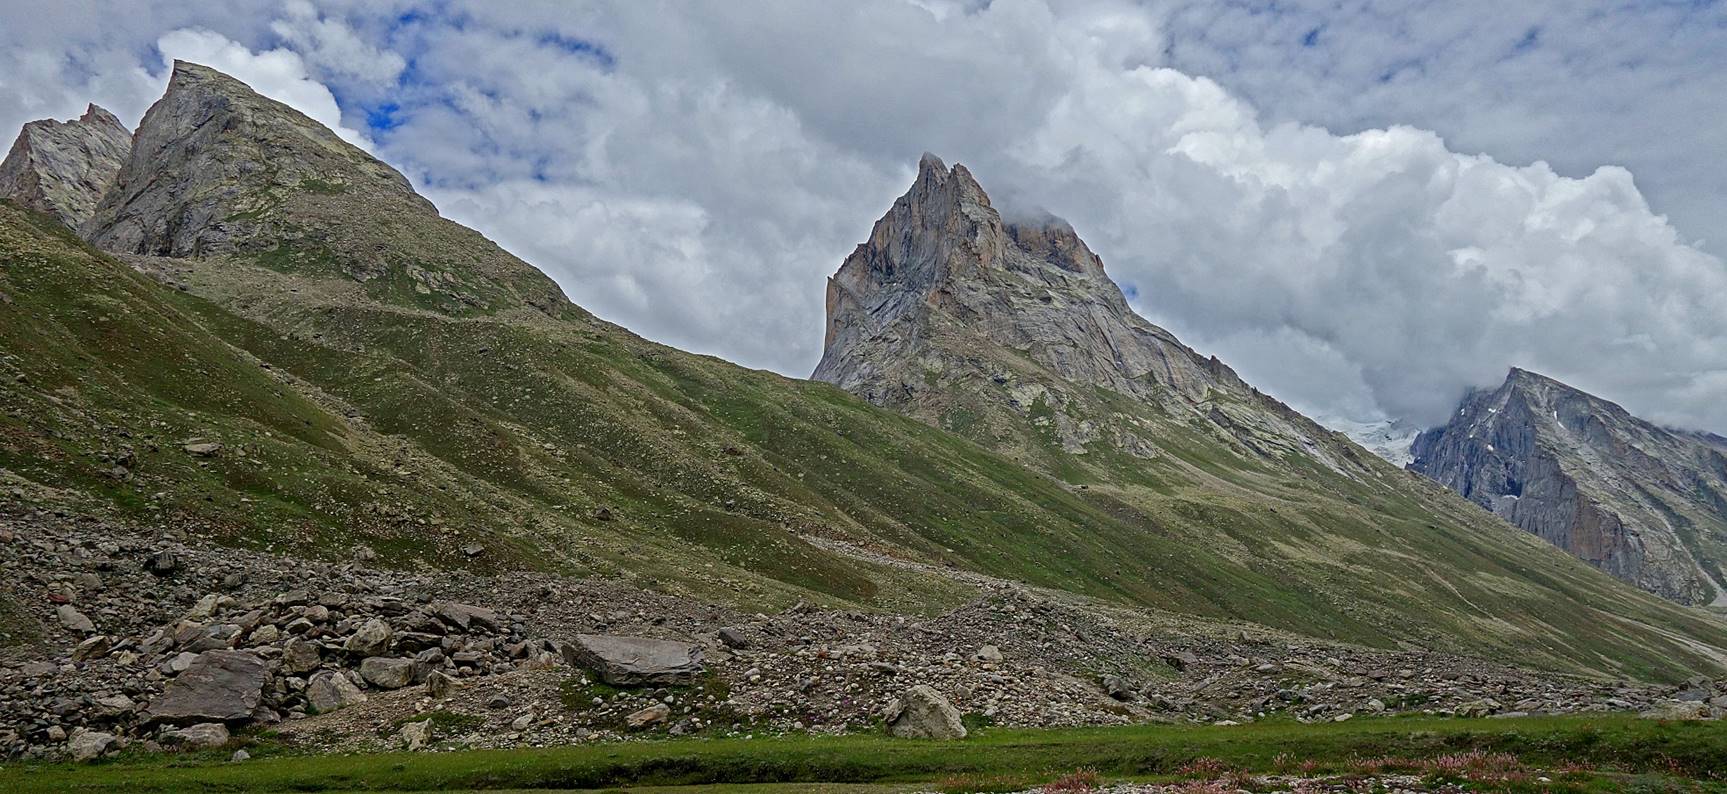
Further up in the Miyar Nala
valley, looking back toward the south with high peaks that we could not see on
the previous day.


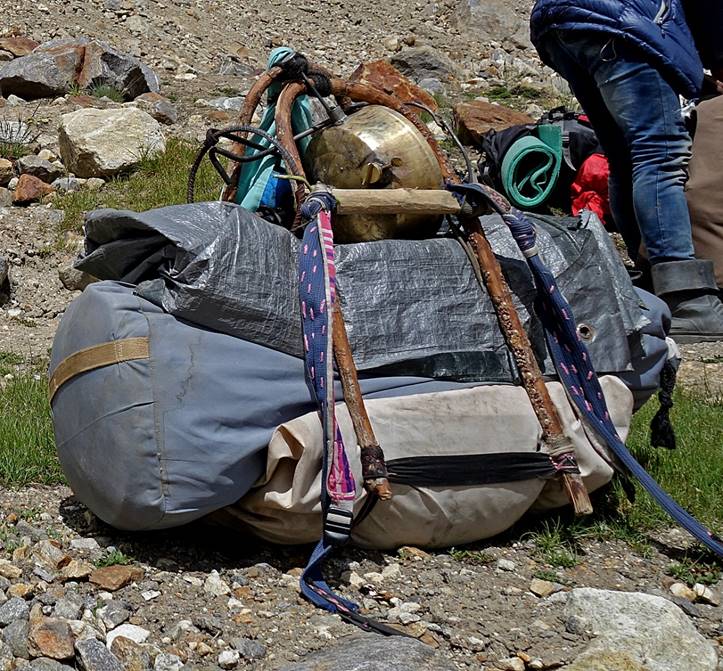
Falkays leading.
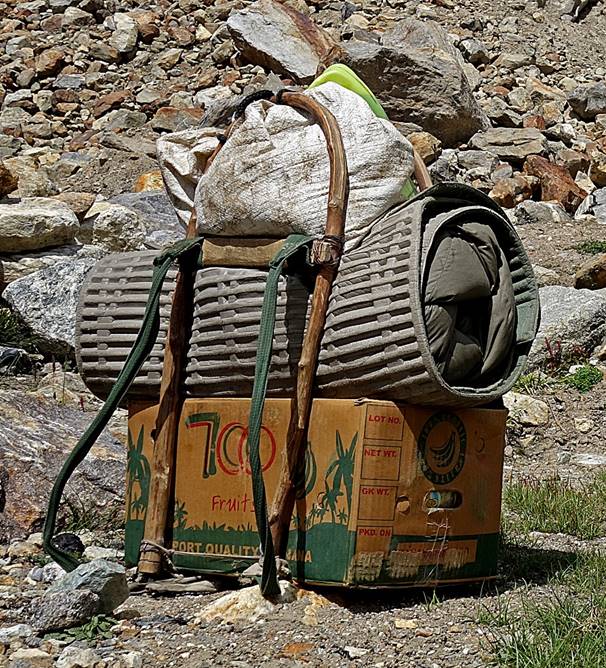
Note in the above photo how Falkays carries his load. Except Tunpud
and Stenzing, who were using regular backpacks, the
four other members of my group were using the same technique, demonstrated
below by Angchuk.
|
|
|
|
|
|
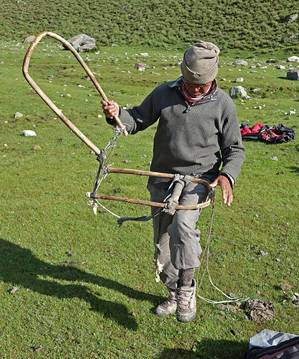
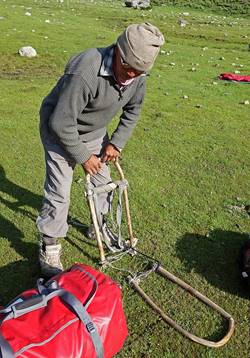

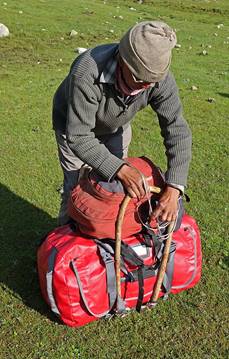
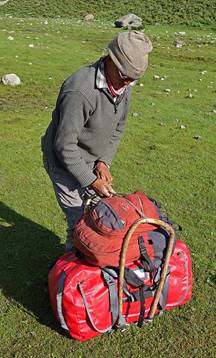
The two U-shaped frames are made of hard
wood and are connected by straps and strings whose lengths can be adjusted to
adapt to various load.
|
|
|
Back to trek along the Miyar Nala valley...

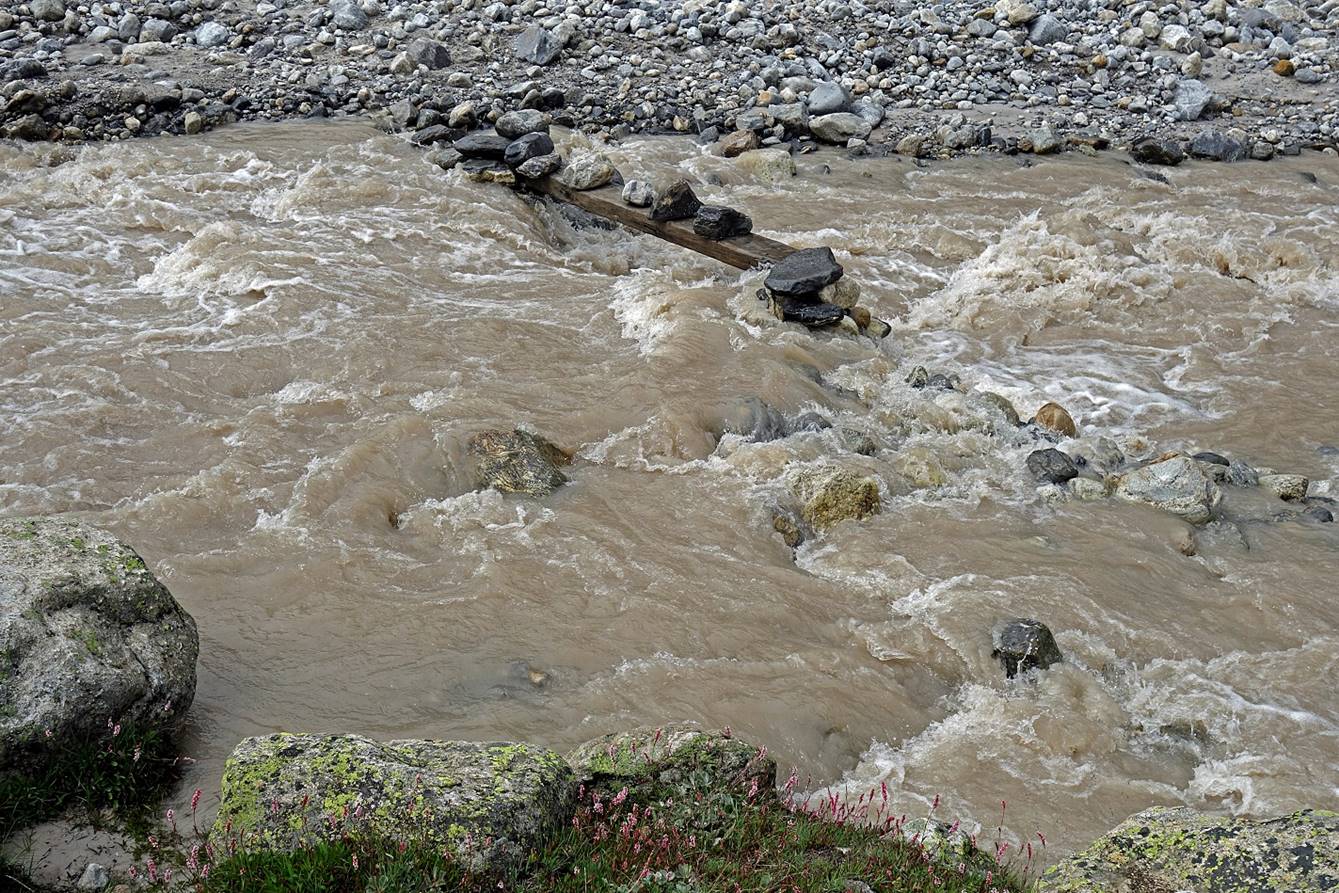
Last bridge (more exactly, a half-bridge!) across a side river. Further
up we had to ford a couple of rivers.


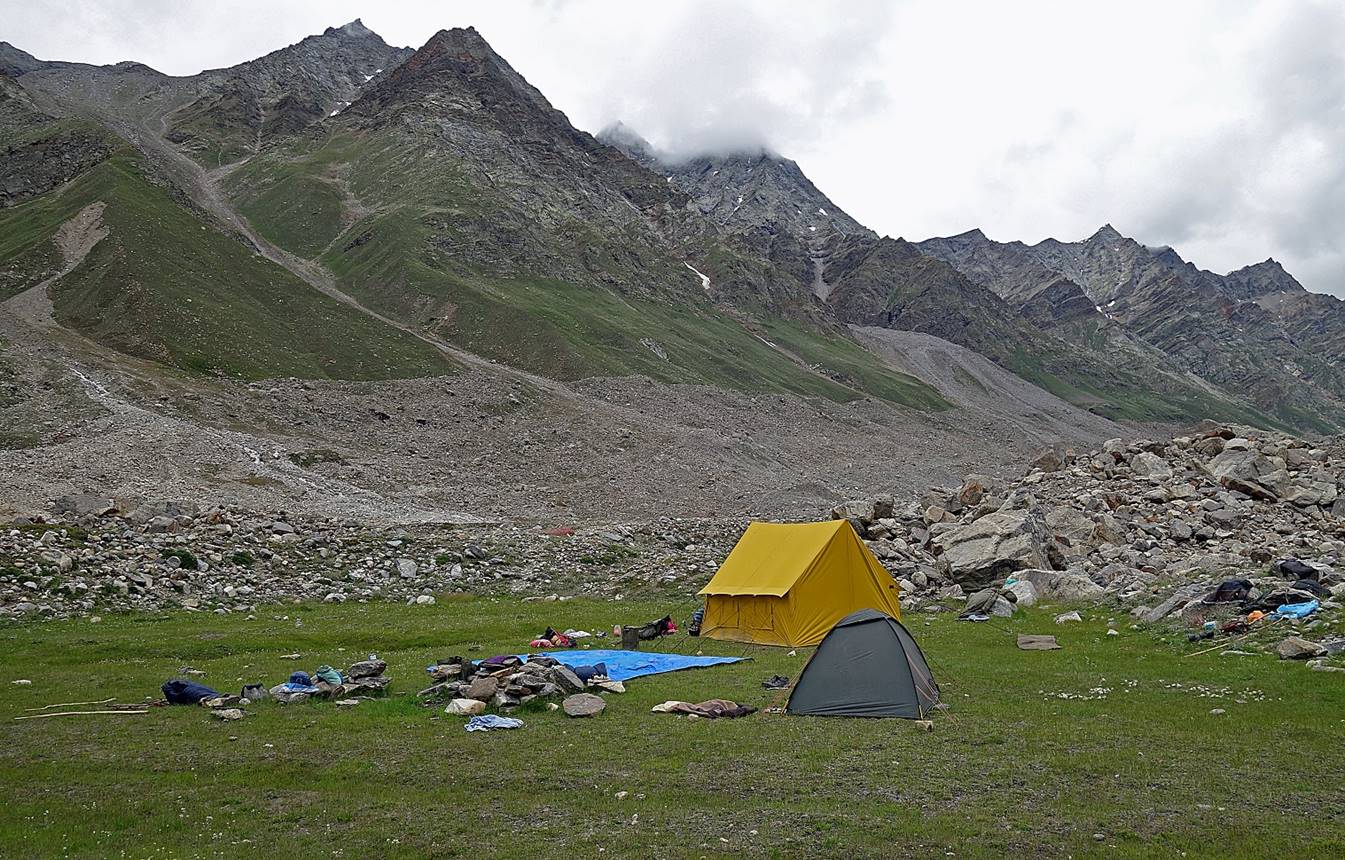
Our third camp (WP #17) set on a nice small meadow just below the Miyar
glacier.
The Miyar Nala
roaring from the base of the glacier.


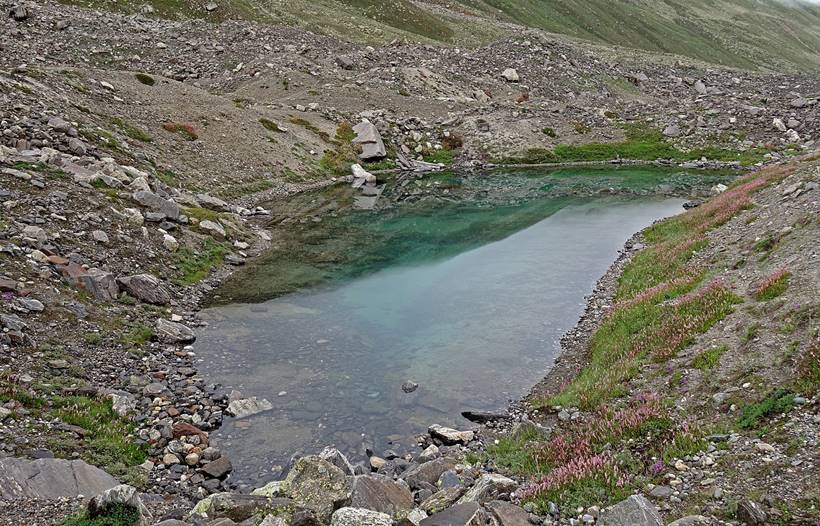
Small, surprisingly clear lakes next to our camp.
|
|
|

To directly access part 2/3 of the Kang La crossing, click here.
![]()